Adding a Retaining Wall

Retaining walls are commonly used on steeply sloped lots and terraces for support and erosion control. However, they can also be used as decorative partitions. There are many design options available, including straight and curved, variable heights, stepped or smooth, and terrain cutting. A wide variety of materials are available for retaining walls.
To add a retaining wall:
- From the Building tab, click Add Retaining Wall.
- Draw the outline of the Retaining Wall by clicking the left mouse button to add points. Press the Backspace key to remove the last point added, and press the Esc key to cancel. If you would like to input the distance and angle manually, place at least one point and then press Enter.
- To finish drawing the Retaining Wall, right-click to place the last point.
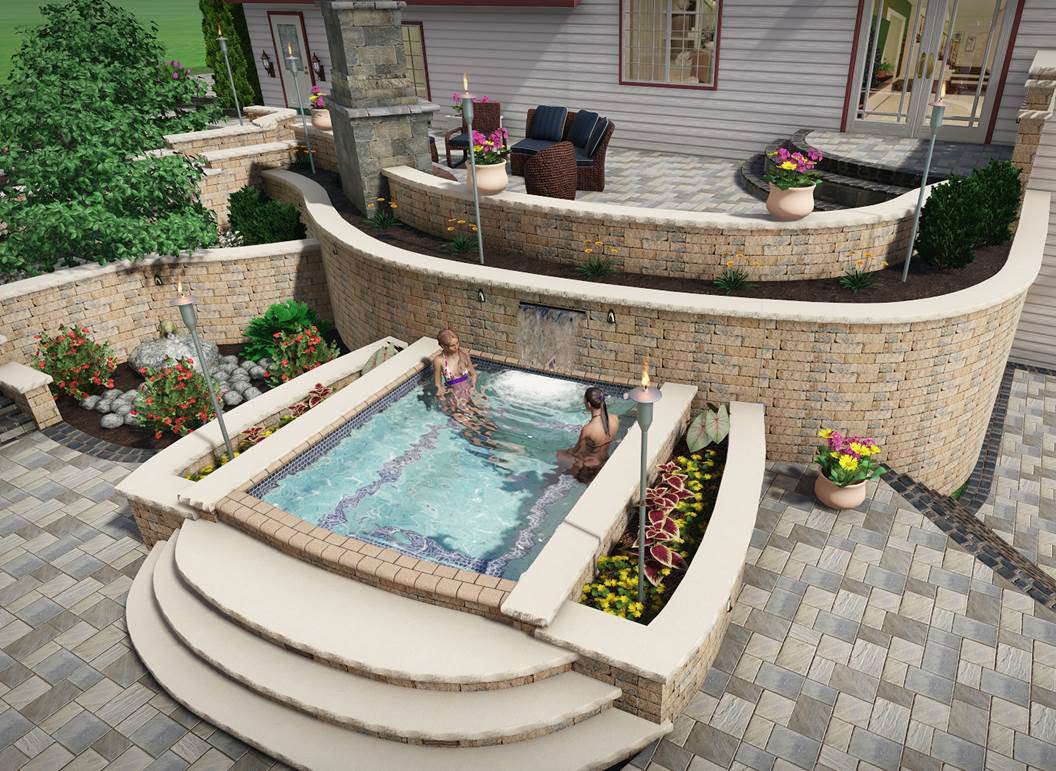
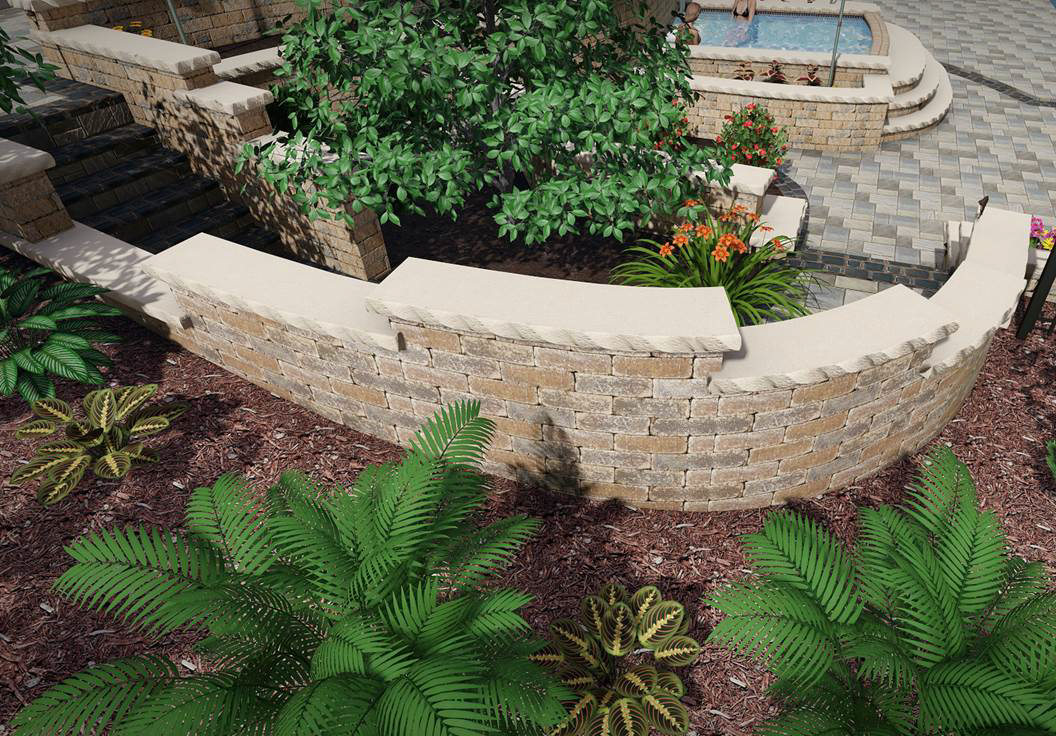
Retaining walls were used to create the stone walls in the following design.
Adjusting the Shape of a Retaining Wall
The height of a Retaining Wall can be modified at each point, which allows you to add Retaining Walls that slope up or taper down.
To modify the wall height:
- Click the Retaining Wall to select it.
- Click Edit points to enable point editing mode.
- Click the point on your Retaining Wall that you would like to adjust. Additional points can be added if needed.
- Modify the Height property to raise or lower the selected portion of the Retaining Wall. Or, hold the Ctrl key and click and drag the point you want to adjust.
- When finished, click Edit points to disable point editing mode.
Creating Stepped Retaining Walls
To create a stepped retaining wall, click the Stepped option. You can then adjust the height of each segment using the above instructions.
Using the Cut Terrain Feature
One of Realtime Landscaping's powerful features is its ability to support retaining walls that cut into the terrain realistically. This feature is useful when creating landscape designs with varying topology.
To cut into the terrain:
- Select an existing Retaining Wall.
- From the Edit menu, select Terrain Sculpting Order , and Bring to Top to ensure that the cutting effect of the Retaining Wall is applied on top of any other topology changes.
- Check the Cut terrain property to enable terrain cutting.
- If you find that the Retaining Wall is cutting the terrain in the wrong direction, click the Reverse cut direction property.
- To change the cut distance, use the Cut distance property.
- To change the cutting angles, click Edit Cut Angles and adjust the blue handles at the start and end points. When finished, click Edit Cut Angles again to resume normal editing.

Creating Terraces
Retaining walls can be used to create terraces on sloping terrain.
To create terraces:
- Add a Slope to your landscape design using the Slope tool. For details, see Sculpting the Terrain.
- Create one Retaining Wall to cut the lowest terrace level, and configure it to cut the terrain using the above steps.
- Set Height to the desired height of the first terrace level. Or, use the Auto wall height property to calculate the height automatically based on the surrounding terrain.
- Add another Retaining Wall for the next terrace level and set its Elevation to the desired terrace wall height.
- Repeat these steps for each terrace level.
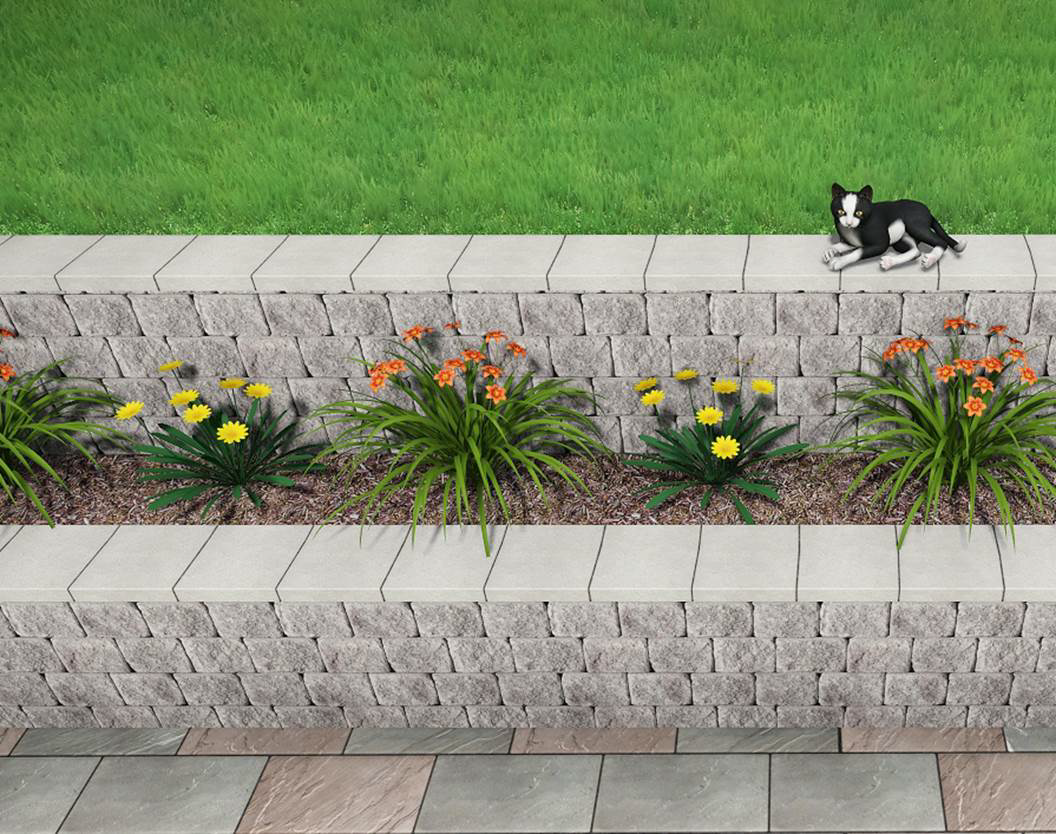
The picture below shows an example of two Retaining Walls that have been used to create a flower bed terrace.
Tips:
- Use the Auto Wall Height option to automatically calculate the Retaining Wall height based on the surrounding terrain.
- Retaining Walls can be added in either the Plan view or Perspective view.
- Using the grid snap feature can make adding an accurate Retaining Wall very easy. See Snap Settings for more details.
- If you just need a small wall to use as edging, consider using the Edging object instead.
- If your Retaining Wall is not cutting the terrain as expected, it is possible that other terrain sculpting objects were added after the Retaining Wall. See Controlling the Terrain Sculpting Order for more information.