Adding a Fence

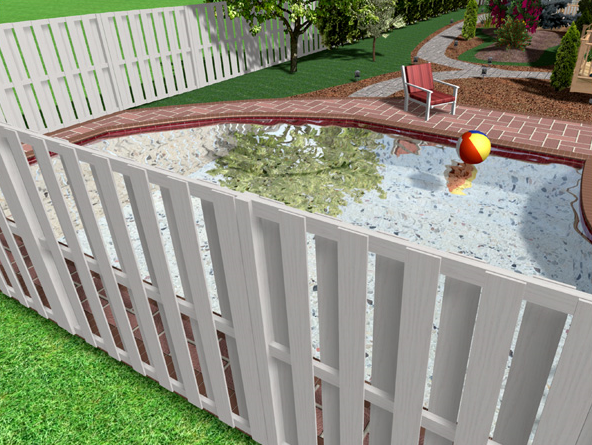
Fences are easy to add in Realtime Landscaping, and a large variety of fence styles are available. Additionally, you can create your own fence styles to achieve the perfect design.
To add a fence:
- From the Building tab, click Add Fence.
- Draw the outline of the fence by clicking the left mouse button to add points. Press the Backspace key to remove the last point added, and press the Esc key to cancel. If you would like to input the distance and angle manually, place at least one point and then press Enter.
- To finish drawing the fence, right-click to place the last point.
Creating Custom Fence Styles
Custom fence styles can be designed and then saved for use in any landscaping project.
To create a custom fence style:
- Click an existing fence to select it.
- Expand the Advanced category which is found to the right of the screen.
- Adjust the fence properties as needed to achieve the desired fence style.
- Click the Save Style button, type a name for your fence style, and then click the OK button.
To use a custom fence style:
- Click an existing fence to select it.
- Click the picture of the fence style that appears to the right of the screen.
- Select the desired fence style and click the OK button.
Note: When you select a new fence style, the default material for that style will also be set. However, you can change the material at any time if desired.
Tips:
- Fences can also be added as stand-alone sections using the Accessory object.
- Using the grid snap feature can make adding an accurate fence very easy. See Snap Settings for more details.
- Once your fence is added, gates can be placed where necessary. See Adding a Fence Gate for more information.