Adding a Door

Doors can be added very easily to any house in your design. Because the door will automatically snap to the wall of the nearest house, door placement is fast and easy. Both entrance doors and garage doors can be added using the Door object.
To add a door:
- Switch to the Perspective view (not required but recommended).
- Adjust your view until you can clearly see the wall of the house you want to add the door to.
- From the Building tab, click Add Door.
- Click the picture of the default door that appears to the right of the screen, and then select the door you would like to use from the menu that appears.
- Click the wall you want to add the door to.
To move an existing door:
-
Click the door to select it.
-
Click and drag the door to reposition it.
To move the door to a different House object, drag it onto the wall of the other house. This must be done in the Perspective view, where you can clearly see which wall you’re targeting. (In the Plan view, houses can overlap, so changing which house a door is attached to is disabled.)
To keep the door attached to its current house while dragging, press and hold Ctrl after you start dragging.
To adjust the elevation of an existing door:
- Click the door to select it.
- Hold down the Ctrl key and click the door again, but this time hold down the left mouse button as you move the door up or down.
- OR -
- Modify the Elevation property after your door is selected.
Window Options
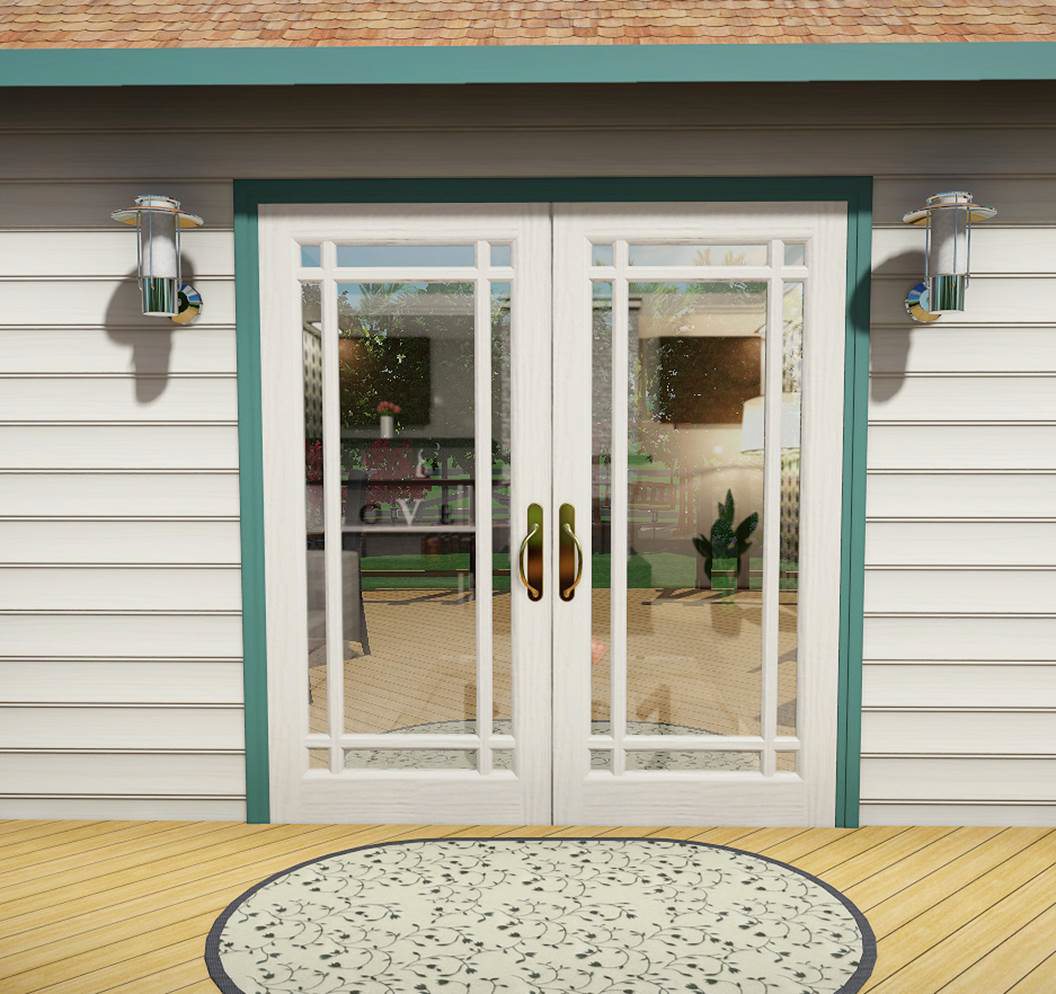
Some doors have glass and gain all the options and features of a window. See Adding a Window for details.
Recessed doors
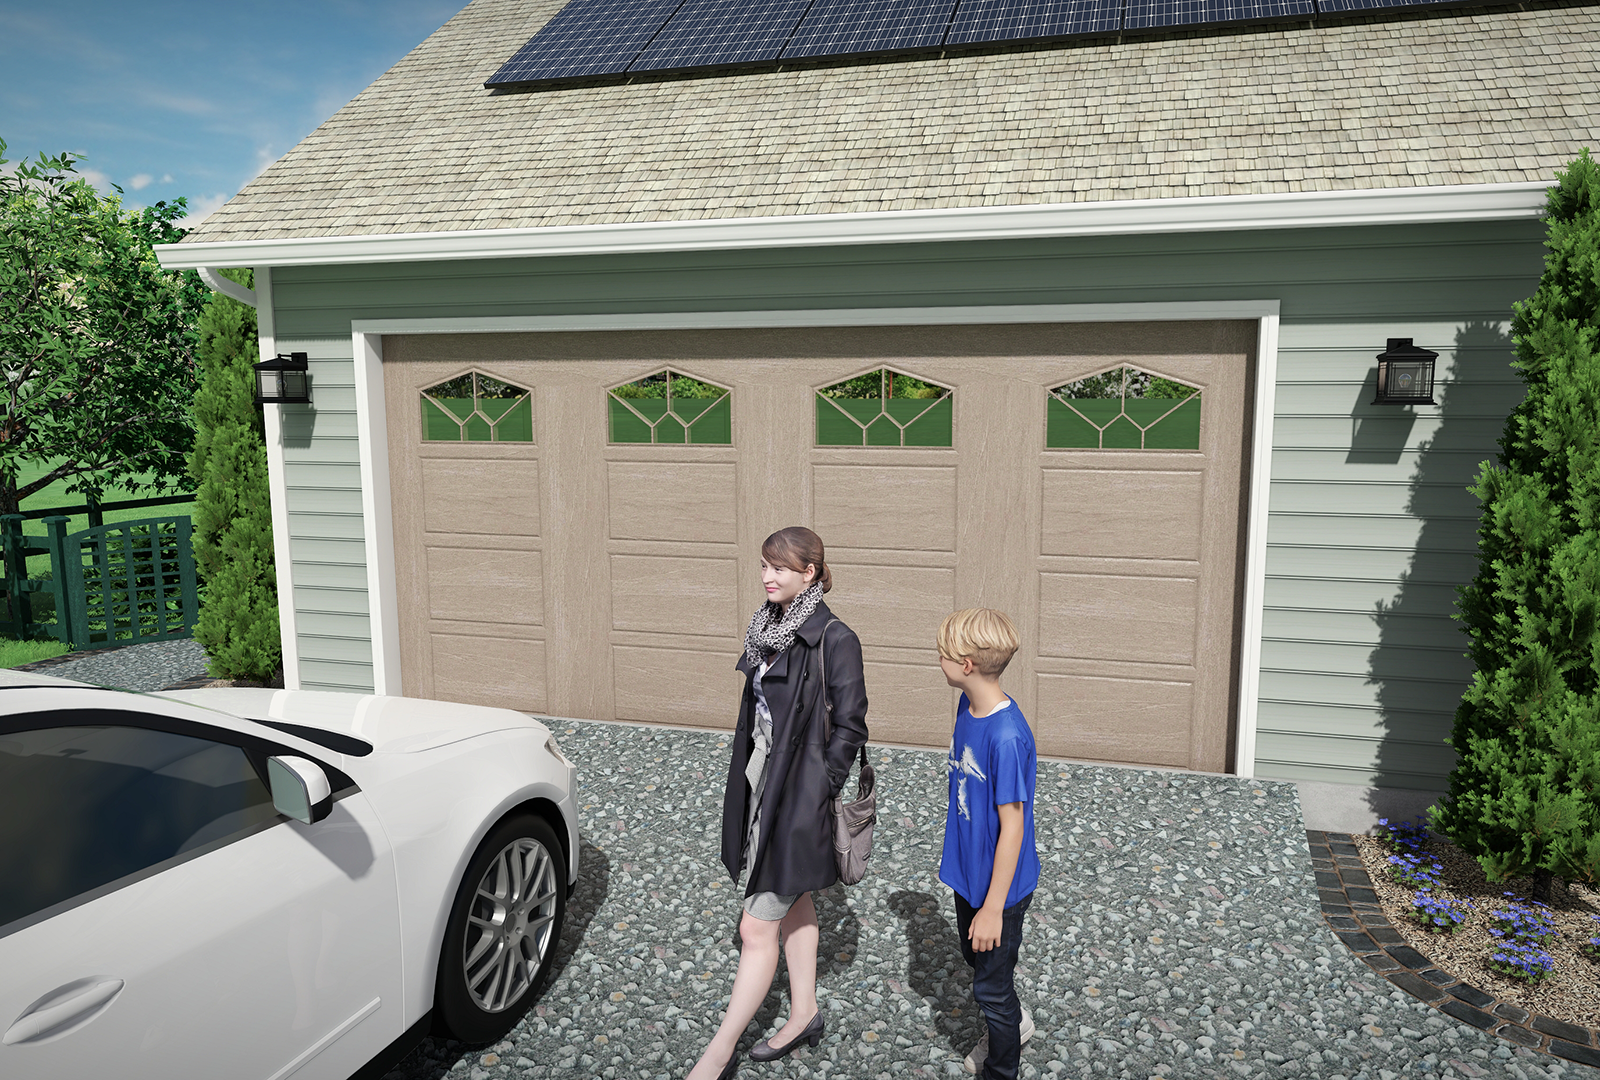
Recessed doors add depth and realism by setting the door back into the wall, rather than placing it flush with the exterior surface.
In the example below, the garage door has been recessed for a more realistic look.
Recess depth
To create a recessed door, set Recess depth to the distance you want the door inset from the outside face of the wall. Larger values create a deeper “door well,” which produces stronger shadows and a more realistic look.
Recess material options
Use the Material property to choose which material is applied to the recessed surfaces:
- Same as wall - Uses the wall siding material.
- Same as trim - Uses the door trim material.
- Custom color - Uses a custom recess color that differs from both the wall siding and the door trim.
Add recessed wall trim
Use Add recessed wall trim to control whether the door trim extends to the outside face of the wall.
- Checked — Extends the door trim to the outside wall, so the recess appears wrapped with trim or a finished casing.
- Unchecked — Does not extend the trim to the outside wall, so the inside faces of the recess use the wall siding material.
Tips:
- Doors can be easily duplicated by using the Copy and Paste commands.
- If you want to place multiple doors of the same type, click on the Add Door button, hold the Ctrl key, and then click once for each door you want to add.
- Doors can only be added to existing houses; they cannot be added to other objects.
- The trim color of each door on your house will change to match the color of the house trim.