Adding Patio Stairs

To add Patio Stairs:
- From the Building tab, click Add Patio Stairs.
- Draw the outline of the top of the Patio Stairs by clicking the left mouse button to add points. Press the Backspace key to remove the last point added, and press the Esc key to cancel. If you would like to input the distance and angle manually, place at least one point and then press Enter.
- To finish drawing the Patio Stairs, right-click to place the last point.
The Patio Stairs shape is controlled by the outline of the top step. Both straight and curved Patio Stairs can be created.
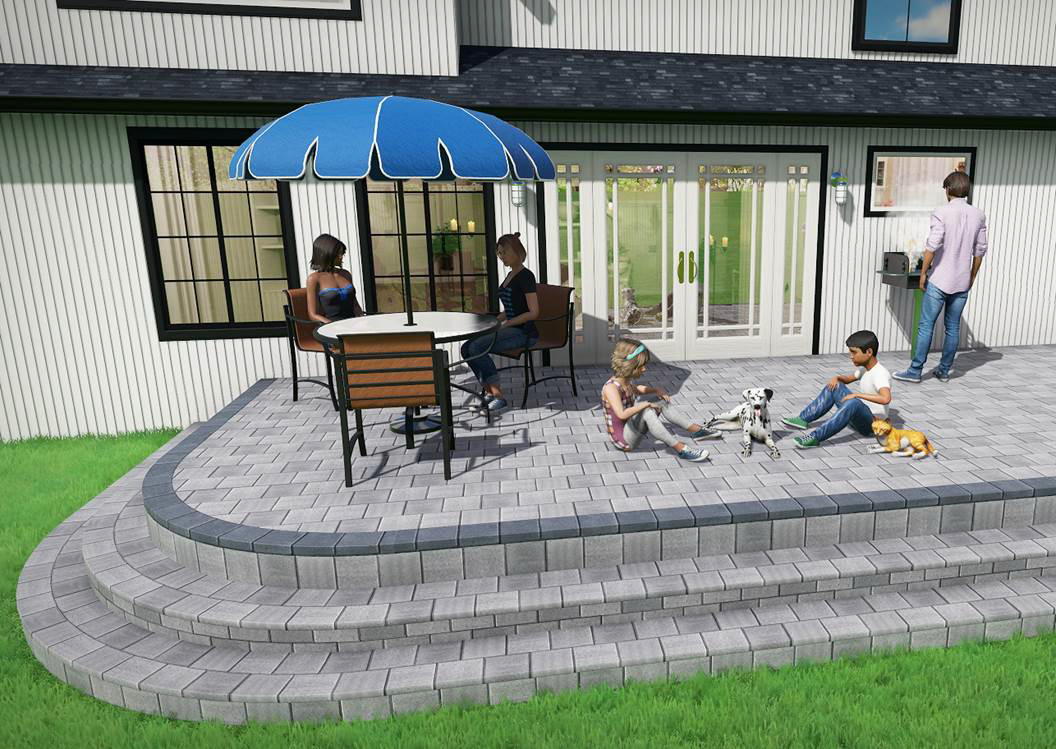
In the picture below, a Patio was used for the top landing and Patio Stairs were used for the steps.
Creating Complex Shapes
Check the Closed option to make a closed shape. This is useful for making hexagonal, circular, and other types of stairs.
Customizing the Plan View
Applies to:  Plus Pro
  Architect
In Realtime Landscaping Architect, you can customize the way Patio Stairs appear in the Plan view. This is useful when you need the Patio Stairs to look realistic in the Perspective view, but stylized in the Plan view. To do this, check the Custom appearance in each view option and customize the Plan material as desired.
Tips:
- Unlike the Deck Stairs, Patio Stairs do not need to be attached to a patio. This allows the Patio Stairs tool to be very versatile and useful in a variety of applications.
- The shape of Patio Stairs can be matched to a patio easily using the Save and Load Shape commands. To do this, select the patio you want to add Patio Stairs to and save the shape. Next, add the Patio Stairs using the Load Shape command. See Saving and Loading Shapes for more details.
- When adding Patio Stairs to a Patio landing, it is best to set the Elevation property of the Patio Stairs to the height of the Patio minus the step rise.
- Stairs can also be added using the Path Stairs object.