Pond Wizard
Applies to:  Plus
Plus  Pro Architect
The Pond Wizard is an easy way to quickly add a pre-built water garden to your landscape design. Each pond includes a variety of objects, such as rockery, plants, waterfalls, fountains, and more.
Note: The Pond Wizard is a great way to get ideas for water gardens, but once you get familiar with the tools, you will probably want to design your own from the ground up. For information, see Adding a Pond.
To add a pond using the pond wizard:
- From the Tools menu, click Pond Wizard.
- Click Next.
- Click the picture of the default pond, select the pond you would like to use, and then click Next.
- Click Finish to add the pond to your landscape design. After completing the Pond Wizard, Realtime Landscaping will switch to the Plan view and place your new pond in the center of your design. You can now move the pond into the desired position and rotate it into the ideal orientation. See Moving Objects and Rotating Objects for details. The pond and other objects that compose the water garden will be grouped by default, making it easy to move the entire pond design at once. However, in order to edit the pond, you will first need to ungroup it by clicking the Ungroup button that appears to the right of the screen when the pond is selected. For more details, see Grouping and Ungrouping Objects.
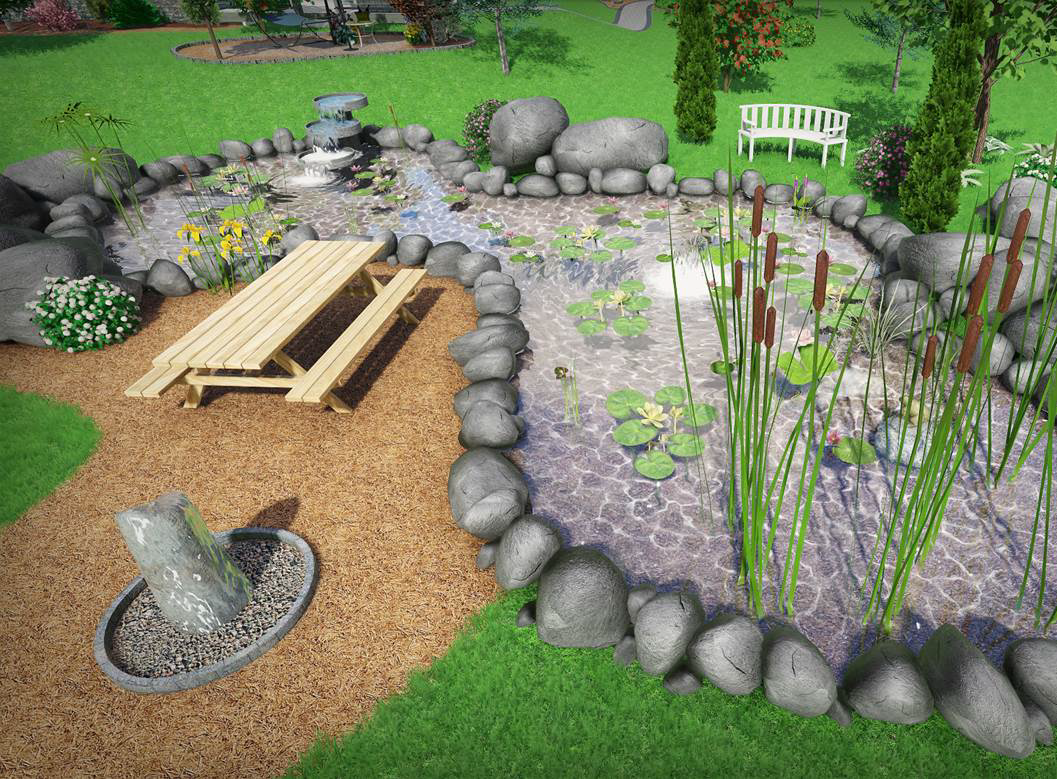
The pond below was added using the Pond Wizard.
Tips:
- Using the Pond Wizard will not delete any existing ponds in your landscape design; your design can have as many ponds as needed.
- To create your own pond instead of using the wizard, use the Add Pond tool.
- If you want to add a pre-built pond, house, and fence all at once, use the Landscape Wizard.