Adding Edging

The Edging object is used to place continuous borders around paths, flower beds, and other areas in your landscape design.
To add edging:
- From the Landscape tab, click Add Edging.
- Draw the edging by clicking the left mouse button to add points. Press the Backspace key to remove the last point added, and press the Esc key to cancel. If you would like to input the distance and angle manually, place at least one point and then press Enter.
- To finish drawing the edging, place the last point on top of the first point. Or, right-click to place the last point.
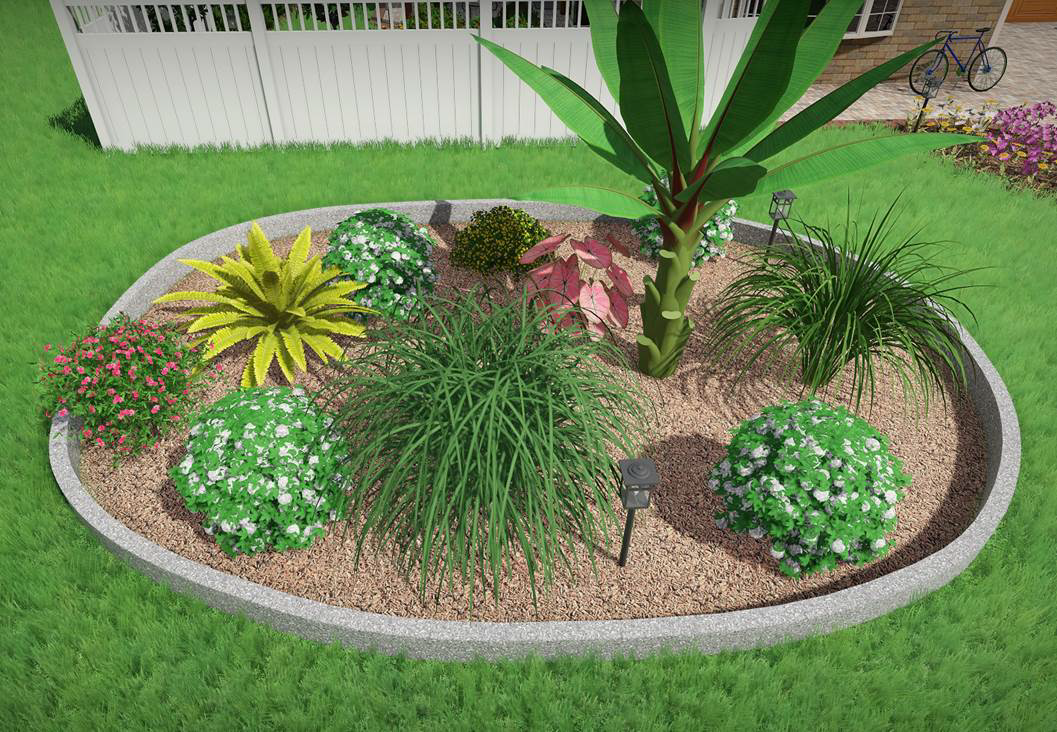
In the picture below, concrete edging was used to border the flower bed.
Using Save and Load Shape Commands
Edging can be quickly added around other objects, such as Regions and Paths. See Saving and Loading Shapes for details.
Customizing the Plan View
Applies to:  Plus Pro
  Architect
The appearance of edging can be customized in both the Plan view and the Perspective view. For example, the edging could look realistic in the Perspective view, but stylized in the Plan view. To do this, click the Custom appearance in each view checkbox and customize the Plan view as desired.
Tips:
- Points can easily be added or removed to your edging's shape for greater control. For more information, see Inserting and Deleting Points.