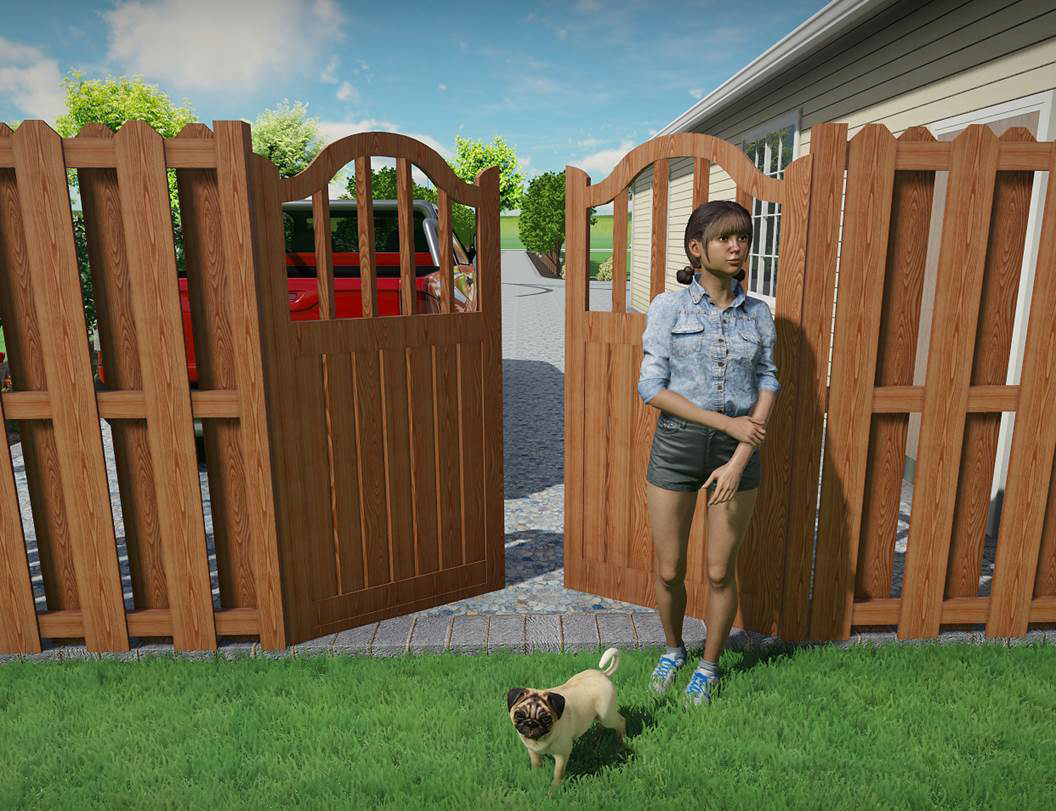
Adding a Fence Gate

The Fence Gate object is used to add a variety of wooden fence gates to fences in your design. Single and double styles are included, and gates can be displayed in an open or closed position.
To add a new gate:
- Select the Perspective view (not required but recommended).
- Adjust your view until you can clearly see the fence that you want to add a gate to.
- From the Building tab, click Add Fence Gate.
- Click the picture of the default fence gate that appears to the right of the screen, and then select the fence gate you would like to use from the menu that appears.
- Click on the part of the fence that you want to add the gate to.
To open a gate:
- Click the gate to select it.
- Set the Open angle to the desired gate angle.
To move an existing gate:
- Click your gate to select it.
- Click the gate again, but this time hold down the left mouse button as you move the mouse to reposition the gate. Note that a gate cannot be moved to a different fence object.
Tips:
- To place multiple gates of the same type, click the Add Fence Gate button, hold the Ctrl key, and then click once for each gate you want to add.
- Fence gates can be added only to fences that are already in your design; gates cannot be added to other objects.
- The material of the fence gate will automatically match the material of the fence that it is attached to.
- The height of the fence gate is automatically set to the board height of the fence it is attached to.