Adding a Window

Windows of many shapes and styles can be added to any house in your landscape design. Because windows snap automatically to houses, they are very easy to place. The Window object can also be used to add awnings, shutters, gable vents, and window boxes.
To add a Window, Awning, Shutter, Gable Vent, or Window Box:
- Select the Perspective view (not required but recommended).
- Adjust your view until you can clearly see the wall of the house you want to add the window to.
- From the Building tab, click Add Window.
- Click the picture of the default window that appears to the right of the screen, and then select the window you would like to use from the menu that appears.
- Click the wall you want to add the window to.
To move an existing window:
-
Click the window to select it.
-
Click and drag the window to reposition it.
To move the window to a different House object, drag it onto the wall of the other house. This must be done in the Perspective view, where you can clearly see which wall you’re targeting. (In the Plan view, houses can overlap, so changing which house a window is attached to is disabled.)
To keep the window attached to its current house while dragging, press and hold Ctrl after you start dragging.
To adjust the elevation of an existing window:
- Click the window to select it.
- Hold down the Ctrl key and click the window again, but this time hold down the left mouse button as you move the mouse up or down.
- OR -
- Modify the Elevation property that appears when your window is selected.
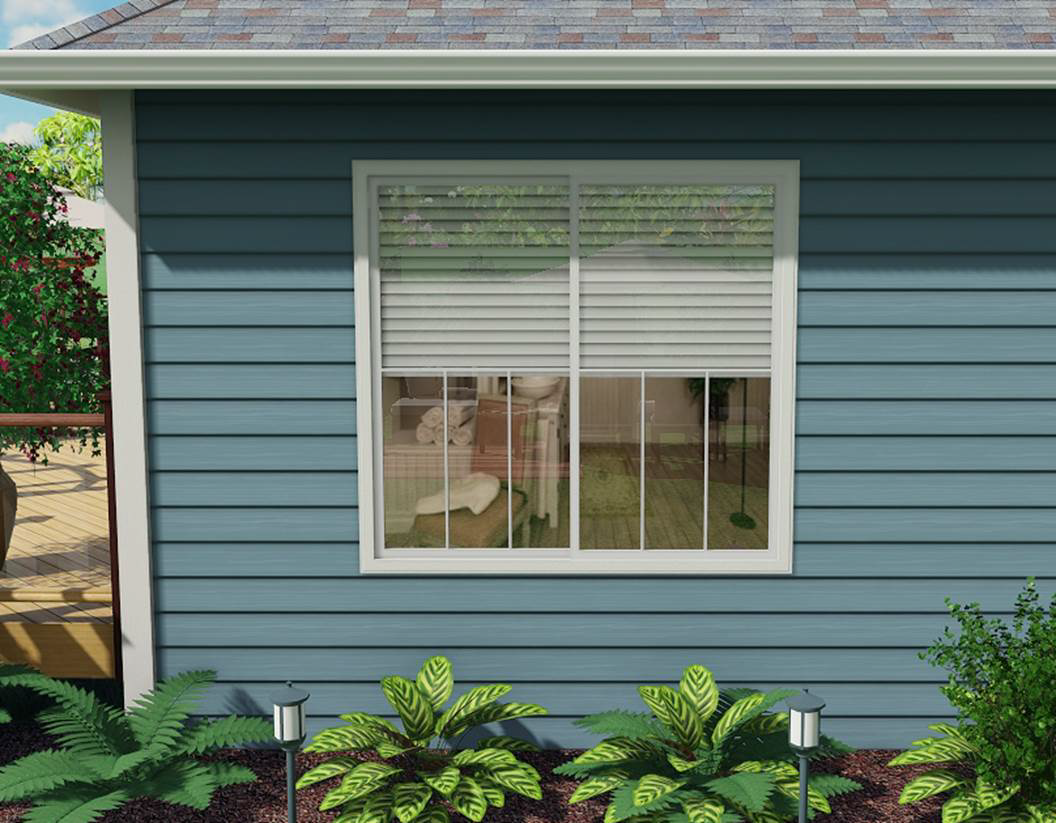
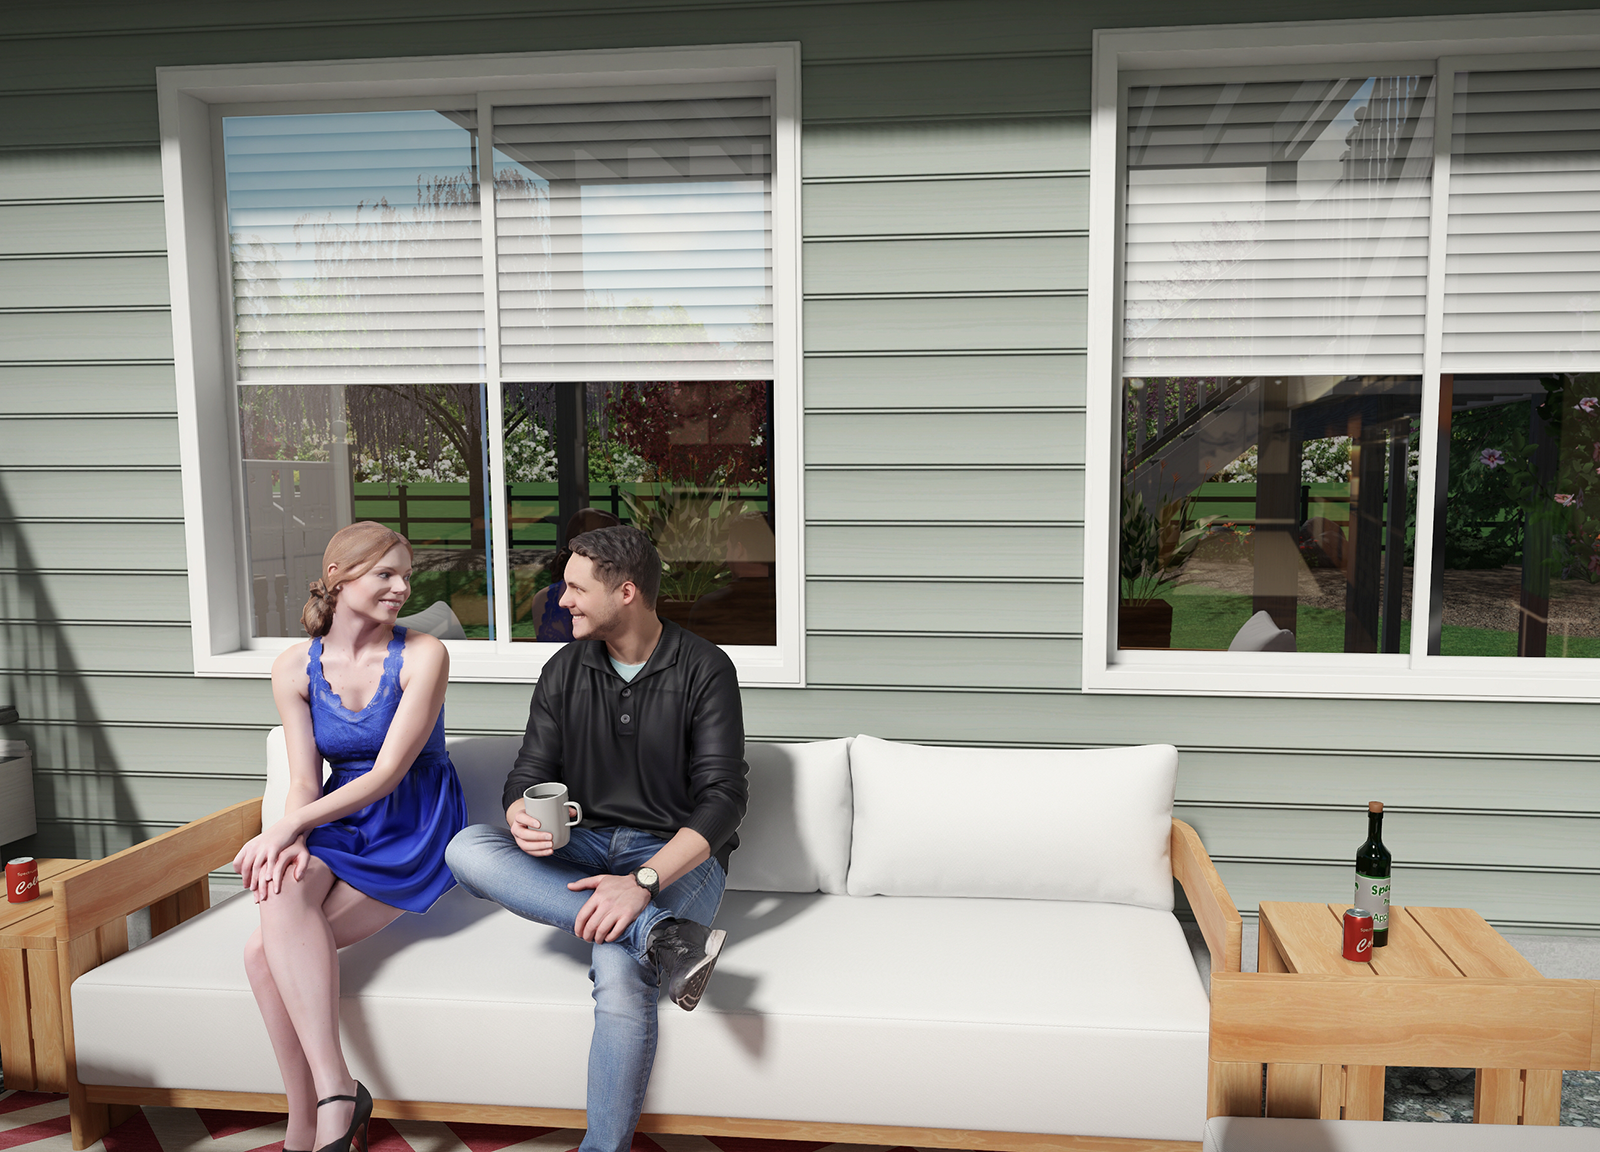
Window coverings
You can add window coverings such as shades, blinds, and mini blinds. Simply adjust the Covering amount property to add the covering, and use the Covering property to select the desired style.
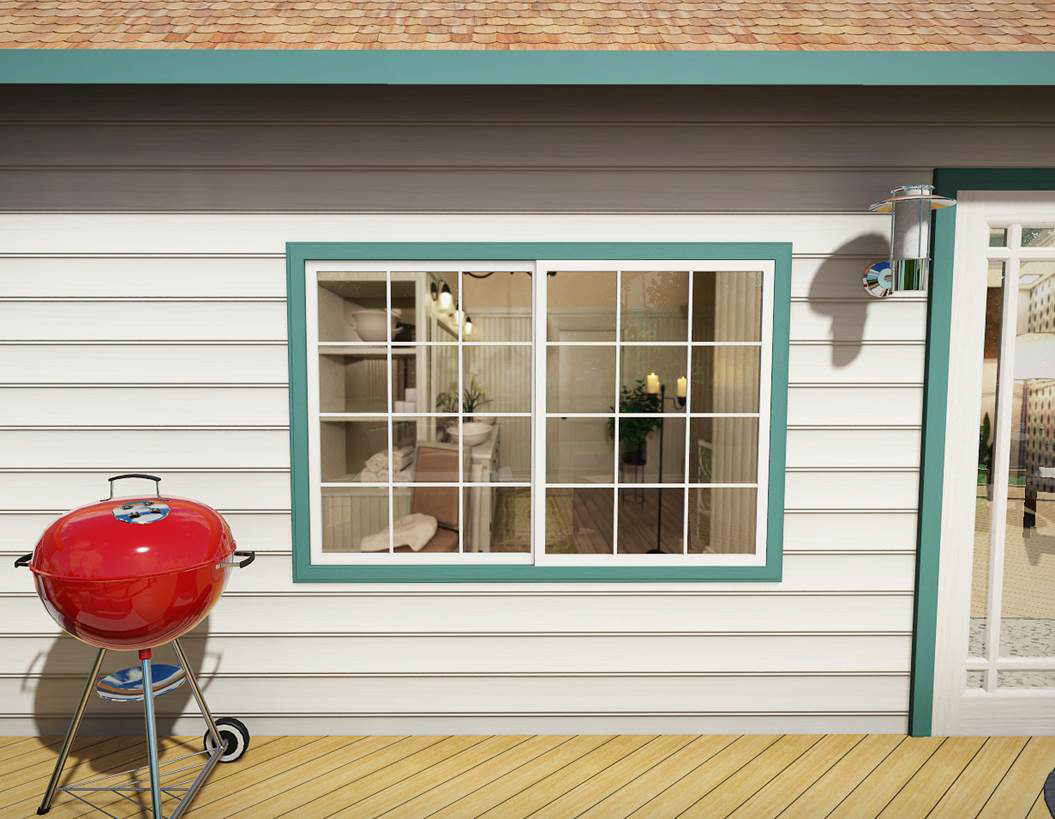
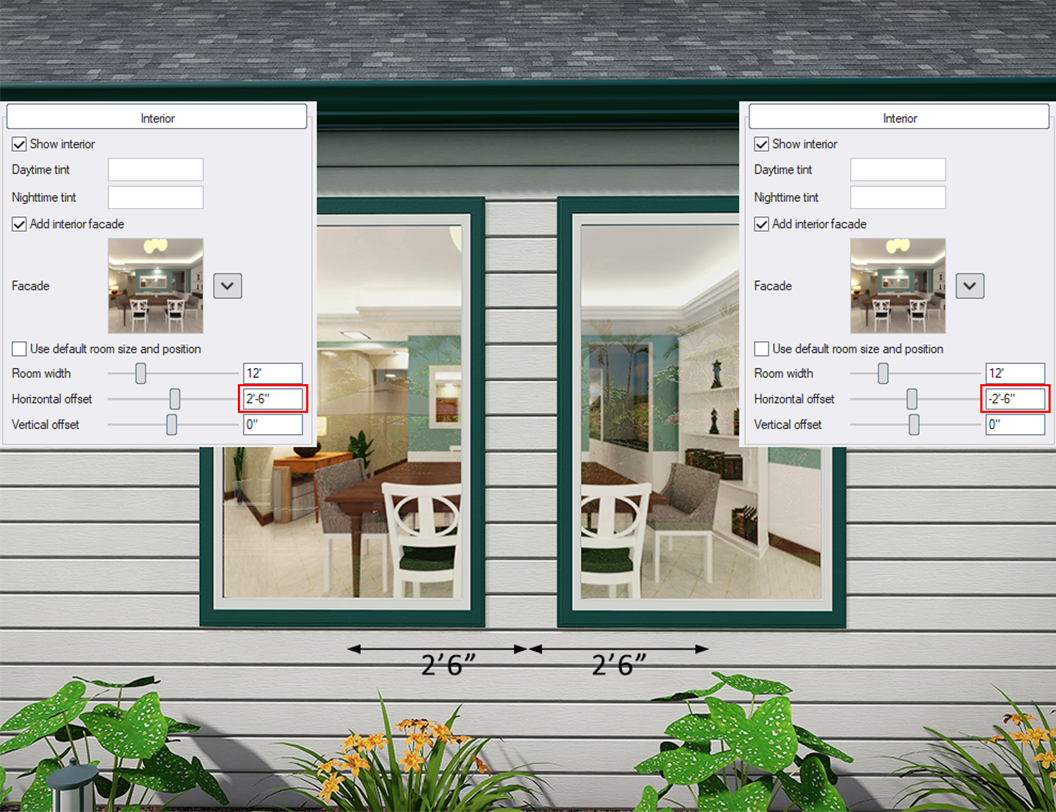
Interior Facades
Facades are a fast and easy way to simulate the interior of your home. Even though they appear 3D, they are actually created using special rendering technology that does not require any geometry inside the house. Each facade has two versions, one with daytime lighting and another with nighttime lighting. The variation is chosen automatically by the software based on the current time of day and the window's Lighting property.
If you want the same facade to appear properly in adjacent windows, uncheck the Use default size and position property and set the Horizontal or Vertical offset as needed. To determine the offsets, imagine the center of the room is in between the two (or more) windows. Then measure the distance from this point to the center of each window and enter that offset. Use a positive offset for the window on the left, and a negative offset for the window on the right. See the example below. Use a similar procedure for windows arranged vertically.
This procedure can be used for more than two windows as well, but if the distance between the leftmost and rightmost window is too large, then the effect will become distorted.
Recessed windows
Recessed windows add depth and realism by setting the window back into the wall, rather than placing it flush with the exterior surface (as shown below).
Recess depth
To create a recessed window, set Depth to the distance you want the window inset from the outside face of the wall. Larger values create a deeper “window well,” which produces stronger shadows and a more realistic look.
Recess material options
Use the Material property to choose which material is applied to the recessed surfaces:
- Same as wall - Uses the wall siding material.
- Same as trim - Uses the window trim material.
- Custom color - Uses a custom recess color that differs from both the wall siding and the window trim.
Use Extend trim to outside wall to extend the window trim to the outside wall.
Tips:
- Windows can be easily duplicated by using the Copy and Paste commands.
- If you want to place multiple windows of the same type, click the Add Window button, hold down the Ctrl key, and then click once for each window you want to add.
- Windows can only be added to existing houses; they cannot be added to other objects.