Adding a Landscape Light

Realtime Landscaping includes many standard landscaping lights as well as specialty lights, such as flaming torches, Japanese lanterns, spotlights, and more.
Landscape lights help make your landscape design more realistic at night. When viewing your design at night, the landscape lights in your design can be configured to turn on automatically.
To add a landscape light:
- From the Landscape tab, click Add Light.
- Click the picture of the landscape light that appears to the right of the screen, and then select the light you would like to use.
- Click on your design where you want to place the landscape light.
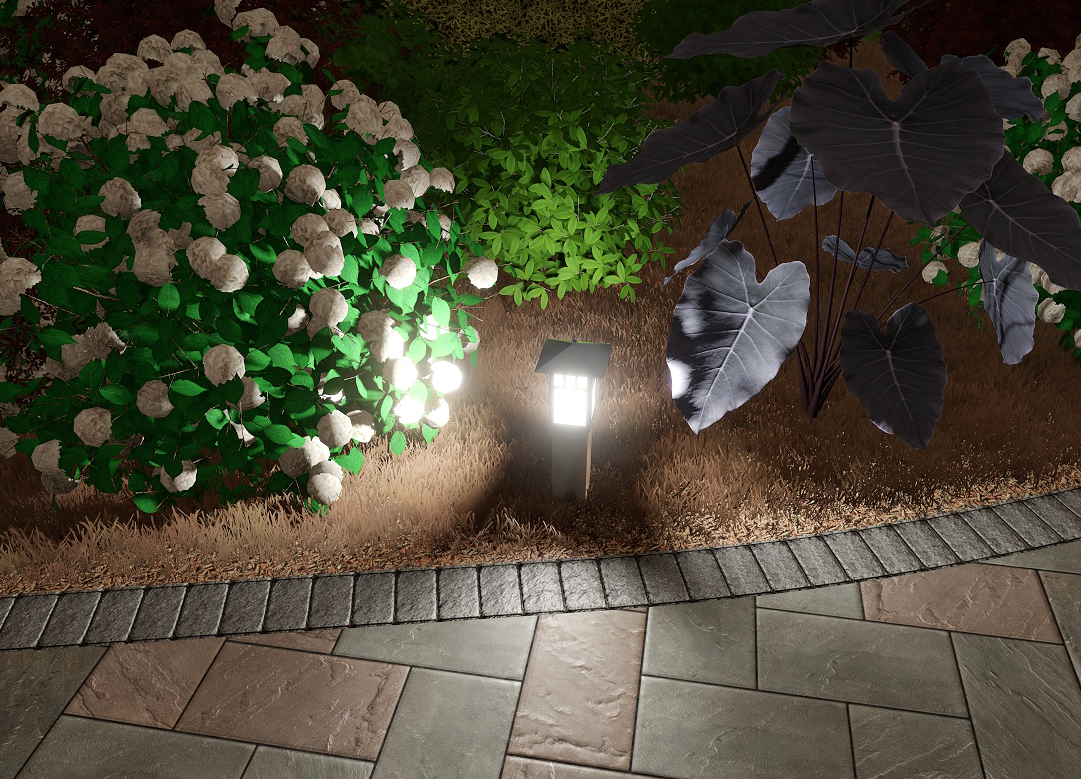
Adjusting the Light Color
There are a few options for setting the light color. The easiest is to simply set the Light filter color. This is like covering the light with a colored piece of plastic.
Another option is to set a specific temperature value measured in Kelvin. This is useful when you want to approximate the color of an actual bulb. The following chart shows the color range available:
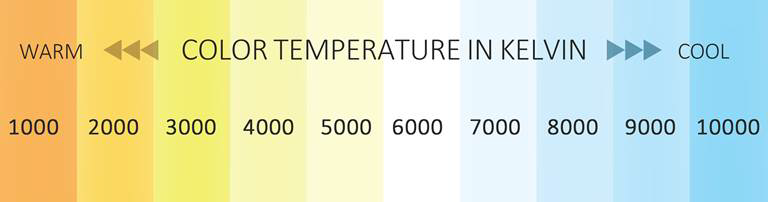
Another option is to automatically cycle through popular light colors using the Cycle colors effect option.
Note: When the light is illuminated, the color of the glass is determined exclusively by the light color. Any changes to the glass color using the Edit Materials option will be ignored.
Customizing the Plan View
Applies to:  Plus Pro
  Architect
See Symbol Options for details on customizing the appearance in the Plan view.
Tips:
- Lights will turn on automatically based on their On time and the current time of day. To set the time of day, see Environment Settings.
- Lights can also be added to houses, pools, and streets. For details, see Adding a House Light , Adding a Pool Light , and Adding a Street Light.
- Landscape lights can be rotated and scaled as necessary. For more information, see Scaling Objects and Rotating Objects. Note that changing the size of a light does not change its brightness.