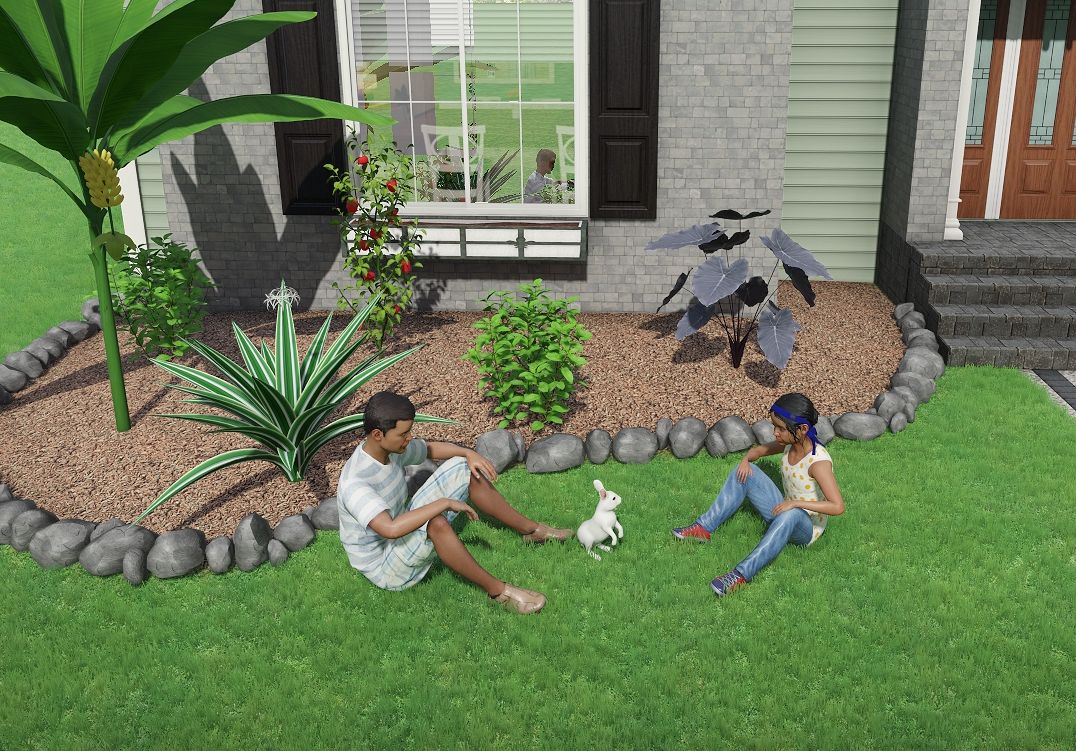
Adding a Rock Border

The Rock Border object is a string of rocks that are added along any path you define. The number of individual rocks that are automatically added depends on the length of the rock border and the size of the rocks.
To add a rock border:
- From the Landscape tab, click Add Rock Border.
- Draw the rock border by clicking the left mouse button to add points. Press the Backspace key to remove the last point added, and press the Esc key to cancel. If you would like to input the distance and angle manually, place at least one point and then press Enter.
- To finish drawing the rock border, right-click to place the last point.
Tips:
- If you want to border an existing object in your landscape design, use the Save and Load Shapes feature to automate the process.
- Rocks can also be added individually instead of being added as a part of a string. For details, see Adding a Rock.
- Points can be added or removed from the shape of a rock border to provide additional control. For more information, see Inserting and Deleting Points.