Adding Stone Edging

The Stone Edging object is used to add edging consisting of individual stones. A wide variety of edging stones are included, such as scalloped, block, wood, crescent, interlocking, and more. The stones can be stacked, so you can build decorative walls and borders. Stone edging is an elegant way to accent transitions and add borders to your landscape design.
Note: For consistency in this section, each edging piece is called a "stone." However, a variety of edging pieces are available, including wire, fencing, and wood.
To add stone edging:
- Click the Add Stone Edging button that appears near the top of the screen under the Landscape tab.
- Draw the stone edging by clicking the left mouse button to add points. Press the Backspace key to remove the last point added, and press the Esc key to cancel. If you would like to input the distance and angle manually, place at least one point and then press Enter.
- To finish drawing the stone edging, place the last point on top of the first point. Or, right-click to place the last point.
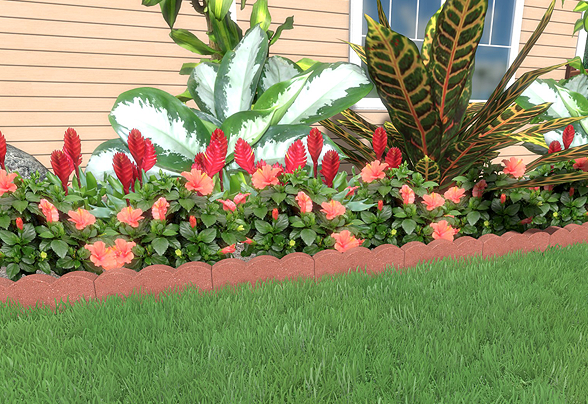
In the picture below, stone edging is used to add the scalloped edging around the flower bed.
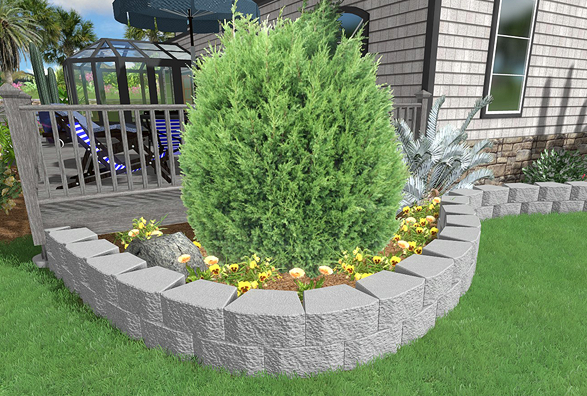
Adding Stacked Edging
To add stacked edging, set Number of rows to the desired number of rows. Each row will normally be offset from the previous one. If you want the stones to be placed directly on top of each other, uncheck the Offset alternate rows option.
Using Save and Load Shape Commands
The shape of your stone edging can be saved, or an existing shape can easily be loaded for your stone edging. See Saving and Loading Shapes for details.
Tips:
- Points can easily be added or removed for your edging's shape for greater control. For more information, see Inserting and Deleting Points.
- To add a gap between edging stones, you can manually enter a negative Overlap distance.