Adding a Label
Applies to:  Plus Pro
  Architect

The Label object is used to add many different types of labels to your landscape designs. Labels are useful tools for calling out important information on the Plan view, as well as identifying which major landscaping objects are new or existing.
To add a label to the Plan view:
- Click the Plan tab to switch to the Plan view.
- From the Plan Detail tab, click Add Label.
- Draw the line that will connect the label to the object of importance by clicking the left mouse button to add points. Press the Backspace key to remove the last point added, and press the Esc key to cancel. If you would like to input the distance and angle manually, place at least one point and then press Enter.
- When finished drawing the label's line, click the right mouse button to add the final point.
- Type the text you would like to display and then click OK.
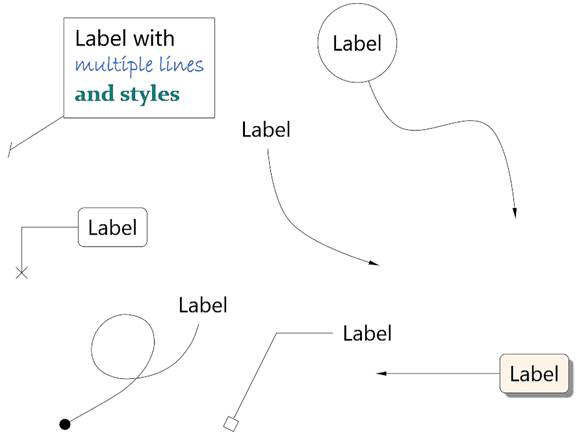
Some example label styles are shown below.
Tips:
- For labels that include a 3D view of the landscape design, see Adding a 3D Label.
- For labels that include a picture of a plant, see Adding a Plant Label.
- Once the label is added to your design, it can be edited as needed. See Editing Points for more information.
- All plan detail objects can only be added and viewed in the Plan view, unlike other objects that are compatible with all views. See Adding Plan Detail for more information.