Adding a Water Curtain
Applies to:  Plus
Plus  Pro Architect

The Water Curtain object adds a beautiful sheet of flowing water. Water can be a solid sheet or individual streams. You can easily control the shape, flow direction and rate, color, and other properties.
To add a water curtain:
- From the Water Features tab, click Add Water Curtain.
- Draw the line (where the water will be emitted) by clicking the left mouse button to add points. Press the Backspace key to remove the last point added, or press Esc to cancel.
- To finish drawing the water curtain, right-click to place the last point.
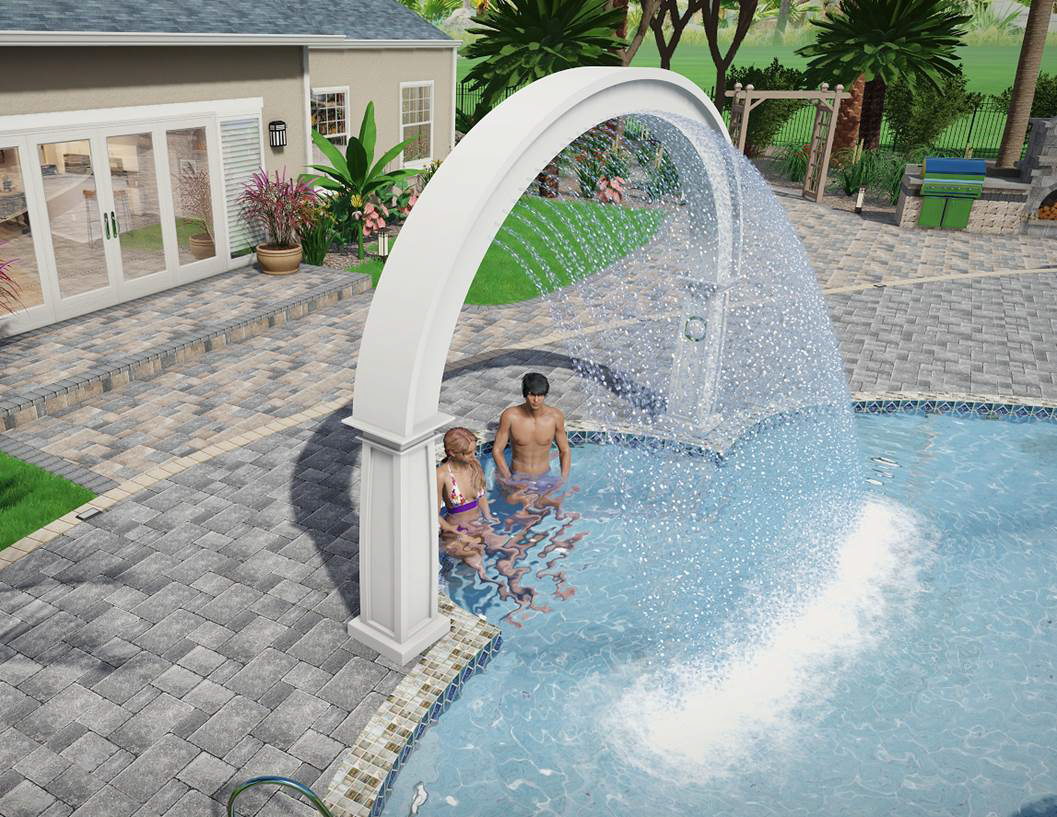
- Click Edit Points and adjust the curve as needed for the desired shape and height. You can edit the height of each point to create arcing shapes such as the one shown below.
Setting heights
Most of the time, the water curtain will need to be raised into position. It is usually easier to add the points on the ground first and then use Edit Points to set their height.
To set the heights:
-
Switch to the Perspective view.
-
Click Edit Points.
-
Select one or more points and raise them into position. You can enter their height manually using the Height property, or drag the green vertical arrow to set their height using the mouse.
-
To adjust the elevation of the entire object, use the Elevation property. This will raise or lower the entire water curtain while maintaining the relative height of each point.
-
When finished, click Edit Points again to exit point editing mode.
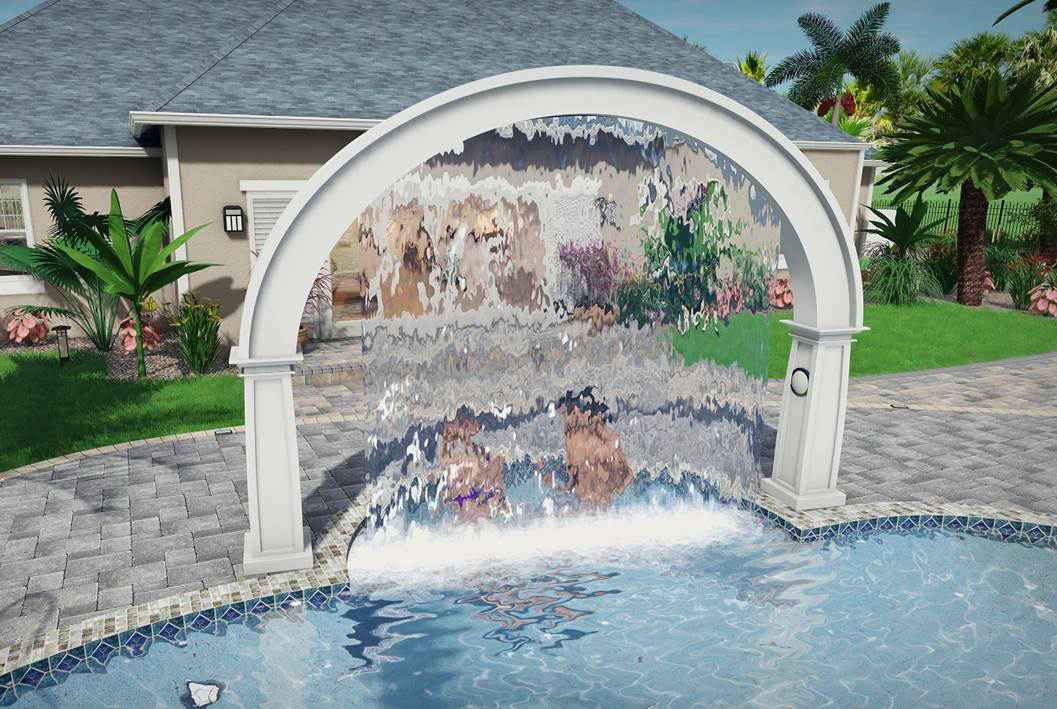
The following shows the water curtain as a solid sheet.
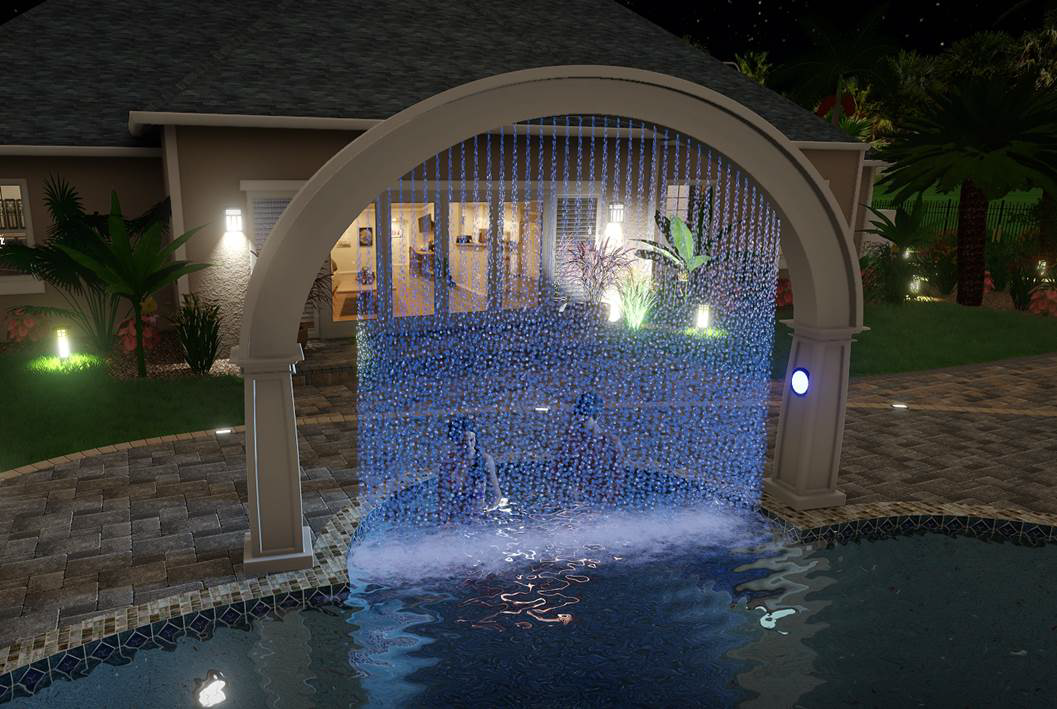
This design uses the rain and colored light options:
Adjusting the Flow Rate
Water can either flow straight down or be projected outward.
To make the water flow outward:
-
Select the Water Curtain.
-
Set the Flow rate to 20. (This is so you can see the effect of changing the direction in the next step.)
-
Adjust the Direction until the water is flowing in the desired direction.
-
Adjust the Flow rate until the water is flowing the desired distance.
In the following design, the flow rate is set to 20 and the direction is set to 9 degrees.