Adding Pool Stairs
Applies to:  Plus
Plus  Pro Architect

The Pool Stairs object is used to add entry steps to your swimming pool or spa. Pool stairs can be designed in any shape or size.
To add pool stairs:
- From the Swimming Pool tab, click Add Pool Stairs.
- Draw the outline of the pool stairs by clicking the left mouse button to add points. Press the Backspace key to remove the last point added, and press the Esc key to cancel. If you would like to input the distance and angle manually, place at least one point and then press Enter.
- To finish drawing the pool stairs, place the last point on top of the first point. Or, right-click to place the last point.
- Set Depth to the distance between the first step and the top of the pool.
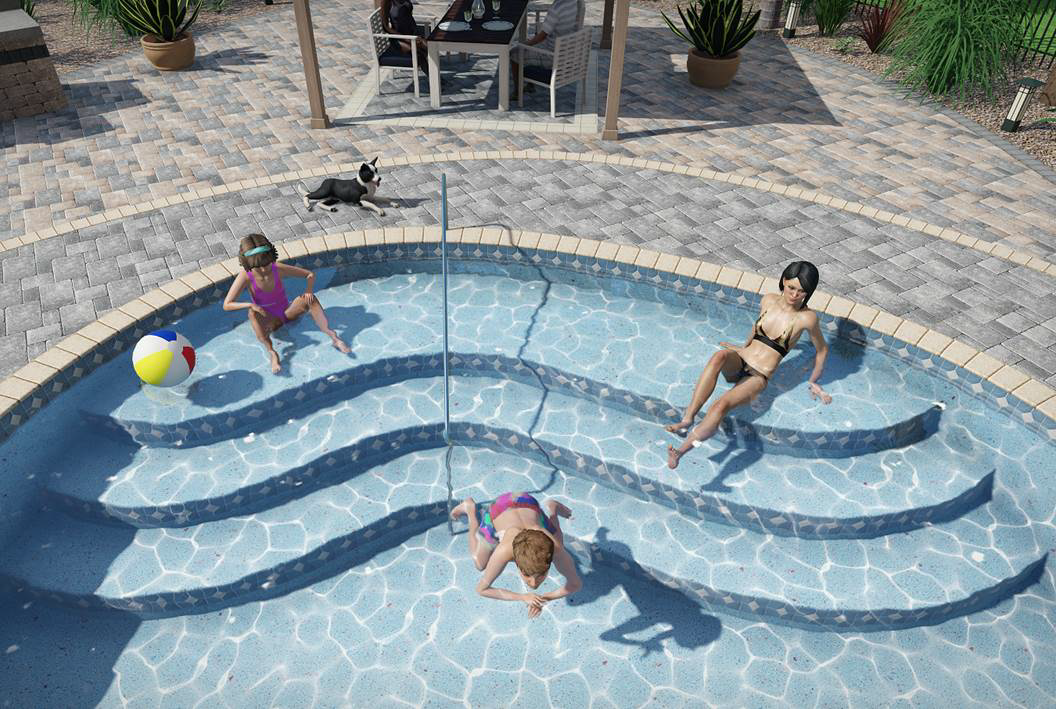
Pool stairs are created by simply drawing the outline of the top step; the remaining steps are added automatically based on the Rise , Run , and Number of steps properties.
Pool stairs are designed to only function inside swimming pools; they cannot be used as standalone objects. By default, pool stairs use the material of the swimming pool they are added to. However, you can use a different material if desired.
As shown below, it is not a problem for part of the pool stair's outline to extend beyond the pool's perimeter. Only the portion of the pool stairs that are within a swimming pool will be used; the rest will be trimmed away automatically.
Matching the outline of an existing swimming pool
You can quickly create pool stairs (or a pool seat) that follow a section of the pool perimeter by copying the pool's curve and pasting it into the new object.
This method is especially helpful for curved pools because the pasted shape preserves the pool's exact curve, and the Offset you enter typically becomes the width of the stairs/seat.
To create stairs that match the pool outline:
-
Select the swimming pool, and then click Edit Points.
-
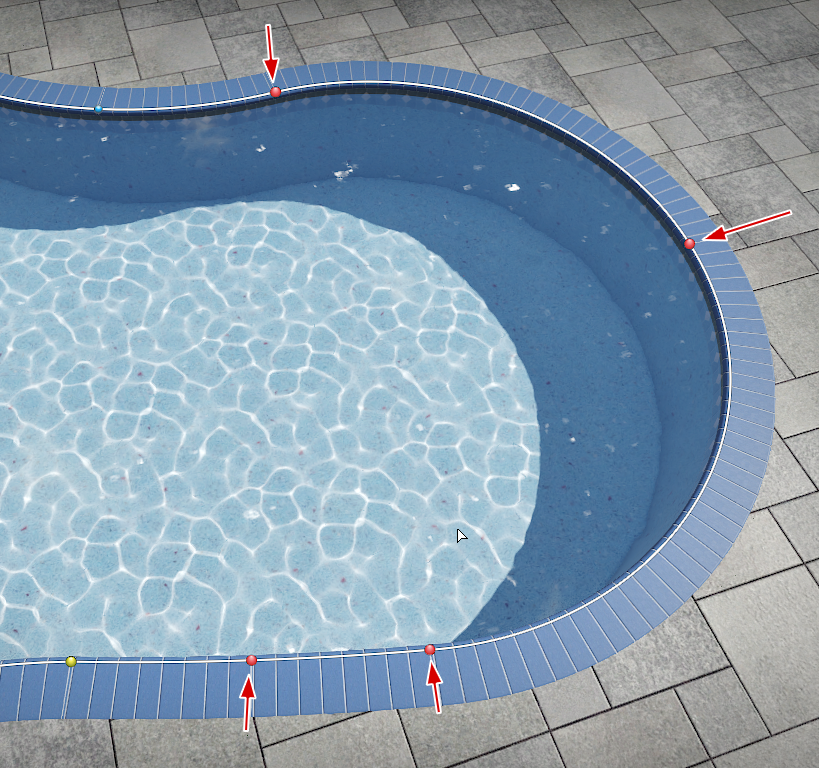
Select a continuous run of points along the pool edge where you want the stairs to follow the perimeter. (You can also add points temporarily if needed.)
-
Click the Shape button, and then choose Copy Shape.
-
From the Swimming Pool tab, click Add Pool Stairs.
-
In the properties window, click the Shape button, and then choose Paste Shape.
-
If the copied shape is an open curve, the Offset dialog appears so the program can turn the curve into a closed stair outline. Enter the desired offset distance and direction, and then click OK:
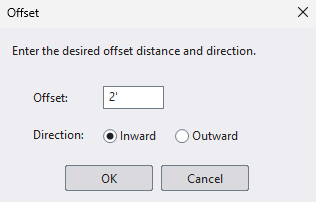
- Offset - The distance to offset the pasted curve. For pool stairs, this defines the Step Run.
- Inward - Offsets toward the inside of the pool (toward the water).
- Outward - Offsets away from the pool (toward the deck).
-
If needed, use Edit Points and stair properties (such as Depth) to fine-tune the result. You can also round the ends using the Round Corners tool.
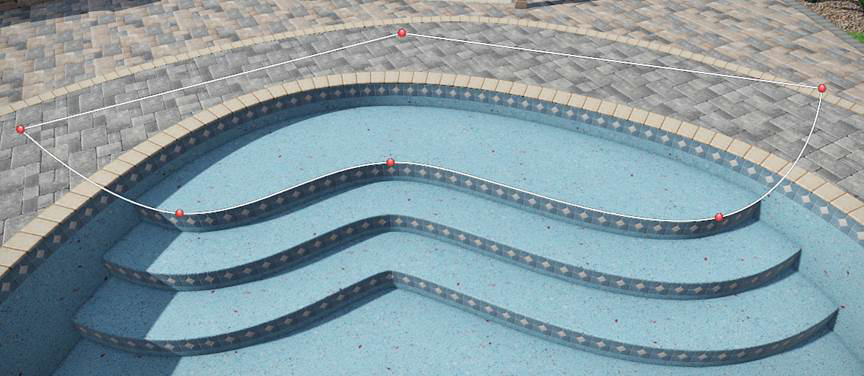
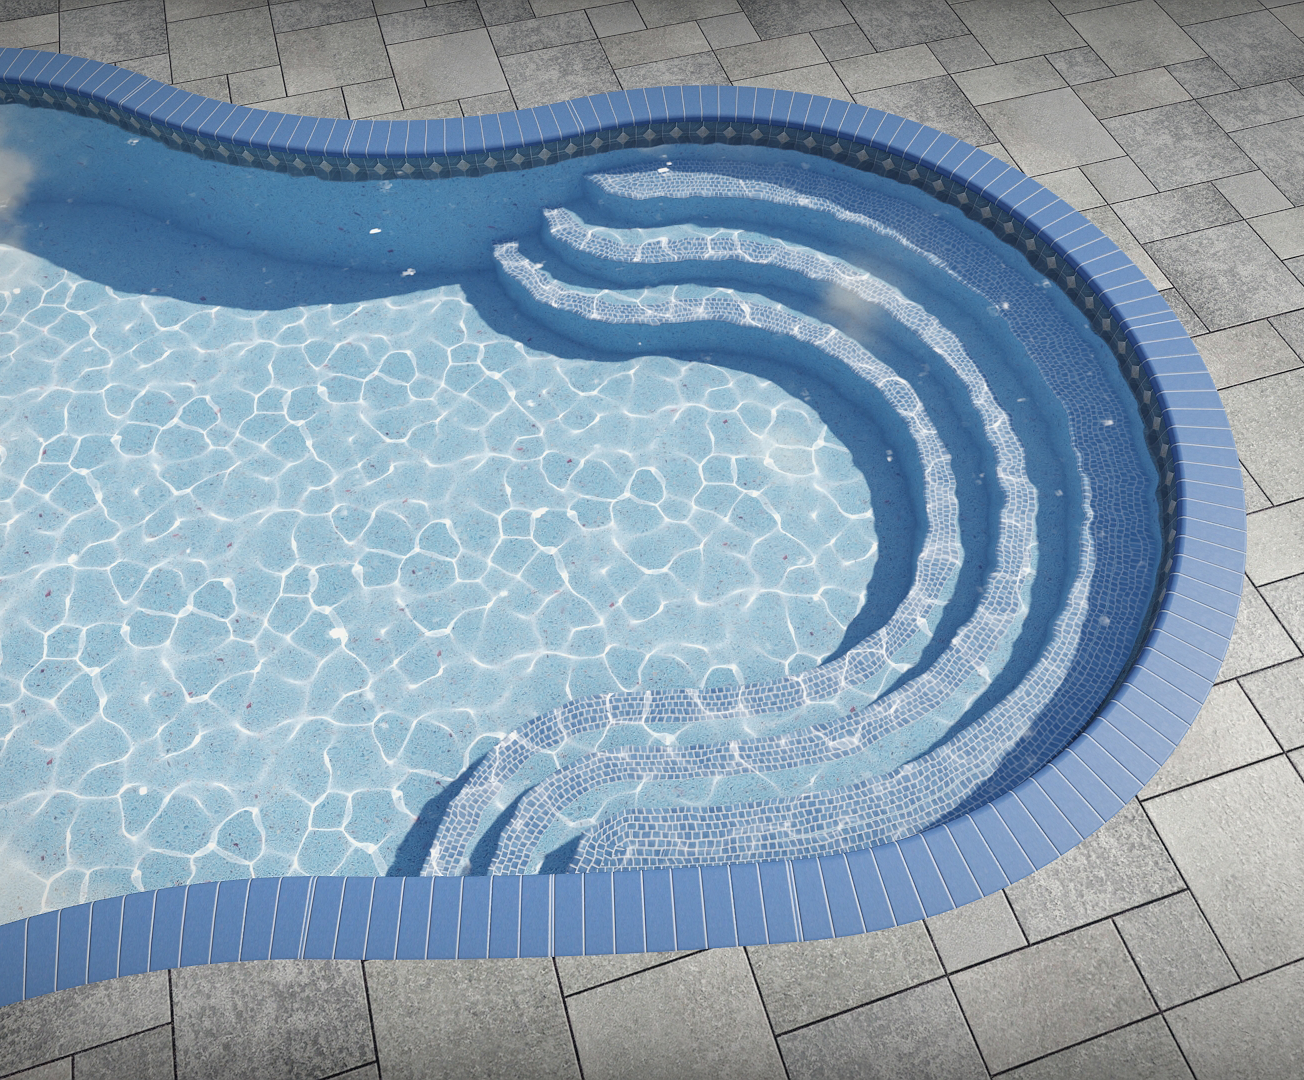
In the pool shown below, the indicated points were selected and copied using the Copy Shape command.
The following stairs were then created as described above, and the corners rounded using the Round Corners tool.
Tips:
- This workflow also works for Pool Seats.
- If you paste a closed shape, the Offset dialog may not appear (because an offset requires an open curve).
- After creating the stairs, you can still adjust the shape using Edit Points.
Floor Radius
Applies to: Plus Pro Architect
Use Floor radius to create a rounded edge where the base of each stair wall meets the pool floor or the step below. This can produce a softer, more realistic transition between the stair faces and the supporting surface.
Set Floor radius to 0 to disable the rounded edge.
This setting is independent of the swimming pool's Floor radius property.
Editing Nosing
Applies to: Plus Pro Architect
Pool stairs support nosing tile along the edge of each step. Nosing tile is added to the entire stair shape by default, but can be toggled on or off per edge if needed. If Add tile is enabled, then the same edge settings are also used for the stair wall tile.
To toggle the nosing tile on or off per edge:
- Select the pool stairs that you want to change.
- Click the Edit Nosing button to enter nosing editing mode.
- Click each edge where you want to toggle the nosing tile on or off.
- Click the Edit Nosing button again to leave nosing editing mode.
Nosing and Tile Materials
Applies to: Plus Pro Architect
Realtime Landscaping Architect allows you to add a custom material for the nosing and tile. To add custom nosing, enable the option Add nosing tile. To add custom tile, enable the option Add tile.
See also:
- Pool Stairs Properties
- Swimming Pool Wizard
- Setting Object Properties
- Selecting Objects
- Selecting Points
- Editing Objects
- Adding a Swimming Pool
- Adding Pool Decking
- Adding a Pool Seat
- Adding a Pool Wall
- Adding a Pool Light
- Adding a Pool Accessory
- Adding a Fountain
- Adding a Waterfall
- Realtime Walkthrough
- Saving and Loading Shapes