Model Import Wizard
The Model Import Wizard imports 3D models that you have downloaded online or created yourself in another program. The following file formats are supported:
- Autodesk FBX
- SketchUp SKP
- Wavefront OBJ
- Collada DAE
- 3D Studio 3DS
To import a model:
- From the Tools menu, click Model Import Wizard.
- Click Next.
- Select the type of model you want to import and then click Next.
- Select the model you want to import and then click Open. The following dialog will appear:
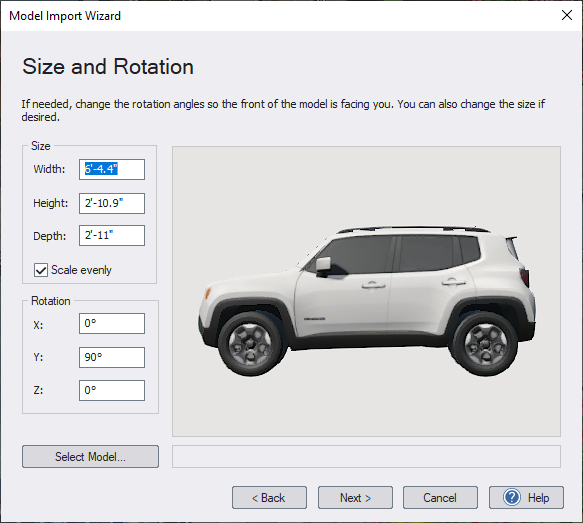
- If necessary, modify the size and orientation of the model by entering values in the appropriate fields. Then click Next.
- Click the Set File Name button to enter a different name for your model, or just click Next if you want to use the original name.
- Click Finish to import the model and complete the wizard.
When the wizard completes, click an area on your landscape design to add the newly imported model. If you need to add the model again in the future, it can be found within the appropriate object library. For example, if a pond bridge has been imported as an accessory, then it can be found within the Custom category of the Accessory library.
Important: Please make sure to follow any license requirements set by the creator of the model.
Tips:
- When you import a model, a copy of the model (and any textures) is made and stored in a separate location. This means that if you delete the original model, your designs will not be affected. However, if you make changes to the original model, then you will need to run the Model Import Wizard again.
- Once you have imported a model into Realtime Landscaping, it can be added using the appropriate tool. For example, if you imported a model as a window, then it can be added by clicking the Add Window button.