Adding an Area Grader

The Area Grader object is used to raise or lower the terrain based on a shape. Some uses for area graders include building pads, driveways, and tennis courts.
To add an Area Grader:
- From the Terrain tab, click Add Area Grader.
- Draw the outline of the area grader by clicking the left mouse button to add points. Press the Backspace key to remove the last point added, or press the Esc key to cancel. If you would like to input the distance and angle manually, place at least one point and then press Enter.
- To finish drawing the area grader, place the last point on top of the first point. Or, right-click to place the last point.
- Use the Height taper property to set the desired edge steepness. Use a lower value for a more rounded edge, or a higher value for a steeper edge. Use 100 for a vertical edge.
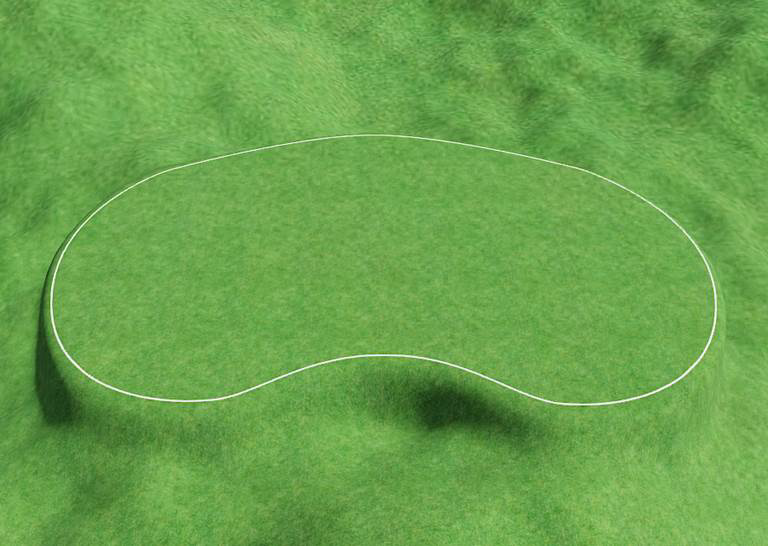
The example below uses an Area Grader to flatten an irregular area.

Tips:
- As many area graders as needed can be used in a landscape design.
- Area graders can be any size required.
- For flattening paths or for creating ramps, it is often better to use the Path Grader.
- If an area grader overlaps other terrain sculpting objects, it may be necessary to modify the Terrain Sculpting Order.