Adding a Slope

Both simple and complex grading can be added using the Slope object. A simple slope is essentially a ramp, and is added by defining a start point, direction, and an end point. After the slope has been added, the rise and run can be adjusted to determine the grade. If needed, the slope can be moved and rotated after it is created, and additional points can be added to change the shape.
To add a simple slope:
- From the Terrain tab, click Add Slope.
- Click to place the starting point of the slope.
- Click to place the ending point of the slope.
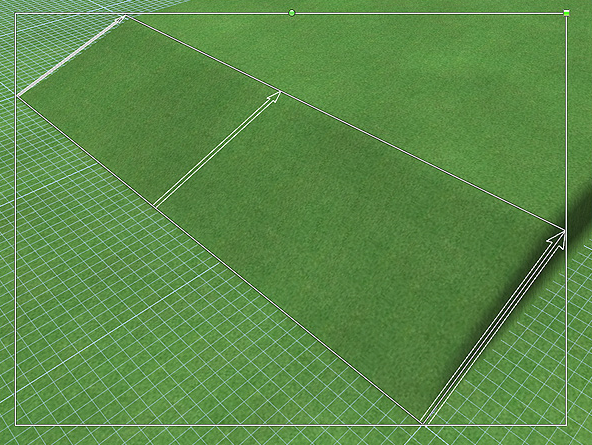
The picture below illustrates a simple slope that was added to an empty landscape.
Complex curved slopes are also supported in Realtime Landscaping. Points can be inserted and moved to change the shape of the slope as needed. Additionally, the rise and run can be adjusted for each point on the slope.
To make a complex slope:
- Add a simple slope to your landscape design as described above.
- Click the slope to select it.
- Click Edit Points to enable point editing mode.
- Add additional points as needed for more control over the slope's shape. See Inserting and Deleting Points for details.
- Click a point to select it, and then move the point and adjust its rise and run as needed.
- When finished, click Edit Points again to disable point editing mode.
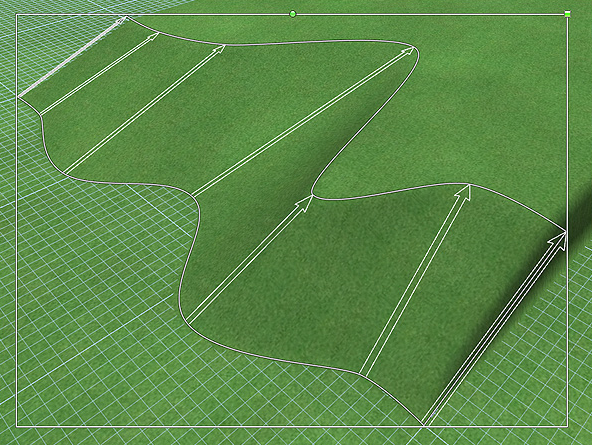
Below is an example of a complex slope.
Tips:
- Like all terrain sculpting objects, slopes are constrained to the lot size. To change the lot size, see Page Setup.
- When you are finished creating your slope, it is usually helpful to lock it in order to avoid accidentally selecting or moving it. For details, see Showing and Hiding Objects.