Adding a Height Grid

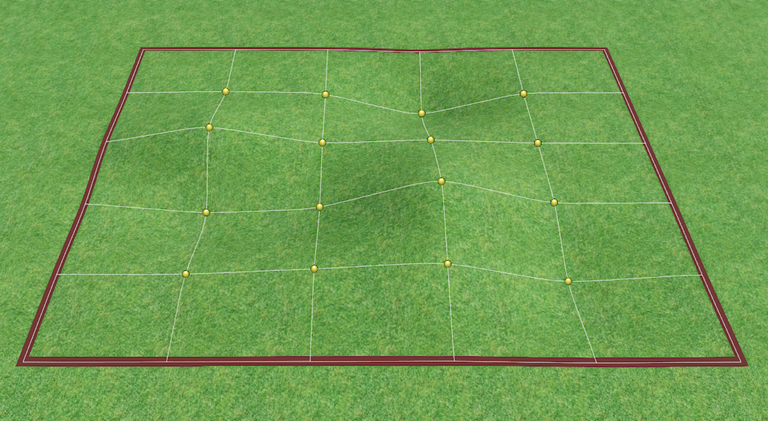
The Height Grid object is used to place a terrain sculpting patch that can be raised or lowered at individual points. Height grids have a variety of uses, one of them being to add slight variations to the topology of a landscape design to provide more realism.
To add a height grid:
- From the Terrain tab, click Add Height Grid.
- Click to place the first corner of the height grid.
- Click to place the opposite corner of the height grid.
To raise and lower points:
- Click the height grid in your landscape to select it.
- Click Edit Points.
- Click a point to select it. Multiple points can also be selected at once.
- Drag the green arrow up and down to raise or lower the selected points. Or, use the Height property to set the heights manually.
Tips:
- Multiple height grids can be used if needed, and may be layered on top of each other to achieve stacking effects.
- When editing a height grid, multiple points can be selected and edited at once. For details, see Editing Points.
- The number of grid points can be increased or decreased to achieve the level of precision needed.
- The Height slider is limited to 25 feet (7.62 m), but by typing a value in the text field, it can be increased to plus or minus 300 feet (91.44 m).
- If a height grid overlaps other terrain sculpting objects, it may be necessary to modify the Terrain Sculpting Order.