Adding a 3D Dimension

The 3D Dimension object displays one or more horizontal distances in your landscape design.
3D dimensions can be used as temporary measuring tape, or used to permanently display important dimensions. For example, the 3D Dimension tool could be used to mark off an area for a new deck that you plan to build, or it could be used to quickly determine the distance between two trees.
3D dimensions appear in the Plan and Perspective views, but not during movies, screenshots, or Realtime Walkthroughs.
In Realtime Landscaping Architect, if you want to add flat dimensions that appear only in the Plan view, use the Linear Dimension object instead.
To add a 3D Dimension:
- From the Utilities tab, click Add 3D Dimension.
- Draw the dimension by clicking the left mouse button to add points. Press the Backspace key to remove the last point added, and press the Esc key to cancel. If you would like to input the distance and angle manually, place at least one point and then click Enter.
- To finish drawing the 3D Dimension, right-click to place the last point.
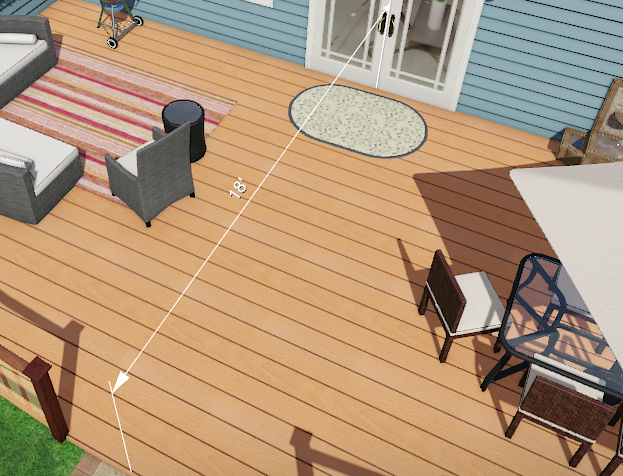
In the picture of the landscape design below, a 3D Dimension is used to show the distance from the door to the edge of the deck.
Tips:
- To add dimensions quickly around the entire border of an existing object, save the shape of the object you want to border, and then load that shape as a 3D Dimension. For details, see Saving and Loading Shapes.
- To add vertical dimensions, see Adding a Vertical Dimension.