Adding a Curb
Applies to:  Plus Pro
  Architect

The Curb object is used to place curbing of various shapes and sizes in your landscape design. Curbs are concrete by default, but can be set to any material desired. Three styles of curbing are available: standard, rounded, and standard with gutter. Curbs also support optional expansion joints for a realistic appearance.
To add a Curb:
- From the Road tab, click Add Curb.
- Draw the curb by clicking the left mouse button to add points. Press the Backspace key to remove the last point added, or press the Esc key to cancel. If you would like to input the distance and angle manually, place at least one point and then press Enter.
- To finish drawing the curb, place the last point on top of the first point. Or, right-click to place the last point. The curb will be created to the left of the line that was drawn. Click Switch sides to reverse it.
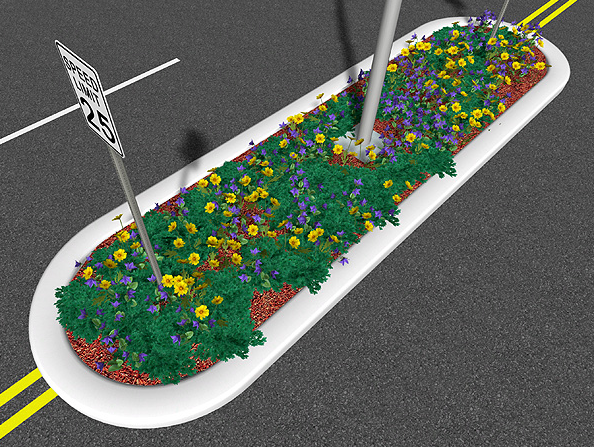
In the picture below, concrete curbing was used to design a street median.
Changing the Shape
A curb's shape can be easily modified after it has been added to your landscape design. To change the shape of a curb, select the curb and click the Edit Points button. See Editing Points for more information.
Tips:
- Curbing can be added in either the Plan view or the Perspective view, but is typically easiest to add in the Plan view.
- Curbs can also be added automatically using the Sidewalk object or the Road object.
- Points can easily be added to or removed from your curb's shape for greater control. For more information, see Inserting and Deleting Points.