Adding a Road Stripe
Applies to:  Plus Pro
  Architect

The Road Stripe object makes it easy to add parking lot markings, road stripes, crosswalk indicators, and more. Road stripes support both solid lines and dashed stripes, and can be set to any width, length, shape, and transparency.
To add a road stripe:
- From the Road tab, click Add Road Stripe.
- Draw the road stripe by clicking the left mouse button to add points. Press the Backspace key to remove the last point added, or press the Esc key to cancel. If you would like to input the distance and angle manually, place at least one point and then press Enter.
- To finish drawing the road stripe, right-click to place the last point.
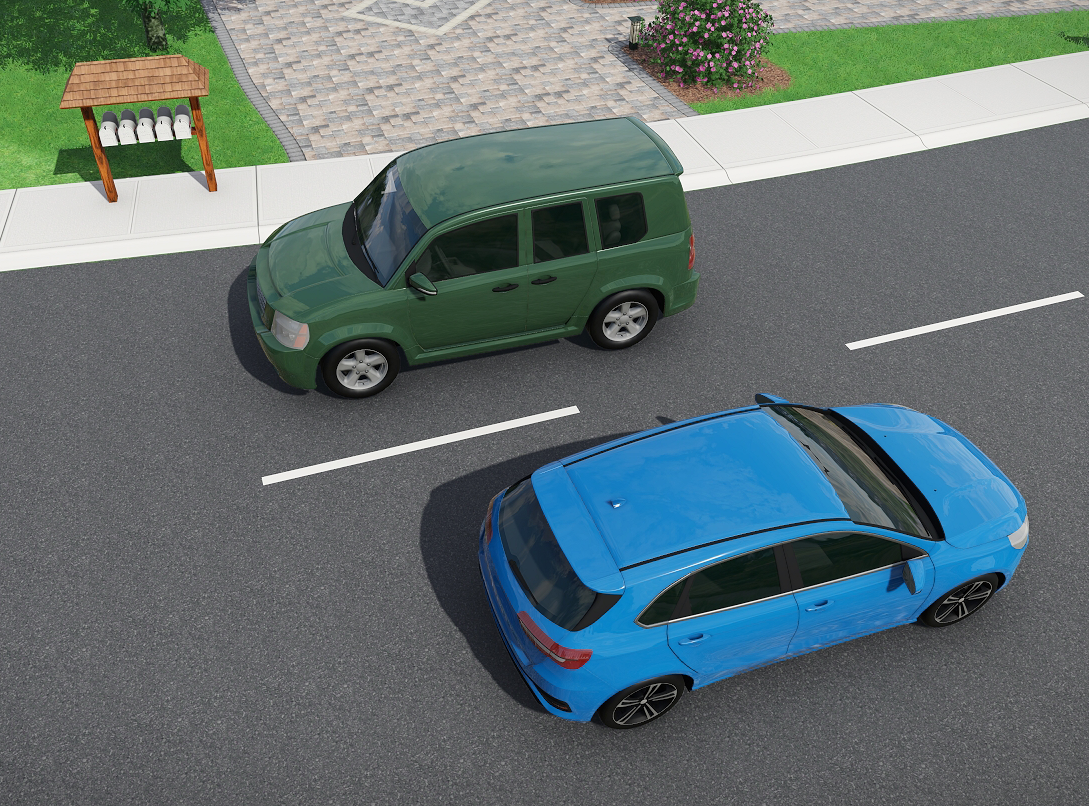
In the following design, the Road Stripe object was used for the centerline.
Tip: The spacing between stripes can be adjusted using the Spacing property. If the spacing is set to 0, then the road stripe will become a solid line.