Adding a Region

A region is a closed area filled with a material. It can be used for ground cover, driveways, patios, play areas, and so forth. Regions can be any shape or size. Regions of the same material can overlap without seams. Realtime Landscaping Photo includes a large number of materials, including grass, rock, stone, and brick.
To add a region:
- Click Add Region.
- Draw the region's outline by clicking to add points. Press Backspace to remove the last point. Press Esc to cancel.
- Click the starting point to close the outline. Or right-click to automatically join the last point to the first.
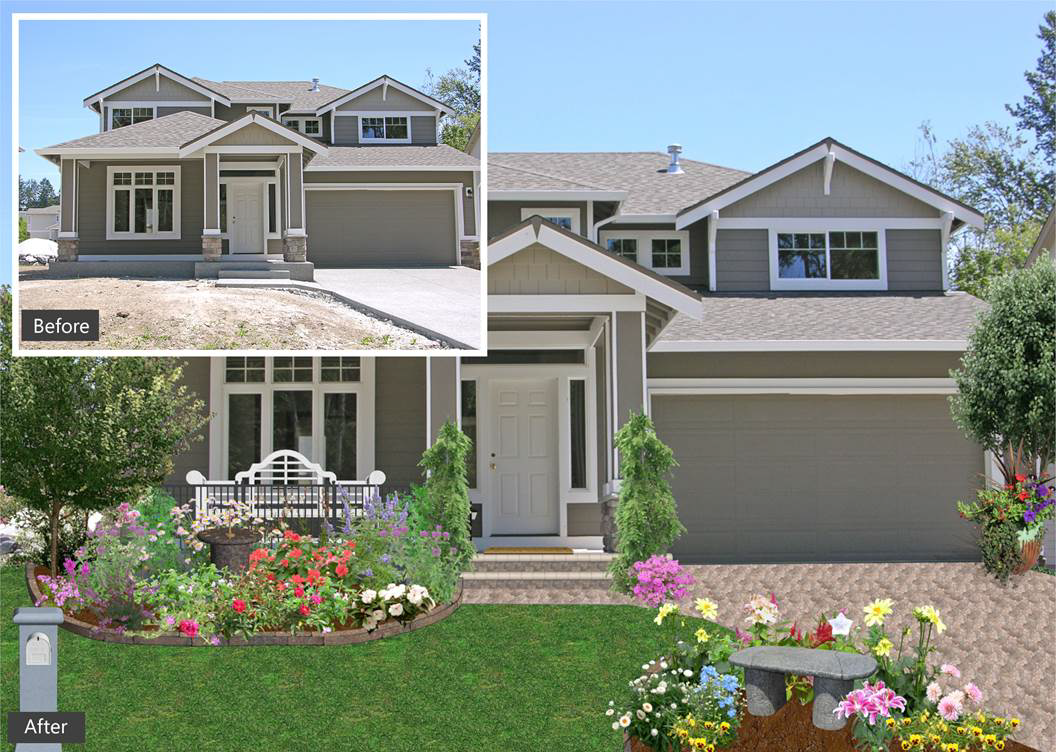
A region was used for the new lawn in the following landscape design.
Changing the Shape
Once a region has been added, it can be easily changed. This includes moving points, adding & deleting points, and so forth. See Editing Points for more information.
Controlling the Render Order
When working with overlapping regions and other objects, you can control which ones are rendered first. For example, you can use this to ensure your plants appear on top of the lawn. See Controlling the Render Order for details.
Tips:
- You can draw regions that extend outside of the background picture and onto the gray workspace. This is easier than trying to draw them exactly on the edge of your picture. When you print your landscape design, only the rectangular area over the background picture will be printed.
- For more control over the shape of your region, you can easily add more points. See Inserting & Deleting Points for more information.