Adding a Retaining Wall

Retaining walls are often used on steeply sloped lots and terraces to provide support and prevent erosion. Retaining walls can also be freestanding and act as partitions between various parts of your landscape.
To add a retaining wall:
- Click Add Retaining Wall.
- Draw the retaining wall's outline by clicking to add points. Press Backspace to remove the last point. Press Esc to cancel.
- Right-click at the last point when finished. (Or to create a closed retaining wall, click the first point when finished.)
Once you have added your retaining wall, you can easily adjust its shape. See Editing Points for details.
Adjusting the Shape of a Retaining Wall
You can adjust the height of the retaining wall at each point. This allows you to add retaining walls of many different shapes and sizes to your landscape designs.
To modify the retaining wall height:
- Select the retaining wall.
- Click Edit points to enable editing of the retaining wall's points.
- Select a point where you want to adjust the wall's height. (You can add additional points if needed for finer control.)
- Set the desired height using the Height property. (You can also hold Ctrl while moving the mouse up or down.)
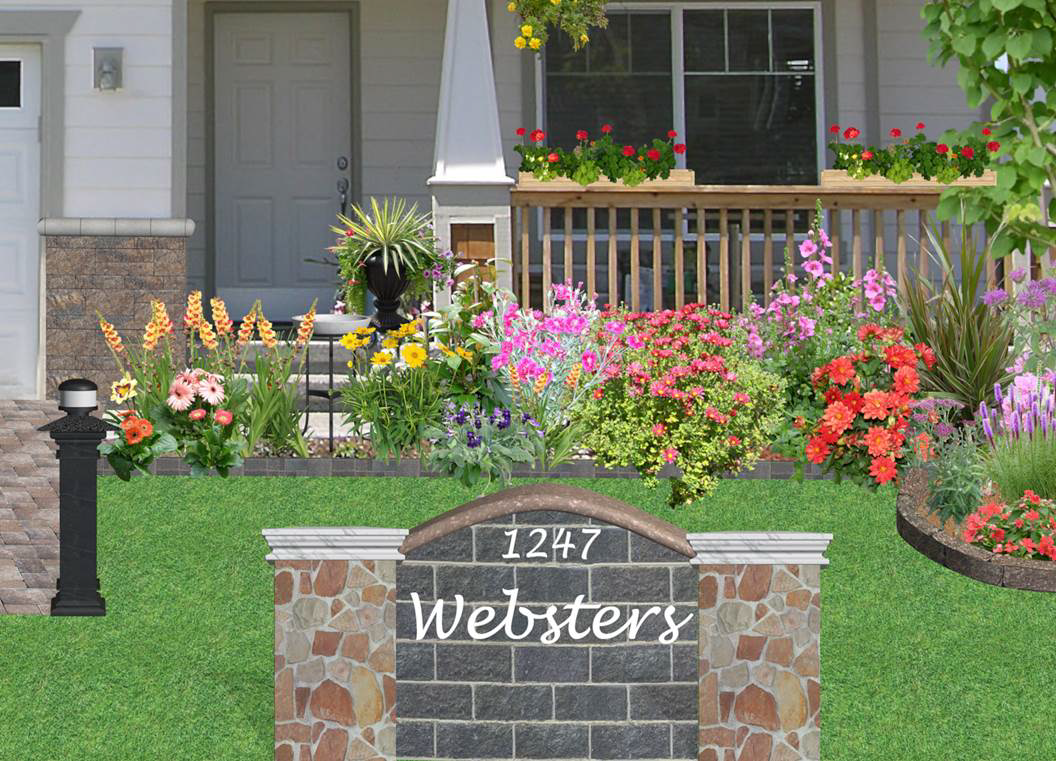
In the following example, a Retaining Wall was used for the house sign. The center point was elevated, creating a curve.
Tips:
- For more control over the shape of your retaining wall, you can easily add more points. See Inserting & Deleting Points for more information.
- You can also add edging using the Edging object.