Picture Import Wizard
The Picture Import Wizard is used to import photographs of plants, animals, and other objects. Photographs of materials such as grass, mulch, and brick can also be imported.
To begin, download a picture online or take a picture using your phone or digital camera. If you use a phone or digital camera, be sure to transfer the image from the camera to the computer before attempting to import the image.
If necessary, edit the image using the included Realtime Picture Editor application or any other photo editing program, such as Photoshop, Paint Shop Pro, or GIMP.
Follow the steps below to import a picture into Realtime Landscaping Photo.
To import a picture:
- From the Tools menu, click Picture Import Wizard.
- Click Next.
- Select the type of picture you would like to import and click Next. Select Region for general-purpose materials such as bricks, grass, and mulch.
- Select the picture you would like to import and click Open.
- A preview of your picture will appear. Click Next.
- Click the Set File Name button to enter a different name for your picture, or just click Next if you want to use the original name. If you are importing a plant, the file name becomes the plant's common name.
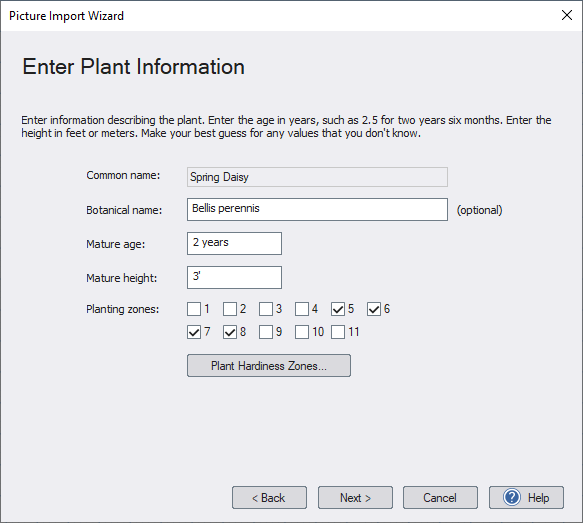
- If you are importing a plant, the following dialog will appear. Enter the desired information for your plant and then click Next. This information is optional, but we recommend entering accurate age and height information since this determines the plant's growth characteristics in your designs.
- Click Next , and then click Finish to complete the wizard.
The wizard will copy your picture to the following directory:
\Users\ user \Documents\Realtime Landscaping version \Custom Data\ type \Custom\
Where user is your Windows user name, version is the software version, and type is the type of picture you are importing (such as Plant or Region).
Important: Please make sure to follow any license requirements set by the author of the picture.
Editing your Pictures using the Realtime Picture Editor
Once you have imported your picture, you can use the Realtime Picture Editor to remove the background and make other changes. The Realtime Picture Editor is integrated with Realtime Landscaping Photo and has many features that make it easy to edit your pictures.
To edit an imported picture using the Realtime Picture Editor:
- Create an object that uses the picture.
- Select the object.
- Click the options button to the right of the picture property. When the drop-down menu appears, select Edit using Picture Editor.
- Make the desired changes. Then click Save , followed by Exit and return to Realtime Landscaping Photo.
See Realtime Picture Editor for more information on using the picture editing software.
Editing your Pictures using Photoshop or Other Editor
You can also edit your pictures using Photoshop or other picture editing software.
To edit an imported picture using Photoshop or other Editor:
- Open and edit the desired picture using Photoshop or other software. Imported pictures are stored in the following directory: \Users\ user \Documents\Realtime Landscaping version \Custom Data\ type \Custom\ Where user is your Windows user name, version is the software version, and type is the type of picture you are importing (such as Plant or Region).
- When saving the modified picture, be sure to use the Targa (tga) file format with 32-bits per pixel (alpha channel).
- Stop and then restart Realtime Landscaping Photo. This is necessary because Realtime Landscaping Photo keeps a copy of the picture in memory and needs to reload the modified picture. (This happens automatically when using the Realtime Picture Editor.)
Tips:
- When you import a picture, a copy of the picture is made and stored in a separate location. This means that if you delete the original picture, your designs will not be affected. However, if you make changes to the original picture, then you will need to run the Picture Import Wizard again.
- Once a picture has been imported, it can be edited using the Realtime Picture Editor. For example, the Picture Editor could be used to remove the background from a plant. For details, see Editing using the Realtime Picture Editor.
- When importing materials, such as pavers, color washes, bricks, grass, or mulch, the picture should be square if possible and cover an area of 3x3' (0.91x0.91 m). For best results, we recommend using a resolution of 256x256 for small images, 512x512 for medium-size images, 1024x1024 for large images, or 2048x2048 for extra-large images (such as trees).