This guide will show you how to add a custom material using the Picture Import Wizard in Realtime Landscaping Pro.
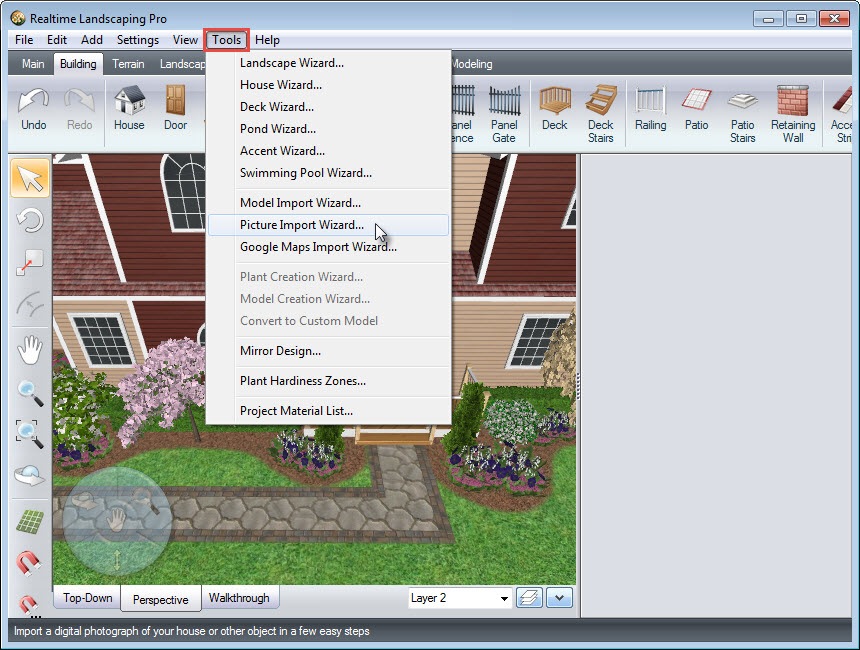
To begin, click Tools and Picture Import Wizard.
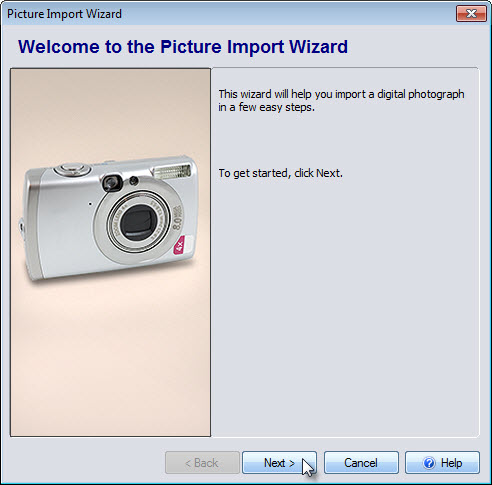
A dialog box will appear. Click Next to get started.
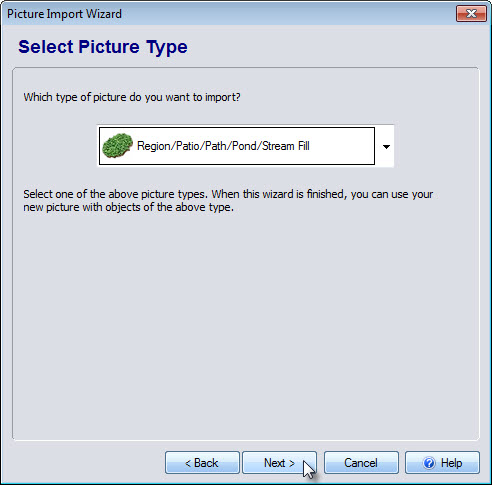
Next, select the type of picture you wish to import. For the purposes of this guide, we will import a picture to be used as patio material. Select the appropriate type from the drop-down menu and click Next.
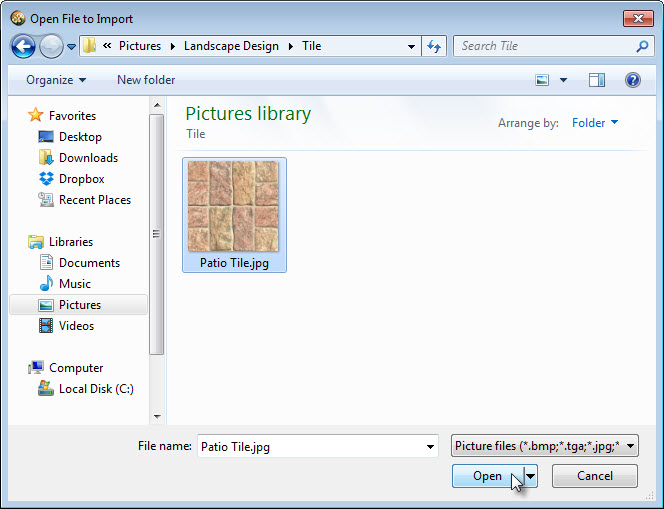
Select the desired image and click Open. For the best results, we recommend that the image tiles seamlessly in both horizontal and vertical directions. Once are happy with your selection, click Next.
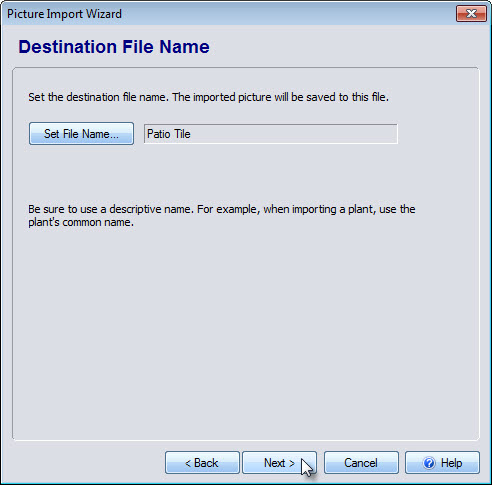
Next, you will be prompted to set the destination file name. Click Set File Name to enter the desired file name and click Next.
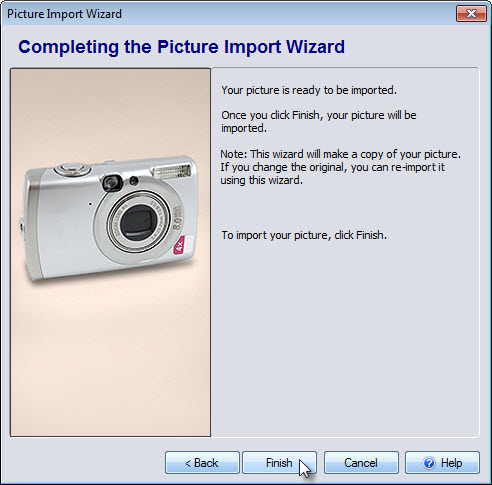
You have reached the end of the Picture Import Wizard. Click the Back button if you wish to make any revisions to previous steps. Click Finish to import your picture.
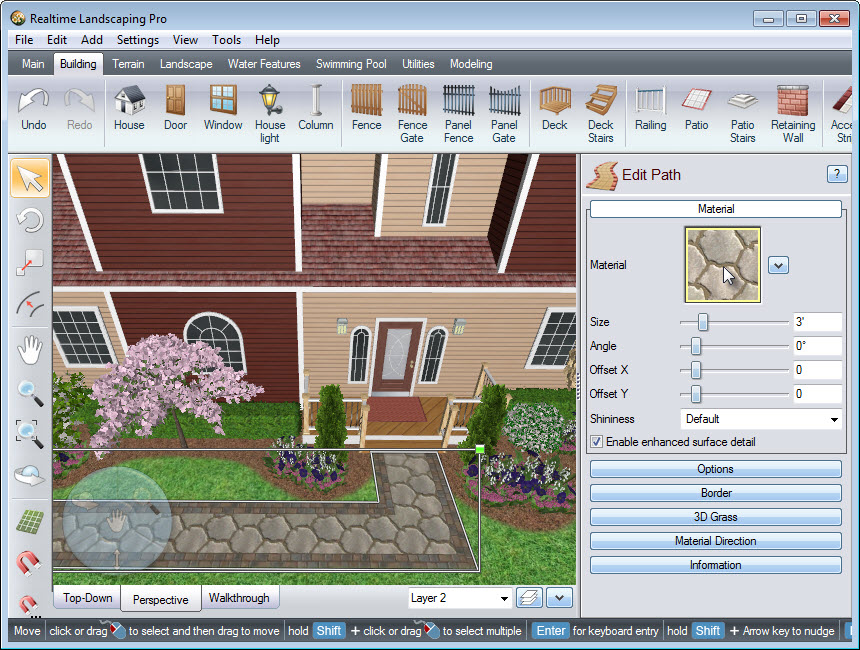
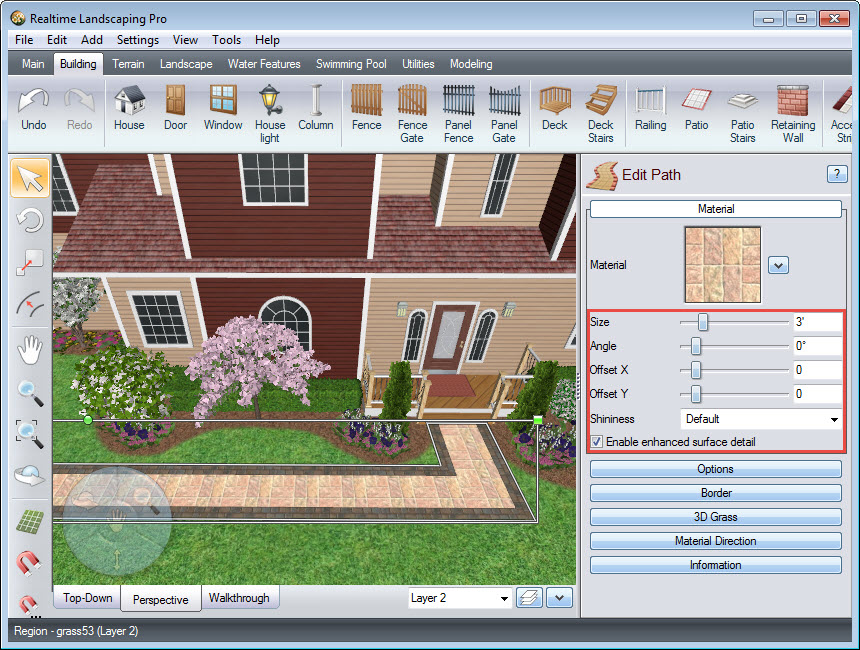
To use the imported material, first, select the object you want to change. Here, we are selecting a path. Click the material image seen below.
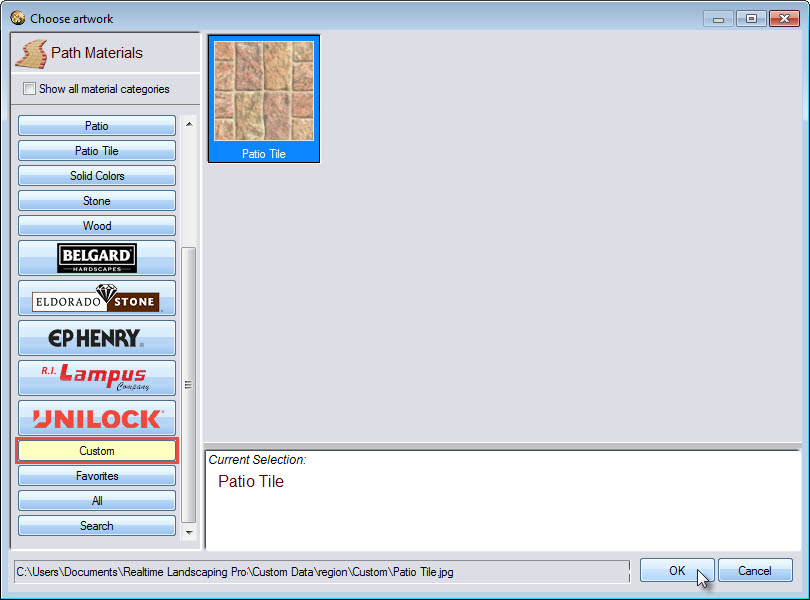
Your new image will be under the Custom category. Select your patio material and click OK.
To further customize the appearance of your material, use the following options:
You have now completed adding a custom material using the Picture Import Wizard.

Thank you for reading this guide, and please feel free to contact us for more information about our user-friendly landscaping software.