This guide will show you how to add an accent using the Accent Wizard in Realtime Landscaping Pro.
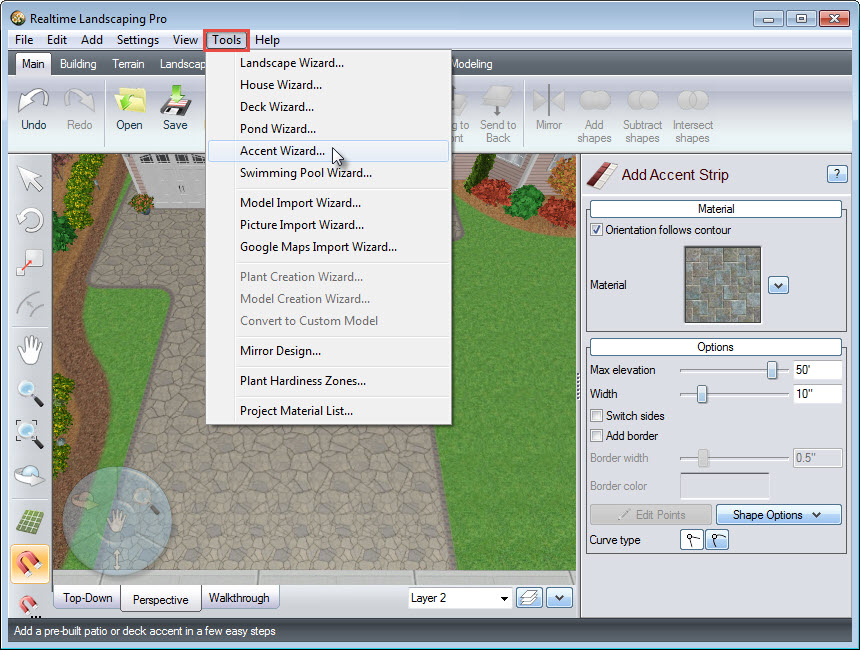
To begin, click Tools found in the Menu Bar, and then click Accent Wizard.
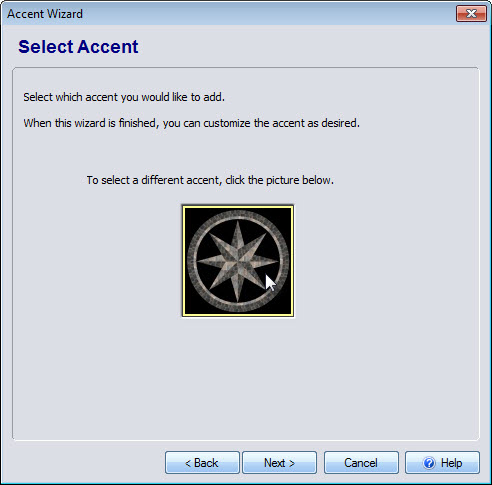
The Accent Wizard will help you add designs of accent strips and accent shapes. Click Next to get started.

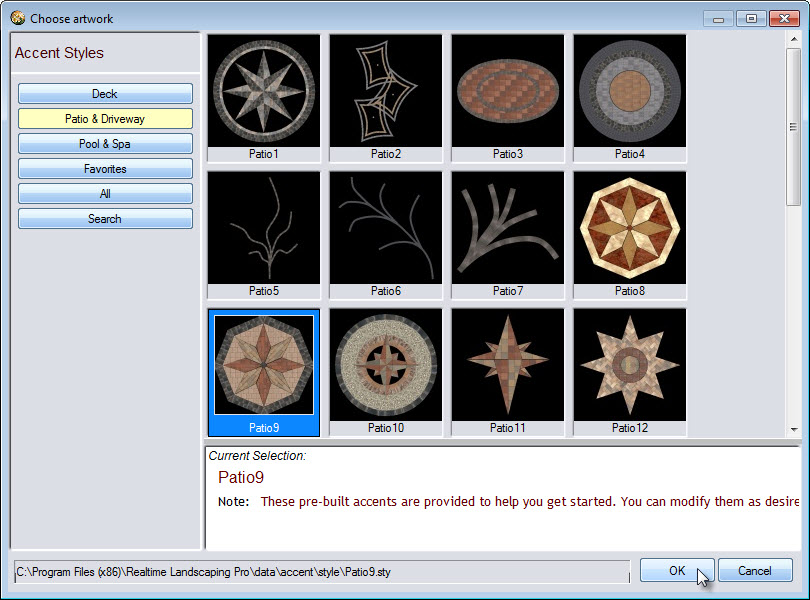
You will be prompted to select your desired accent design. Click the image seen below and a dialog box will appear with a selection of different pre-made accents. Note that you can further customize the accent later.
Make your selection and click OK.
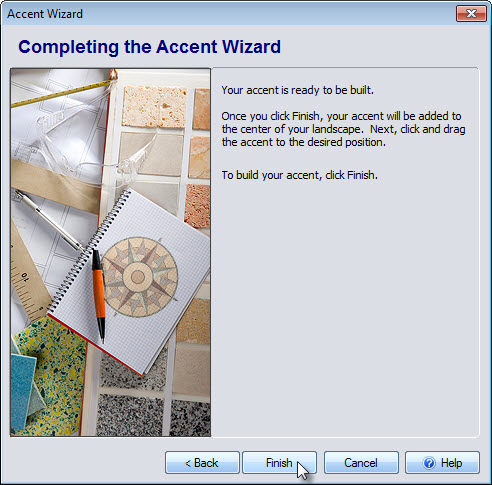
Click Next and it will take you to the final step. If you would like to change your selection, click Back, or, click Finish to add the accent to your landscape design.
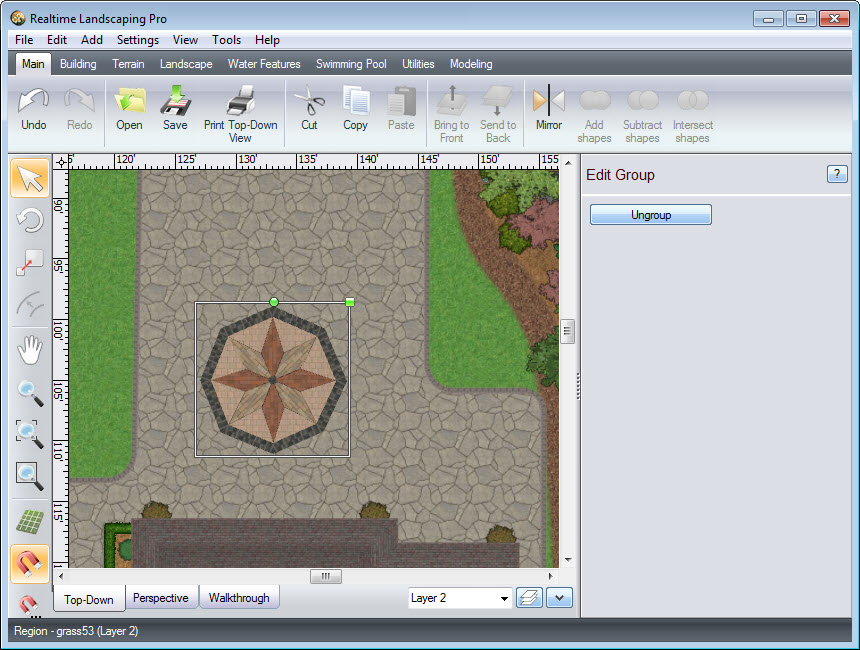
Left click and drag the accent to position it into place. You can add accents to decks, patios, pools, or directly on the ground. Note that the selected accent will have a white outline, with a green square at the upper right corner and a green circle to the left of it. To scale the accent, Left click and drag above the green square. To rotate the accent, Left click and drag above the green circle until it faces the desired direction.
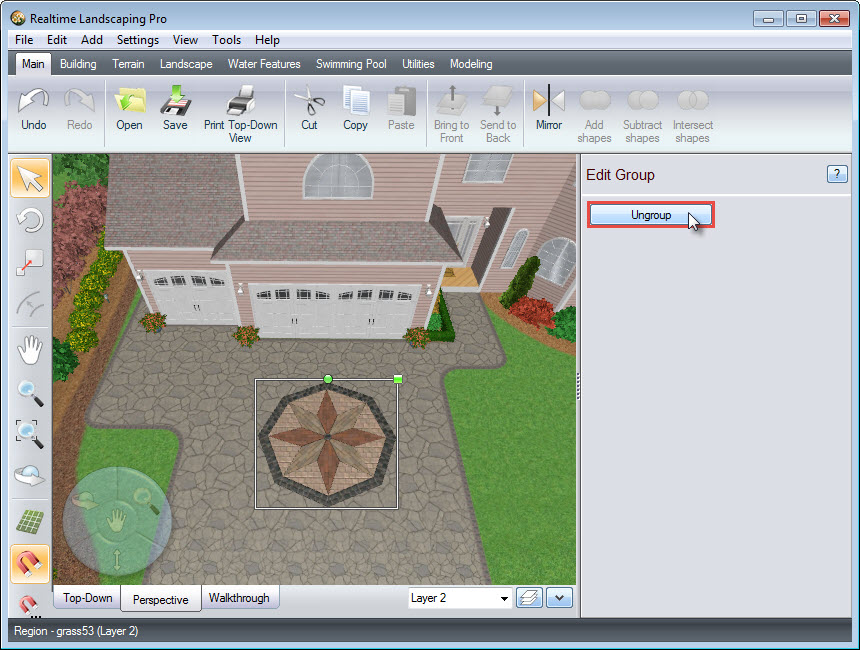
To further customize your accent, click the Ungroup button, and this will allow you to edit each individual piece.
To change the materials used in your accent, select the piece you wish to edit, and then press the L key on the keyboard to select all similar pieces. Click the material image seen below to change the material and repeat for any piece you want to edit.

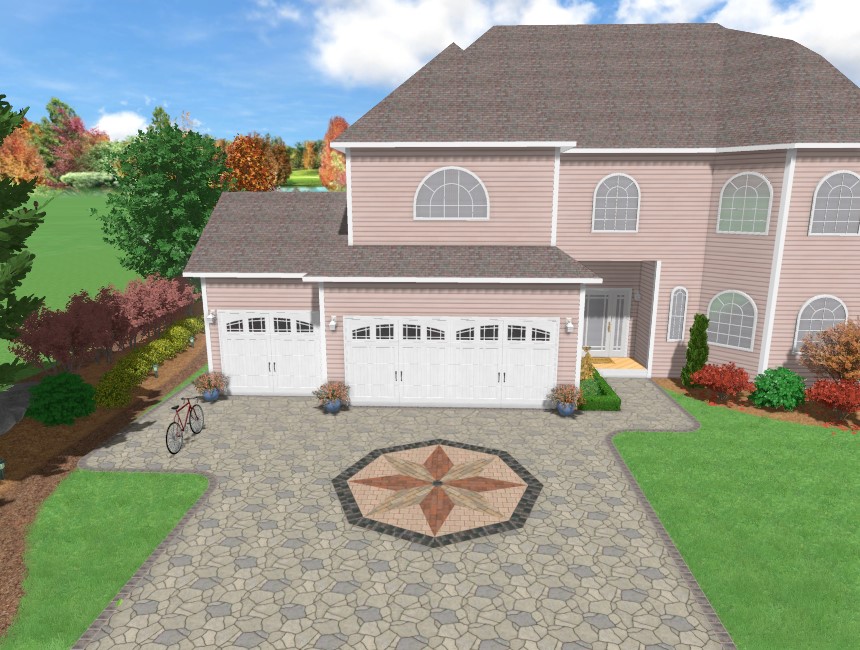
You have now completed adding an accent to your landscape design using the Accent Wizard.
Thank you for reading this guide, and please feel free to contact us for more information about our 3D landscaping software.