This guide will help you get started with Realtime Landscaping Architect.
When you first start the program this welcome menu will appear:
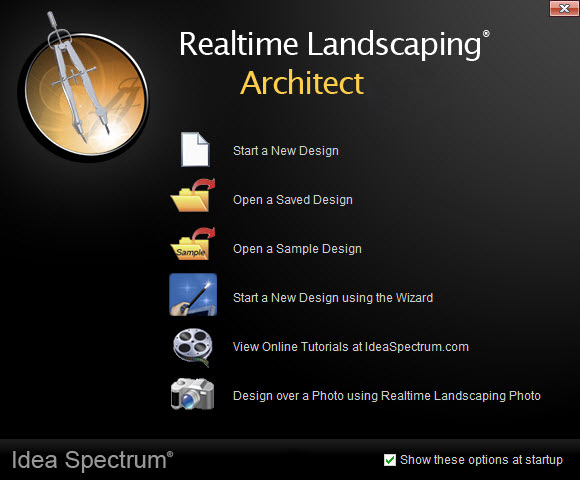
It shows you all of the basics to get your landscape started. You may start a design from scratch by clicking Start a New Design, or load a previously created design by clicking Open a Saved Design. Clicking Open a Sample Design takes you to a large selection of sample landscapes for ideas and inspiration.
Realtime Landscaping Architect will help you design your landscape in real-time 3D. Click Start a New Design using the Wizard to create a quick basic landscape design.
As an alternative to designing in full 3D, you can also create a landscape in 2D using an imported picture. To do this, click Design over a Photo using Realtime Landscaping Photo. Using this software, you can take a picture of your property using a cell phone or digital camera, import it, and then design the landscape on top.
The picture below shows the Realtime Landscaping Architect interface with each section labelled.
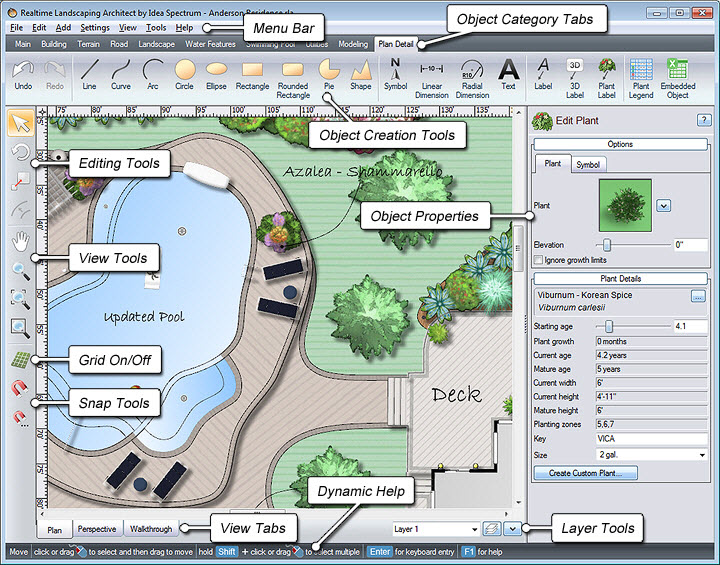
On the left you will find tools to move, rotate, scale, adjust your view, turn on and off the grid, and snap settings. Up above, you can find the Menu Bar, and below it are the Object Category Tabs which will give you all of the tools you need for creating your landscape design.
If you wish to undo your last action, click Undo up to as many times as you need or click Redo to add it back. These buttons are located on the upper right alongside the Object Creation Tools.
You can design in either Plan or Perspective view, and switch between views while adding or editing an object. Select your preferred view using the View Tabslocated at the bottom. There is also a Walkthrough mode where you can navigate your landscape in 3D.
There is Dynamic Help at the very bottom of the screen that changes based on what you are doing to provide additional help throughout your landscape design.
When adding an object, an Object Properties panel will appear on the right. Use the different menus to customize your object. Press F1 while editing your object for help with editing.
You can also access the help menu by clicking this button:
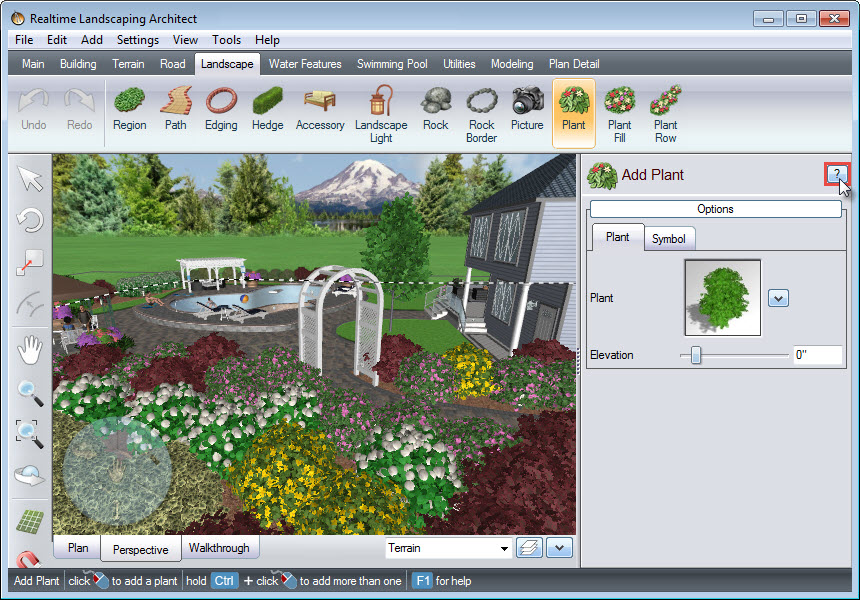
To navigate the help menu, you can use the drop down menu in Contents, type what you’re looking for in the Index, or use the Search tool.

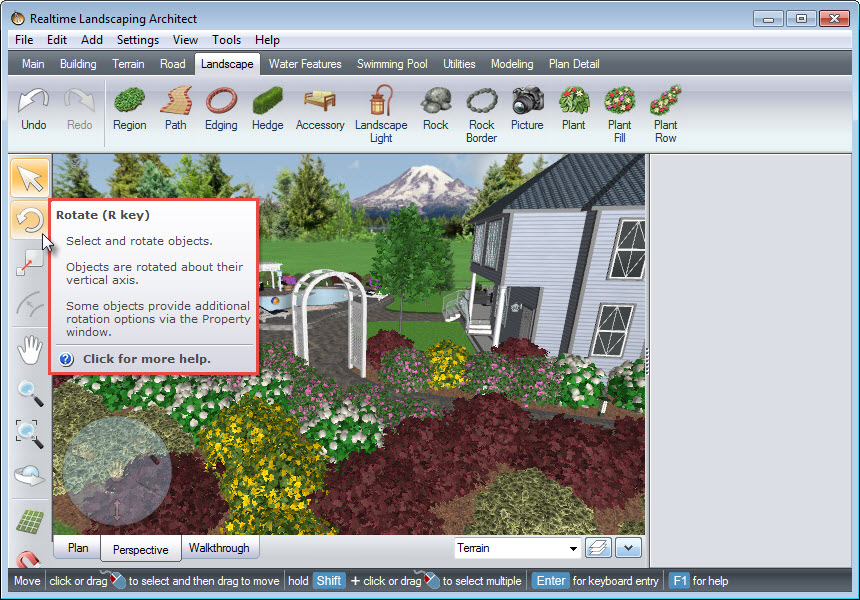
If you hover your mouse over a button, a help dialog box will appear. You can click the link at the bottom of the dialog box for more help. You can also press F1when adding an object for help with adding. Below you will see the help box that appears when the mouse cursor is hovered above the Rotate button.
Thank you for reading this guide, and please feel free to contact us for more information about our landscaping software.