This guide will show you how to customize your plan view.
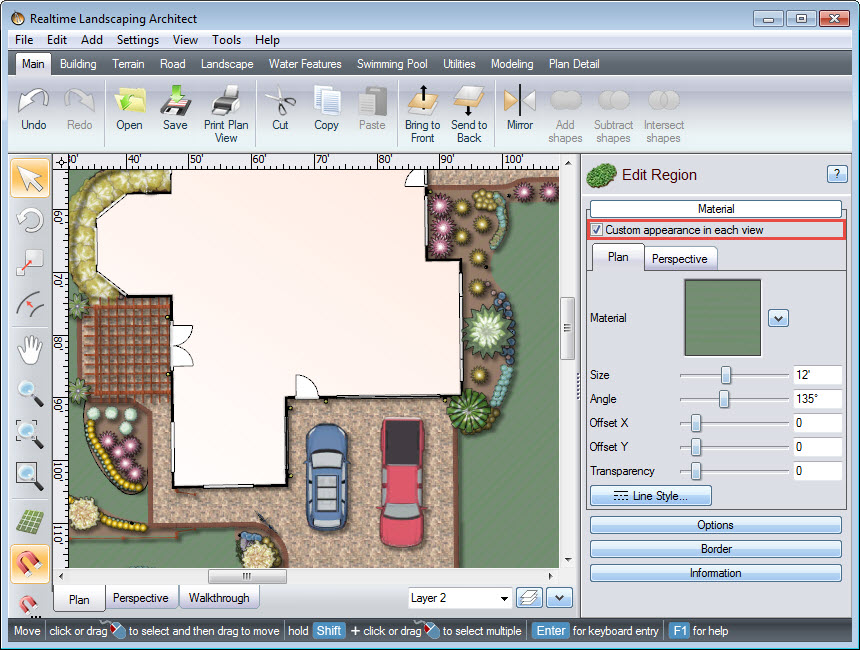
The Plan view can be customized to create artistic, CAD-like, or realistic top-down views of your landscape design. For example, let’s make the grass appear as if it were hand-drawn using a marker. Select the Custom appearance in each view option, and now you can make it look different in each view.
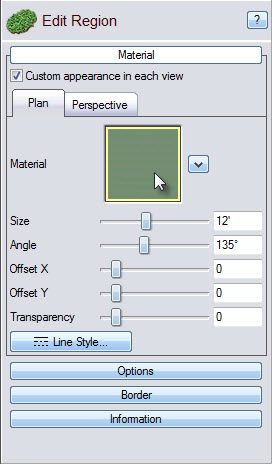
To change the material, click the Plan tab, then click the material image seen below.
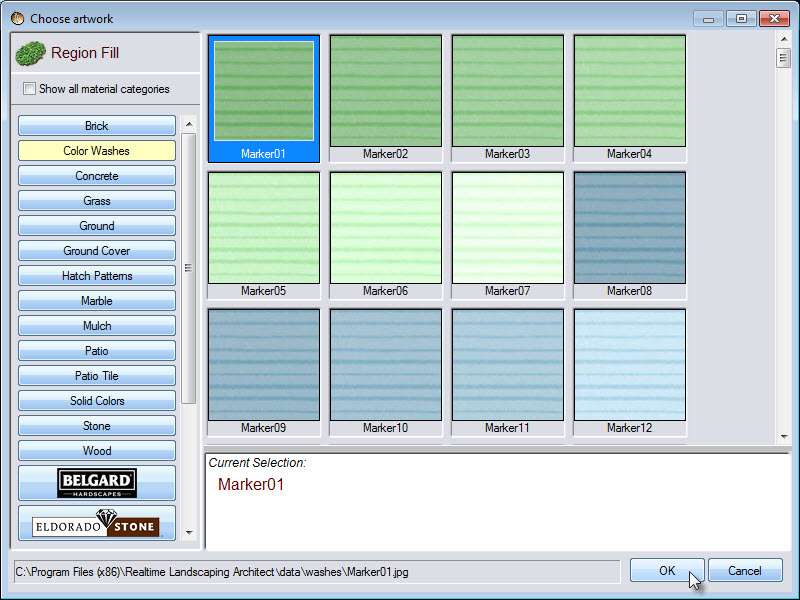
The Color Washes category has a variety of marker, colored pencil, and solid colors. Make your selection, and then click OK.
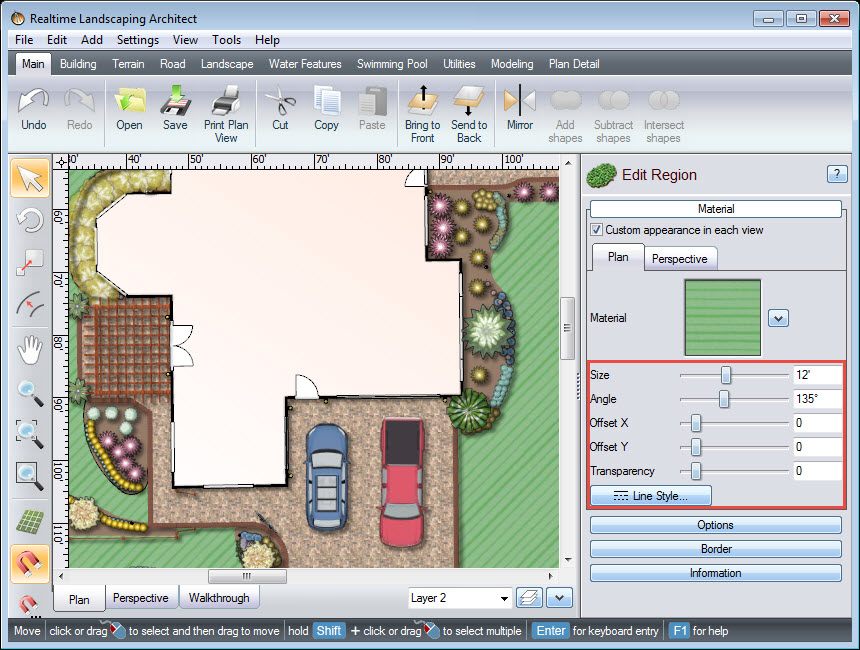
You can use the following options to further customize the appearance:
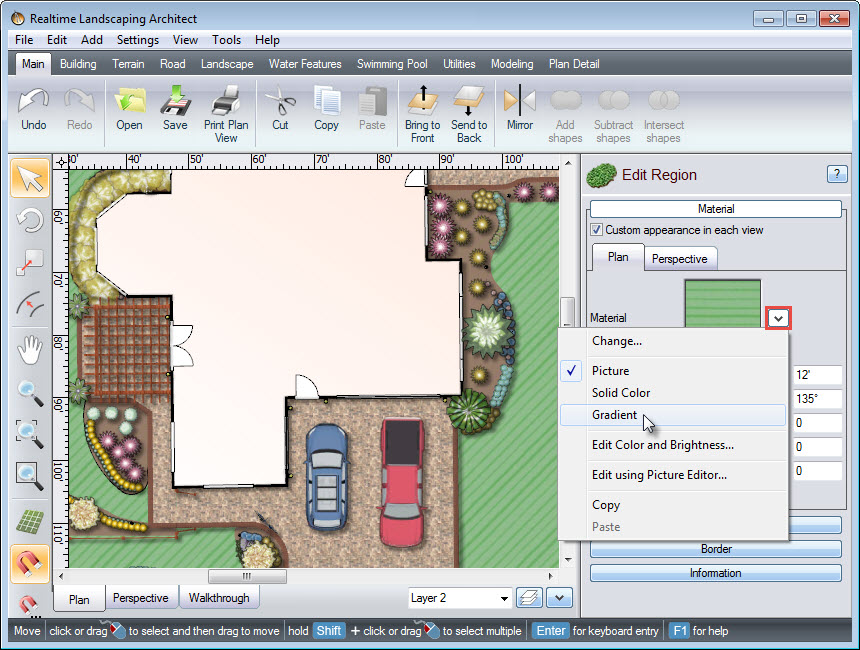
Another option is to use a gradient. Click the button found to the right of the material image and then click Gradient.
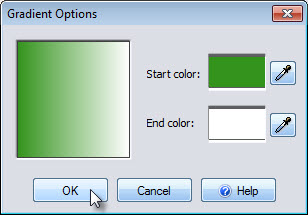
A dialog box will appear showing the gradient options. Choose the start and end colors as desired. Then, click OK.
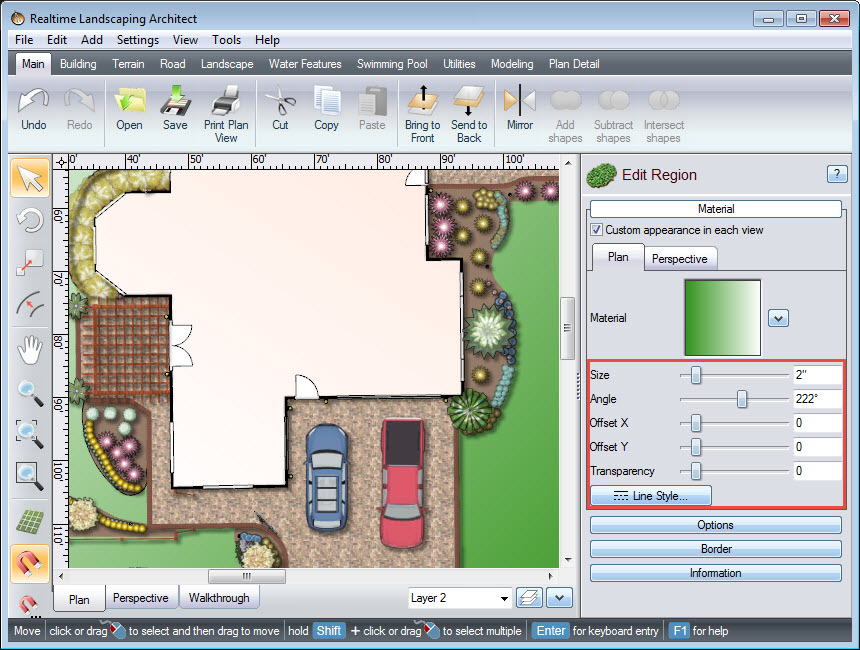
You can use the following options to further customize the gradient:
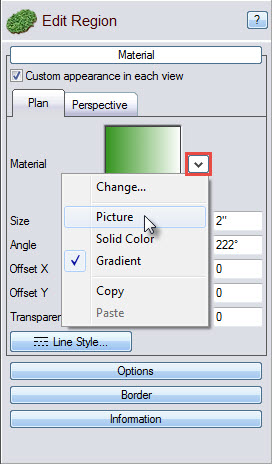
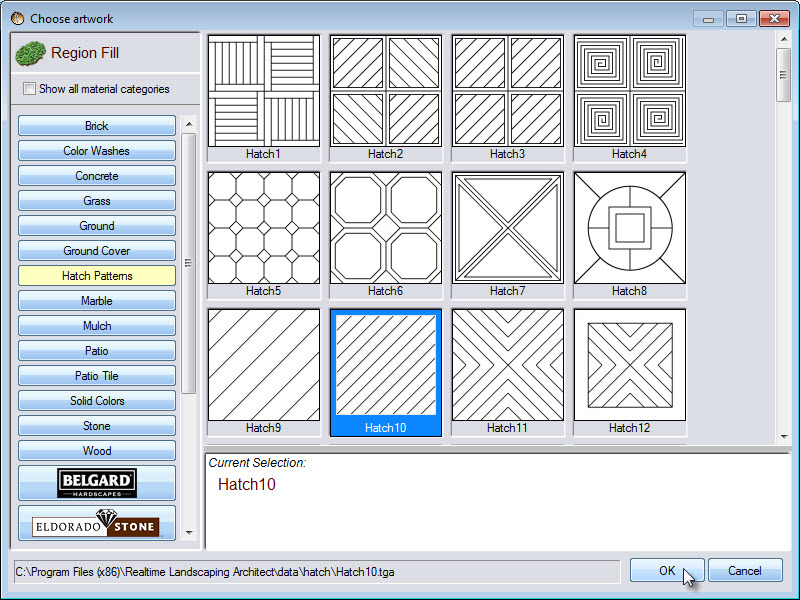
If you prefer the black and white look of a CAD drawing, click the button found to the right of the material image and click Picture.
Click the Hatch Patterns category. A large selection of hatch patterns is included. Make your selection, and then click OK.
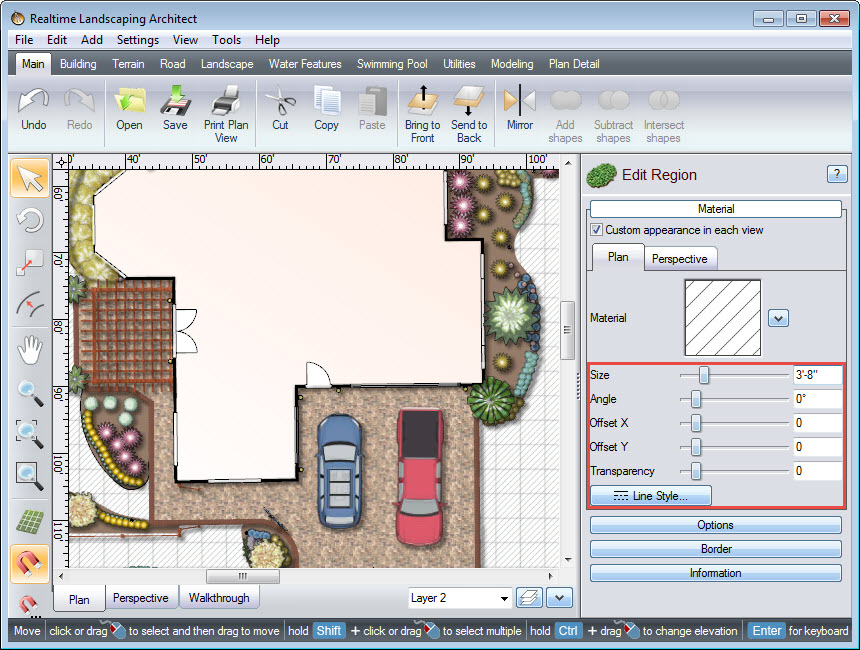
Again, the following options are available for further customization:
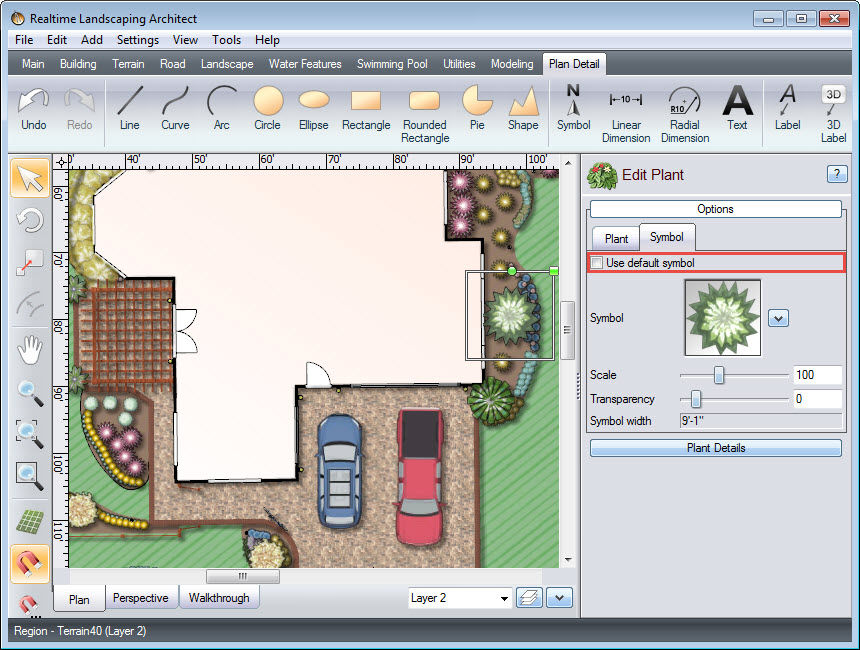
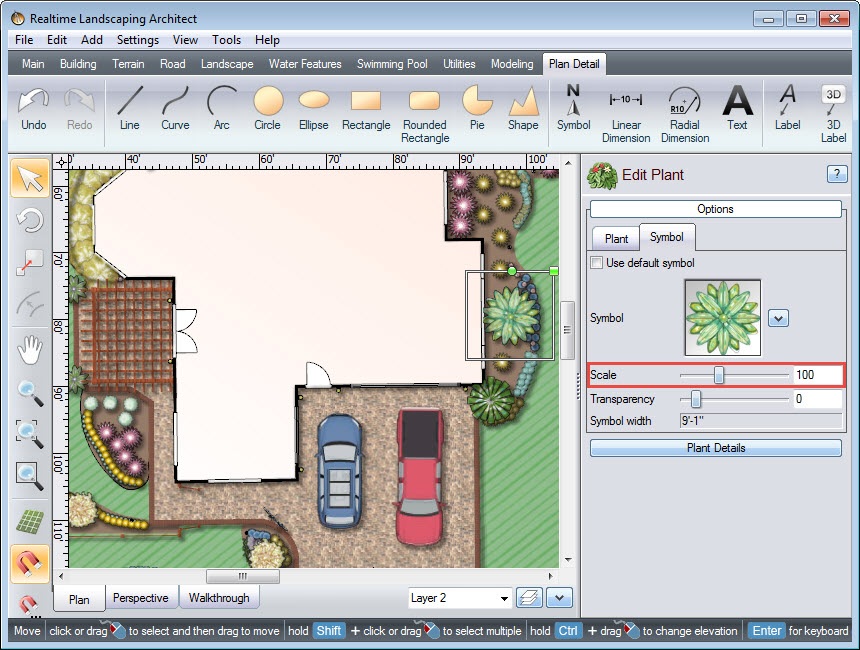
We can use a similar technique to customize the plant symbols. First, select the plant, then click the Symbol tab. Make sure the Use default symbol option is deselected, so you can choose another symbol.
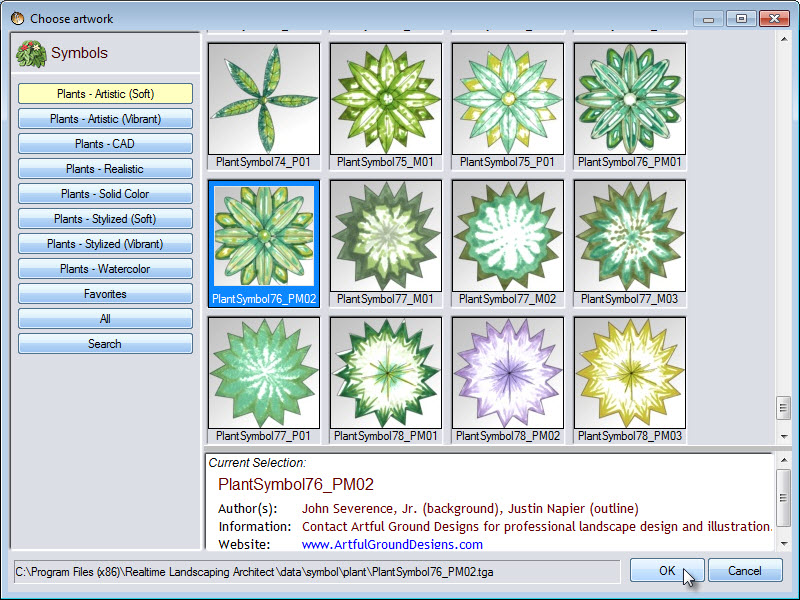
Click the symbol image and it will take you to a variety of images, including artistic, stylized, and CAD symbols. Make your selection, and then click OK.
You can adjust the size of the symbol by using the Scale option. You can use the slider, or manually input the size in the space provided. This will not change the size of the plant in the 3D view.
Here are some examples of what you can do with these features. You can also mix and match different styles as desired.

Thank you for reading this guide, and please feel free to contact us for more information about our user-friendly landscaping software.