This guide will show you how to create custom string lights in your landscape design.
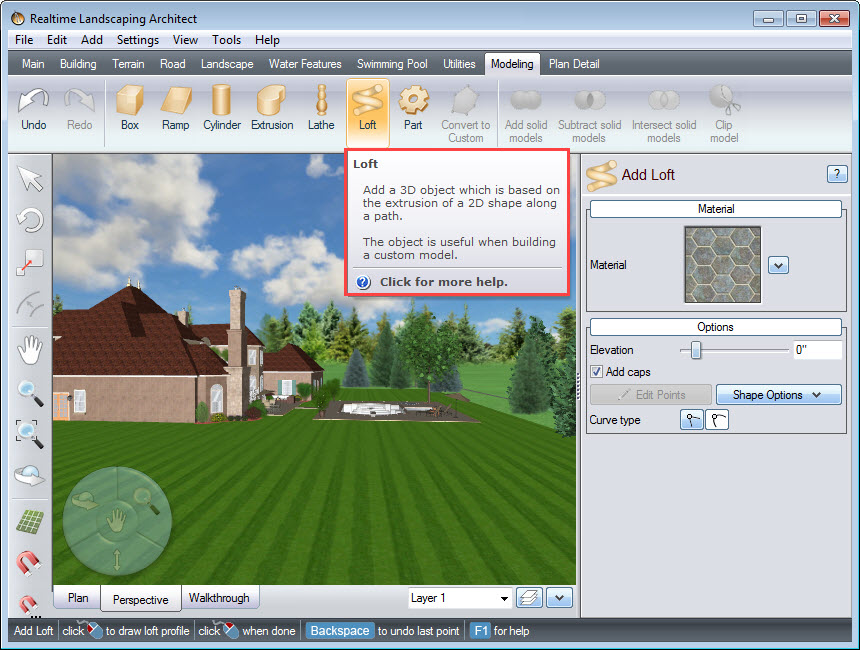
To begin, we are going to create the rope. To do this, click the Modeling tab and click the Loft button.
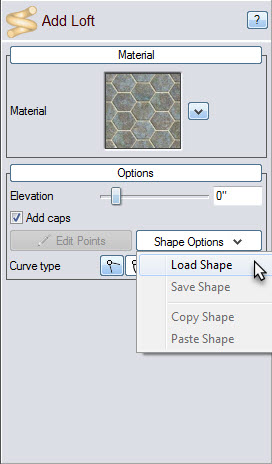
In the Object Properties Panel under Options, click Shape Options and select Load Shape.
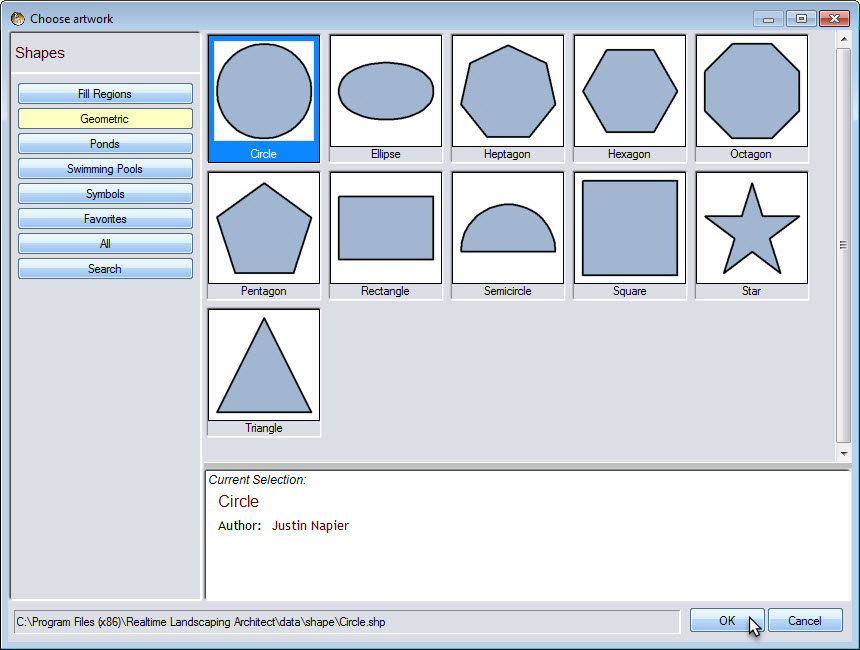
Select the Geometric Shape category and click Circle.
For ease of customization raise the Elevation.
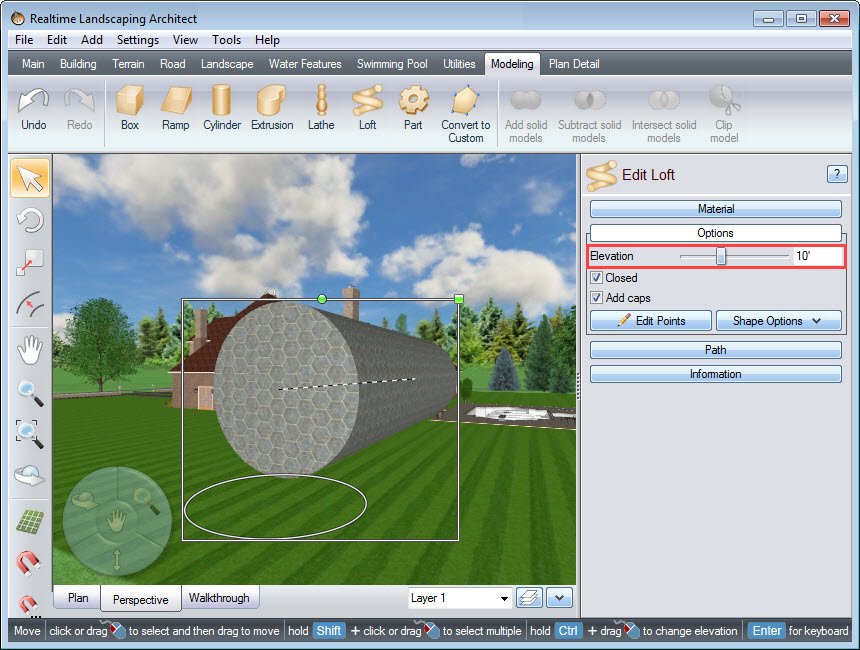
The diameter of the string is fairly large. We will adjust the diameter to the exact size later, but for now, we will reduce it to make the following steps easier. To do this, Left click and drag the scale handle (the green square at the upper right corner of the selection).
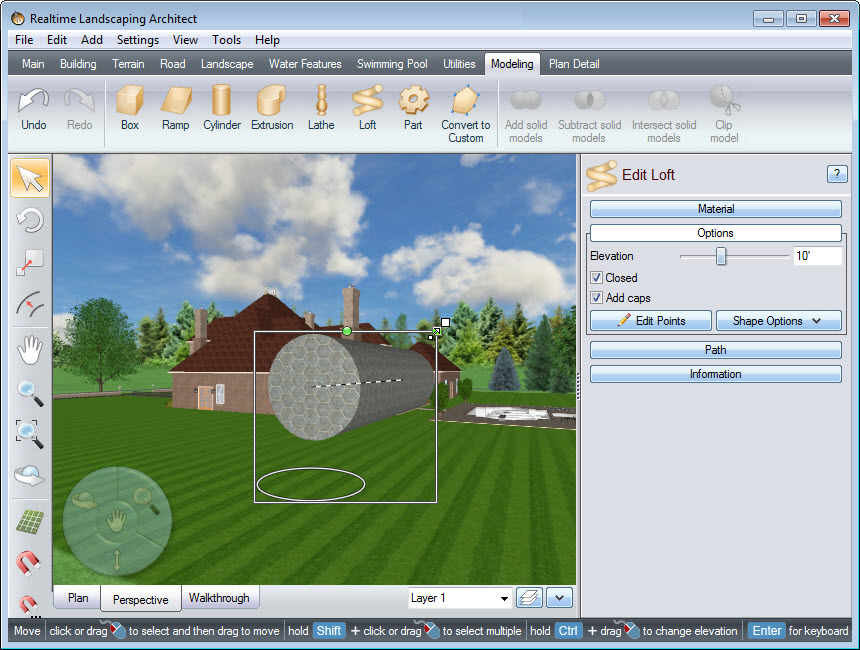
In the Object Properties Panel under Path, click Edit Points.
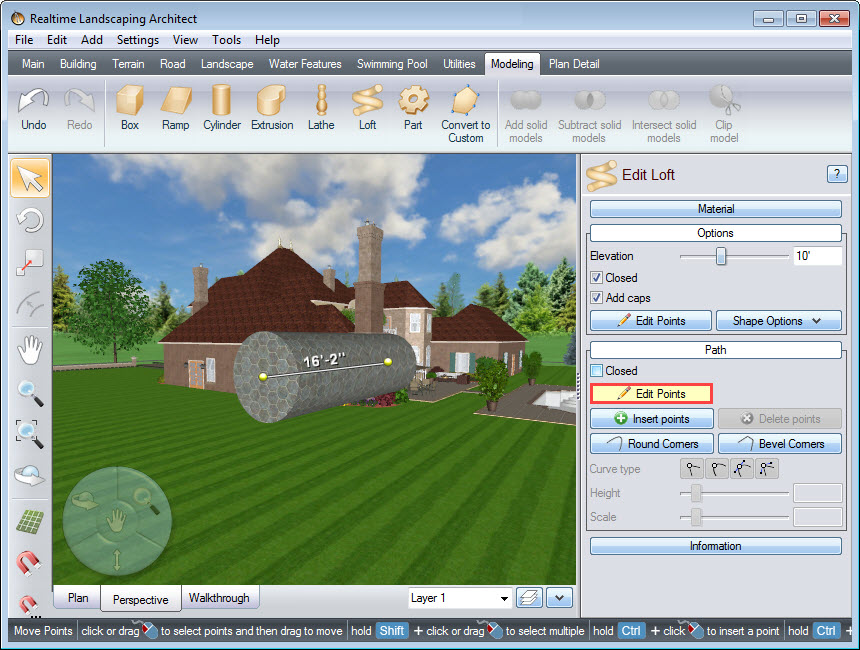
Adjust the length of the path to the desired length of the string for your lights.
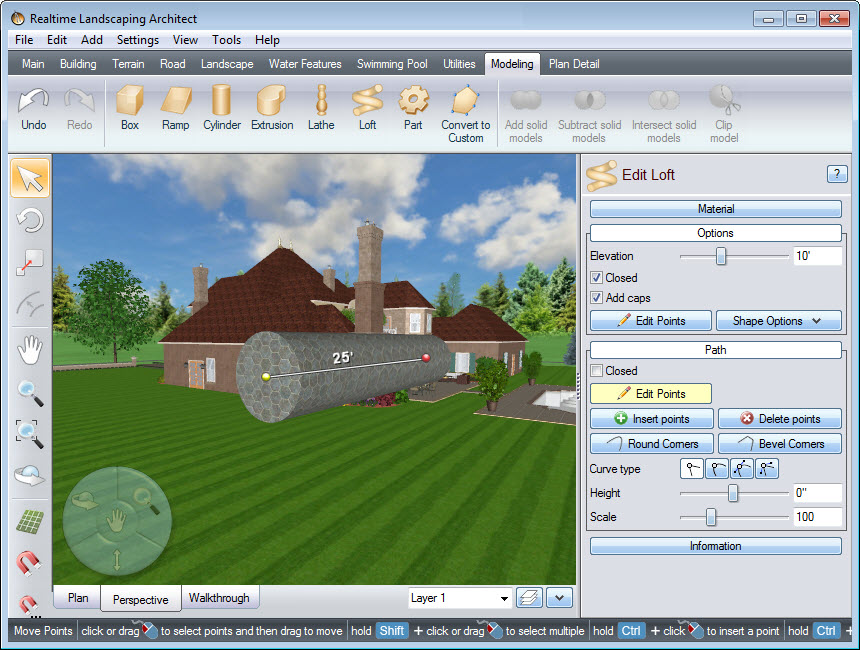
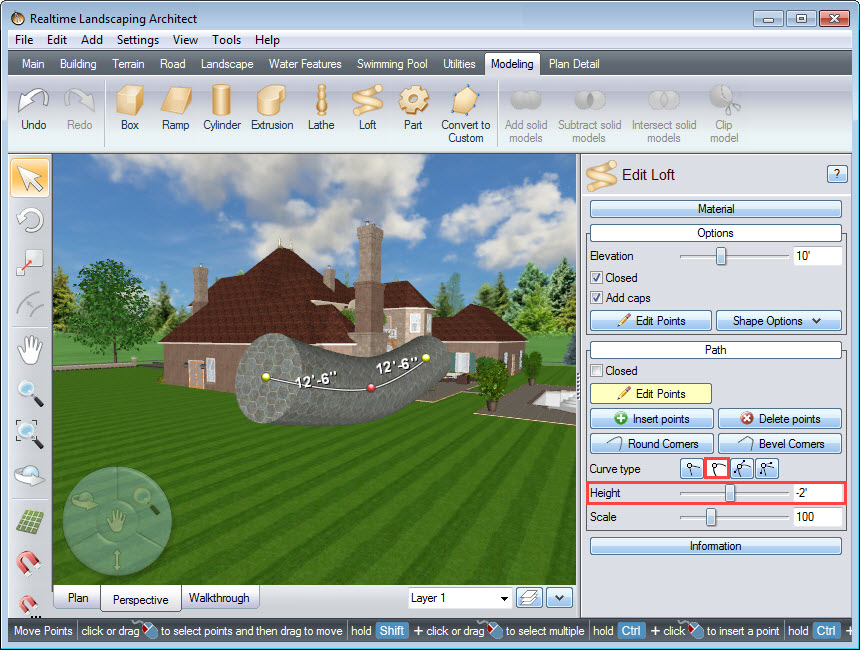
To create slack in your rope, click Insert points and click to add additional point(s) to the path. Click Insert points again to toggle it off.
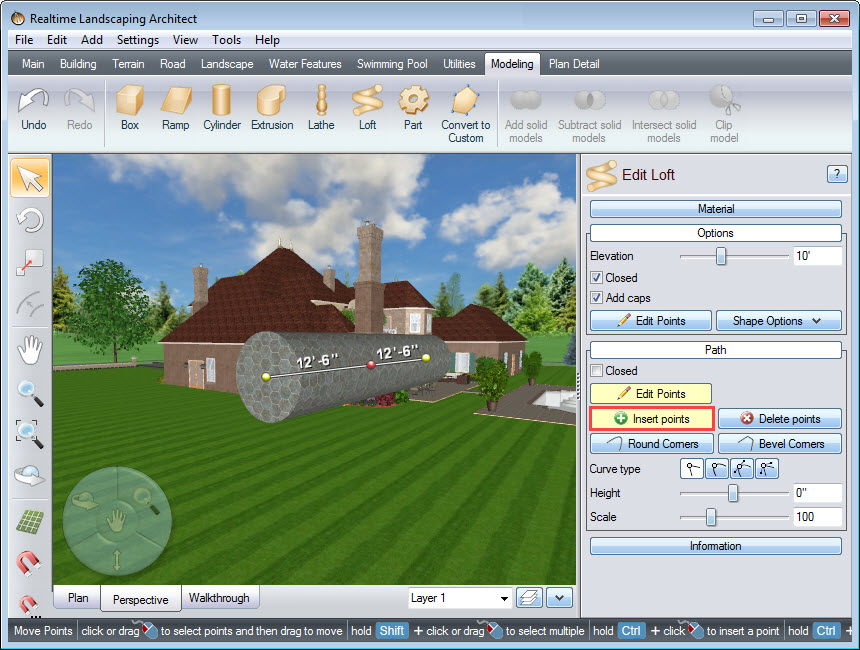
Select the new point and adjust the Height as desired. Under Curve type, click the Spline button. This will make the shape pass smoothly through the selected point.
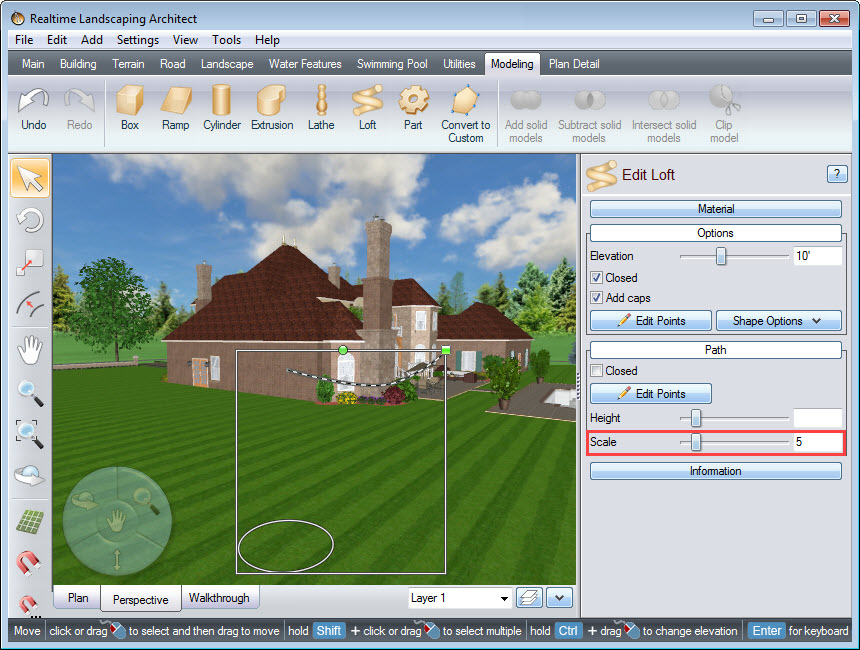
Adjust the Scale of the loft to the desired diameter of the string.
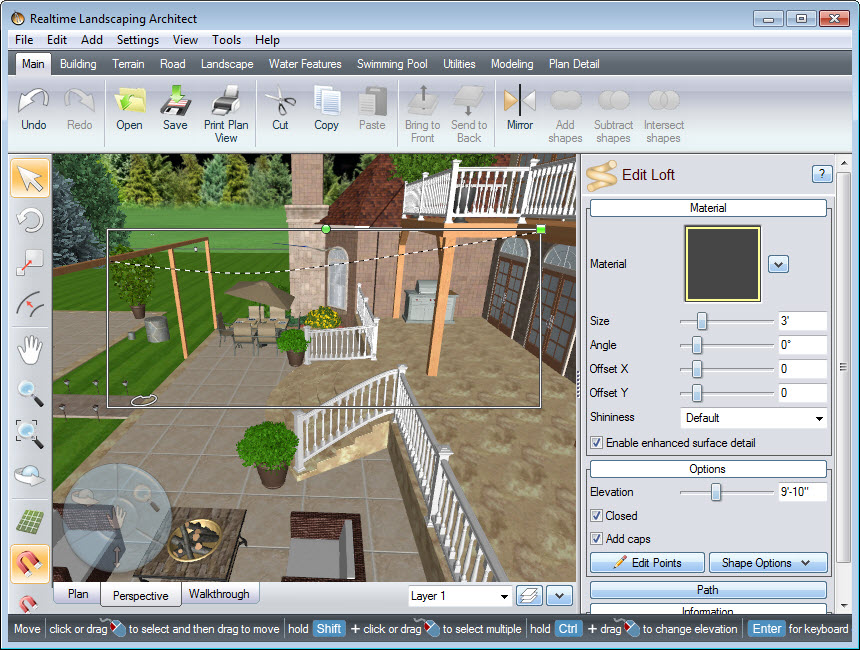
Next, change the material of the loft and then place it into position.
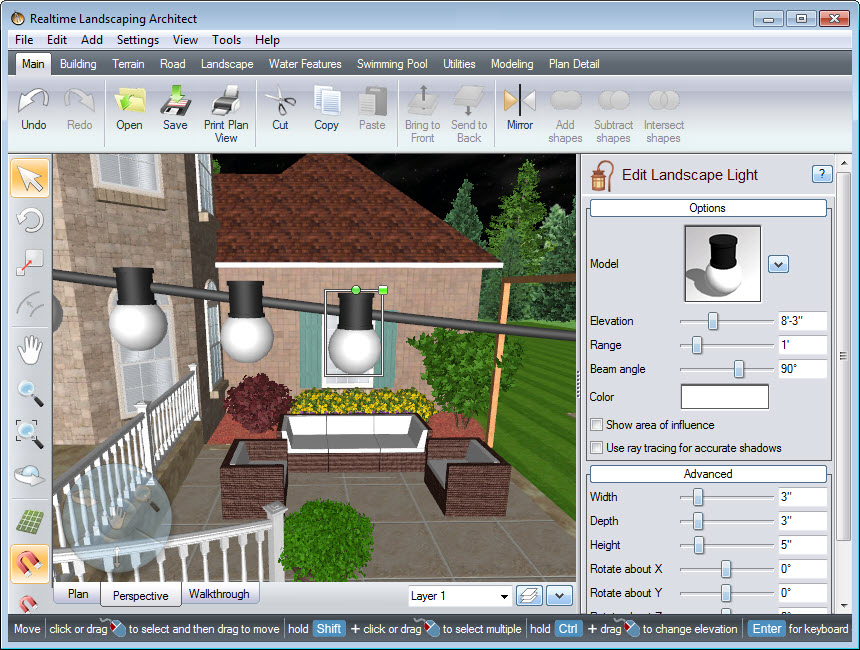
Add your desired lights to the string, taking care to position them correctly.
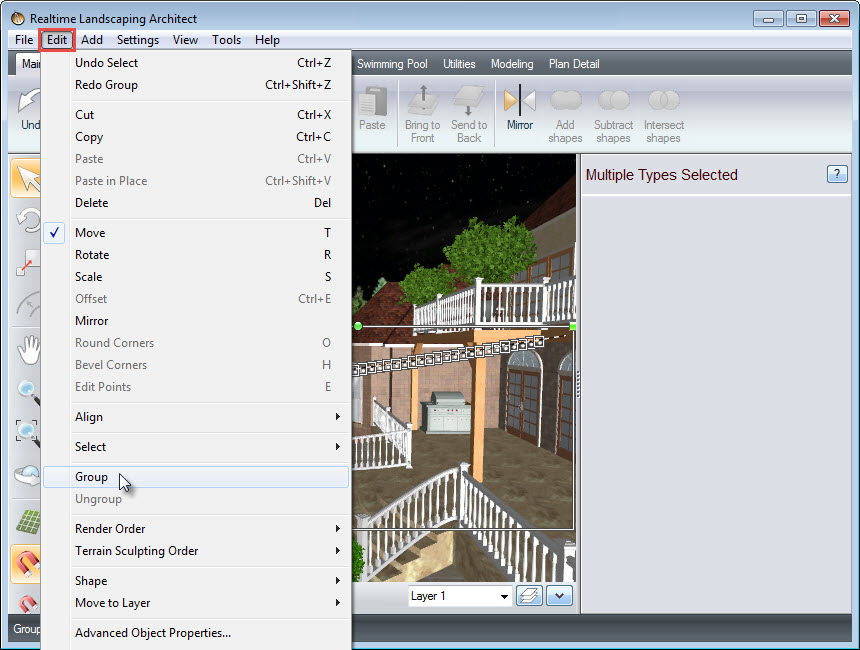
Once you have completed adding lights to the rope, we will now group them as one object. To do this, select the rope and all the lights attached. Next, click Edit on the menu bar and Group. This will allow you to easily position and copy as many string lights as needed.
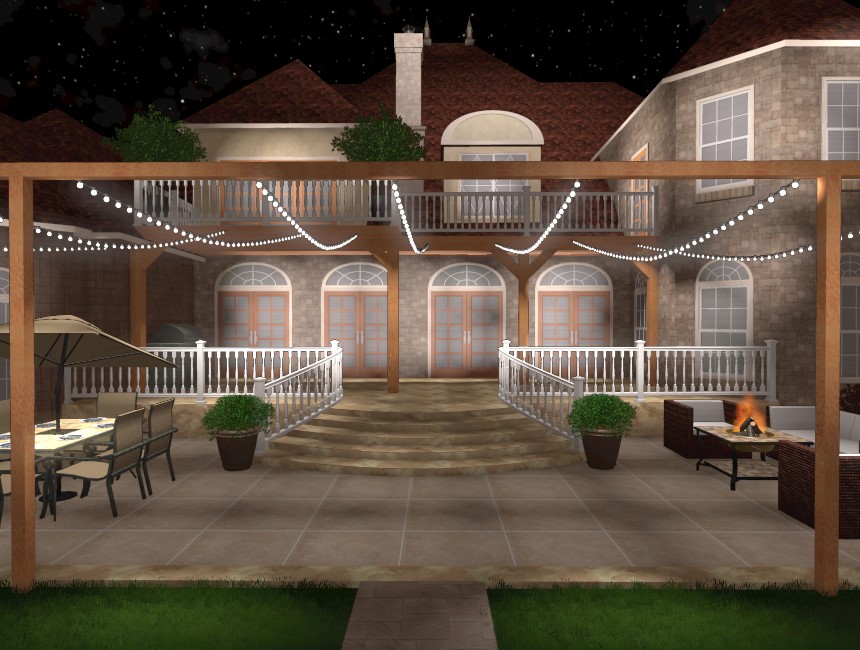
You have now completed adding custom string lights to your landscape design.
Thank you for reading this guide, and please feel free to contact us for more information about our landscaping software.