This guide will show you how to add an overlay using the Picture Import Wizard.
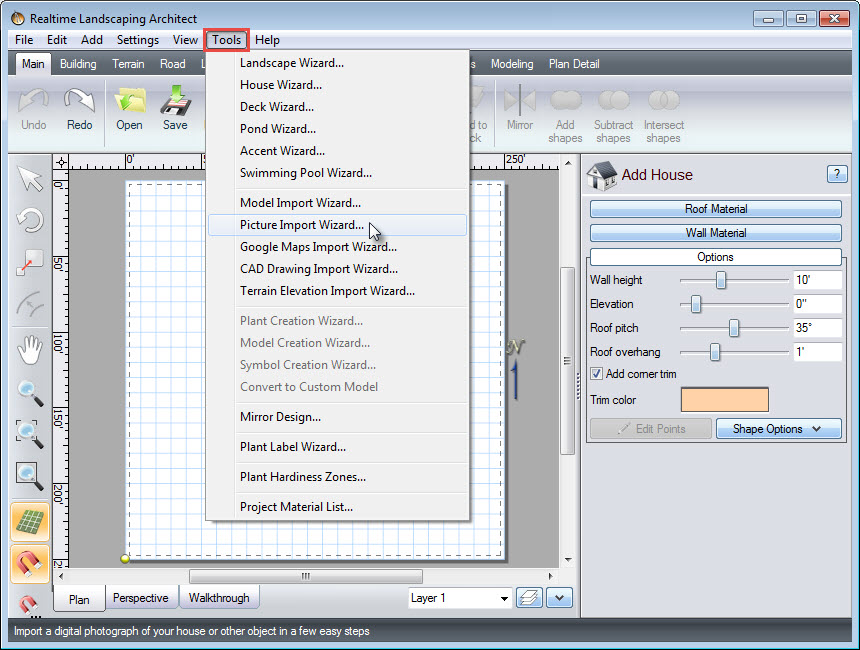
An Overlay object is a picture that is draped over the terrain. For example, you could import a blueprint of your client’s house and trace over the exterior using the House tool. This can help you design more quickly and with a greater degree of accuracy. First, click Tools under the Menu Bar, then click Picture Import Wizard.
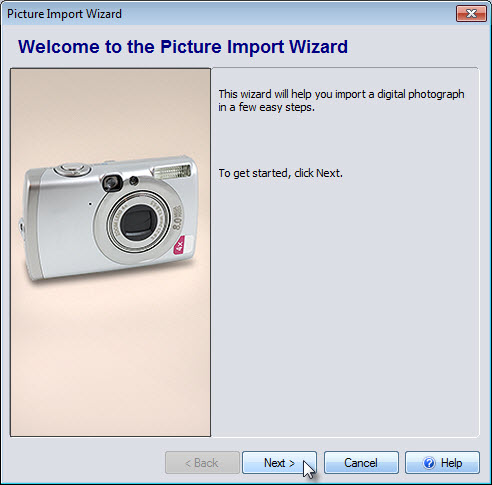
A new dialog box will appear. Click Next to get started.
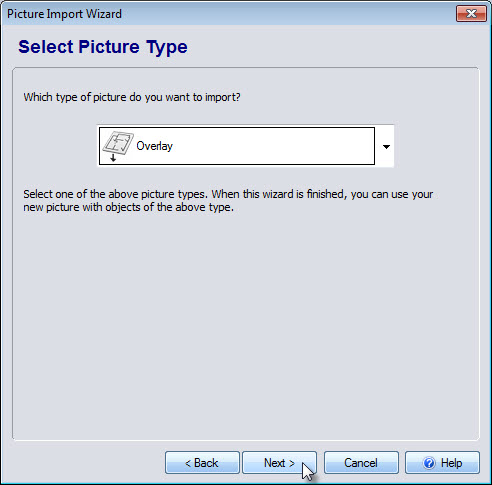
Next, you will be prompted to select the picture type you wish to import. Make sure Overlay is selected, then click Next.
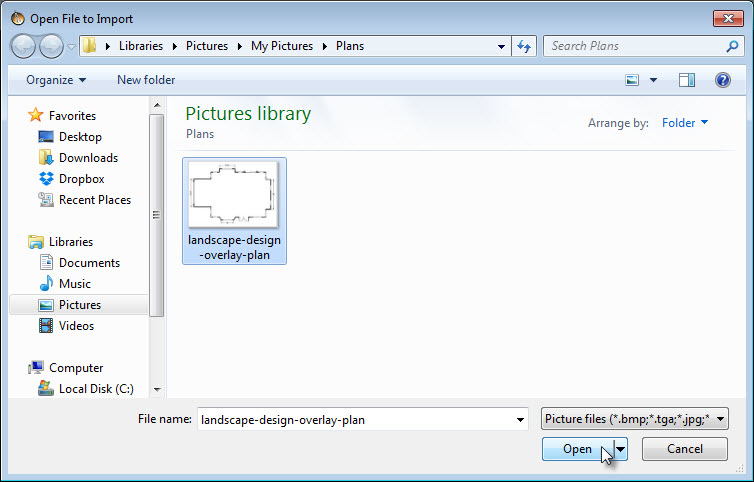
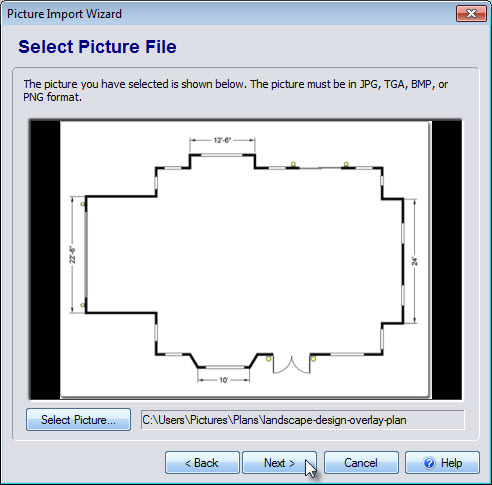
Select the image you wish to use, and then click Open.
Click Next if you are happy with your selection. If you wish to select another file, click Select Picture and choose your desired image.
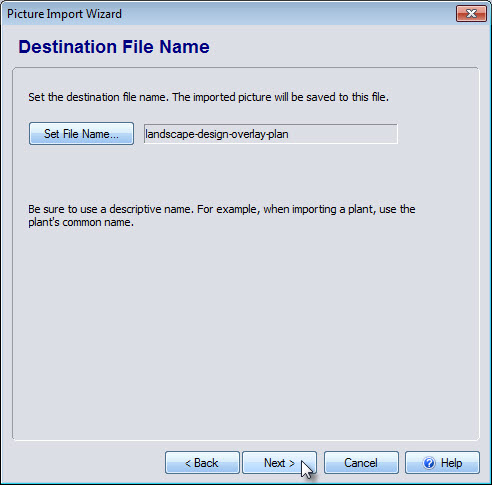
You will then be prompted to set the destination file name. Make sure the image is saved under your desired file name, then click Next.
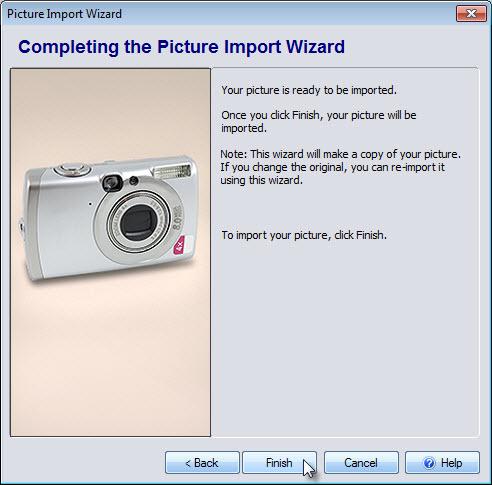
You have now reached the end of the Picture Import Wizard. If you wish to make any revisions to previous steps, click the Back button. Click Finish to import your picture into your landscape design.
Left click to place your overlay where desired.
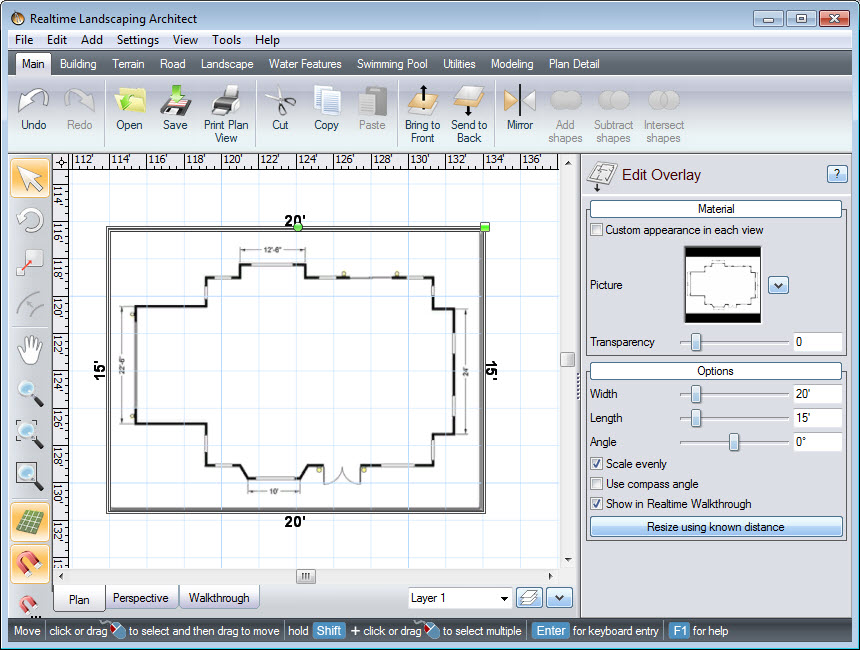
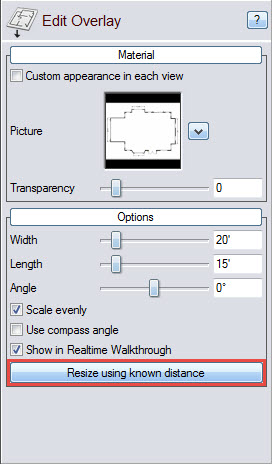
To size the overlay accurately, click the Resize using Known Distance button that appears in the Object Properties panel.
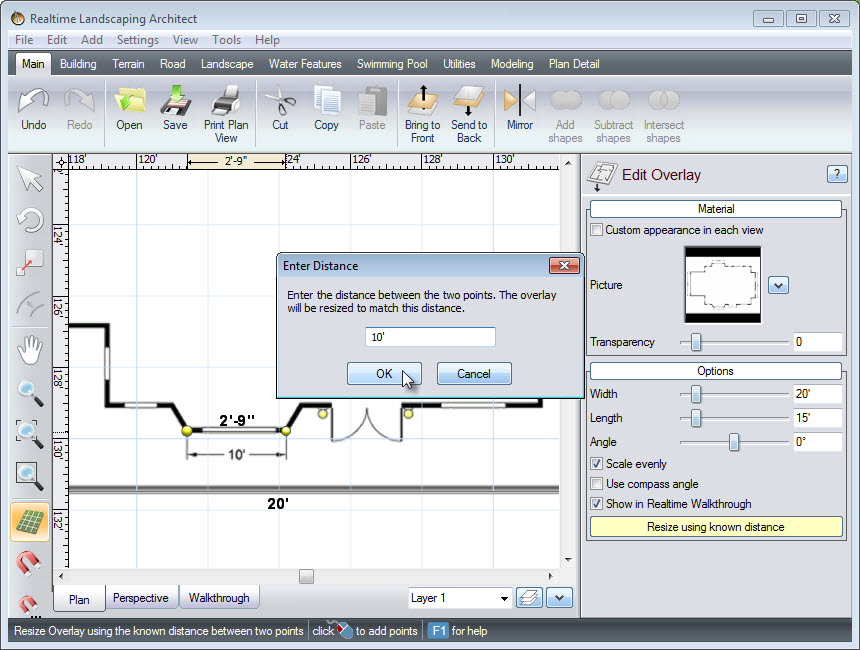
Left click at one end of the wall, then stretch the distance of the wall. If you hold down the Shift key while you’re stretching, it will keep the line straight. Left click again, to end the line.

Next, a dialog box will appear to enter the known distance. For this overlay, it is ten feet. Once you have entered the correct distance click Enter.
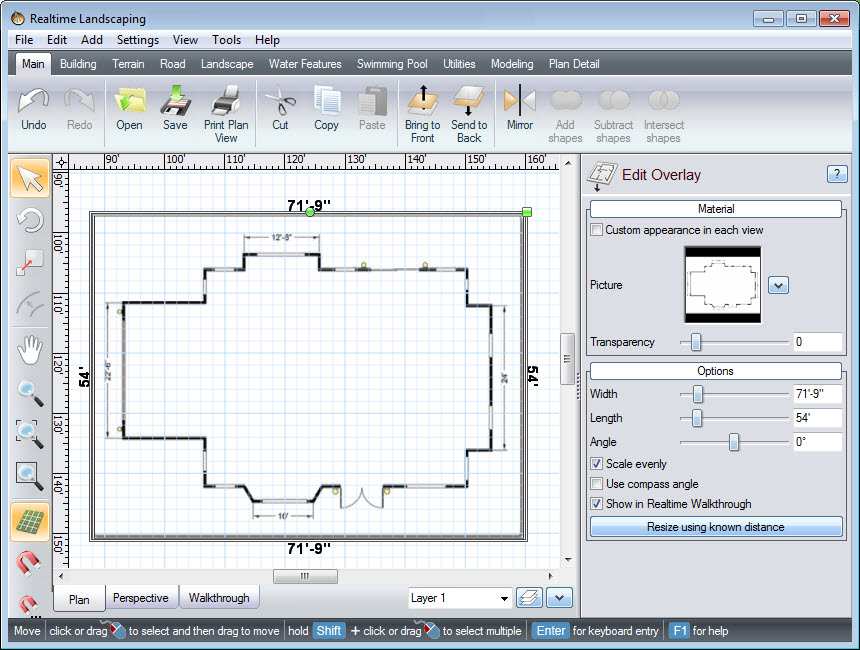
Now your overlay is to scale, and you are ready to build your house on top of it.
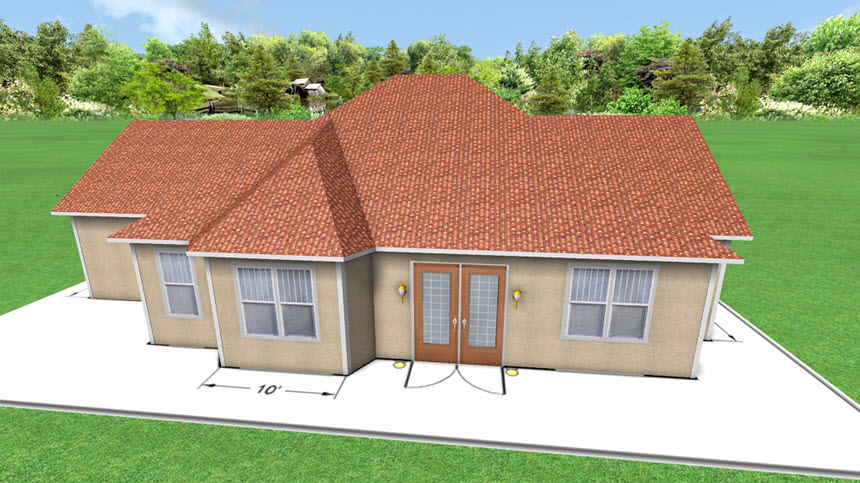
Here is the finished product, with a house built on top of the overlay.
Thank you for reading this guide, and please feel free to contact us for more information about our software.