This guide will show you how to add an accessory to your design in Realtime Landscaping Plus. We will be adding a table for the purpose of this guide.
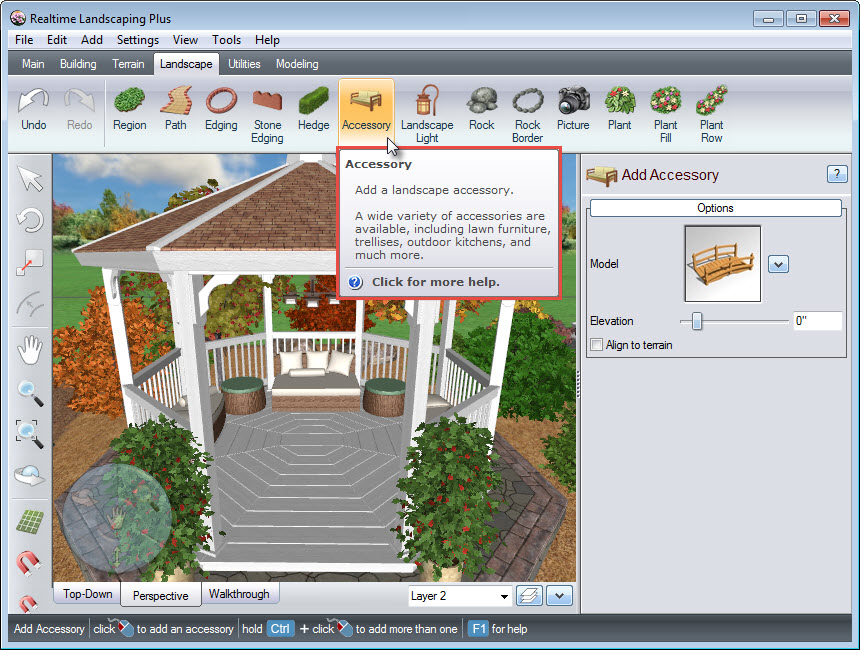
To get started, click the Landscape tab and click the Accessory button.
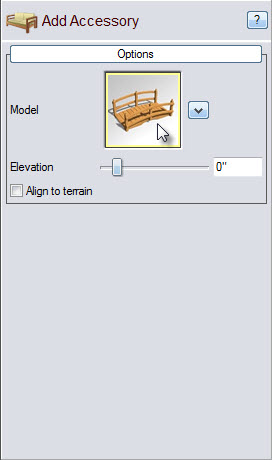
Clicking on the model image seen below will take you to a large selection of accessories such as furniture, outdoor kitchens, and more.
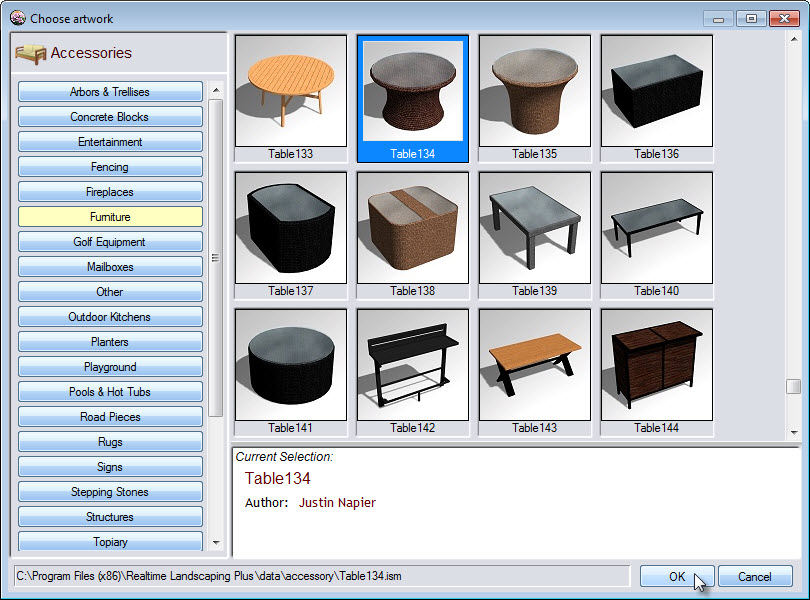
A dialog box will appear with thousands of different accessories. Select the Furniture category, make your desired selection and click OK.
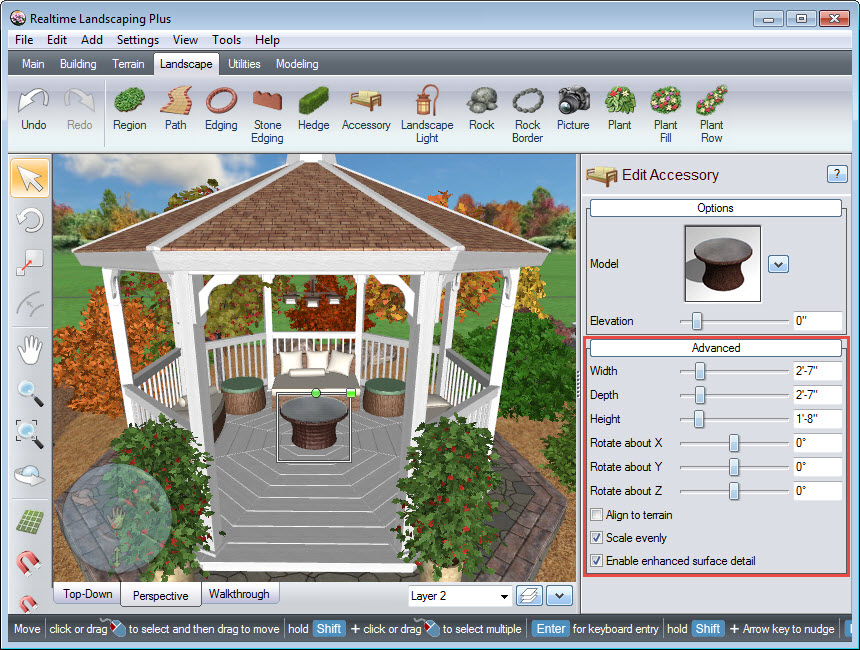
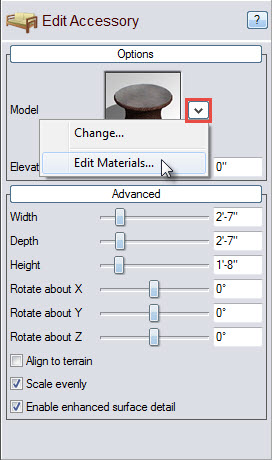
Left click to place the table in your landscape design. Left click and drag the green box found at the corner of your selection to scale your accessory. To rotate the accessory, Left click and drag the green circle. You can also further customize the appearance of the table using the advanced options seen below.
To create a custom table style, Left click the arrow seen below and then click Edit materials.
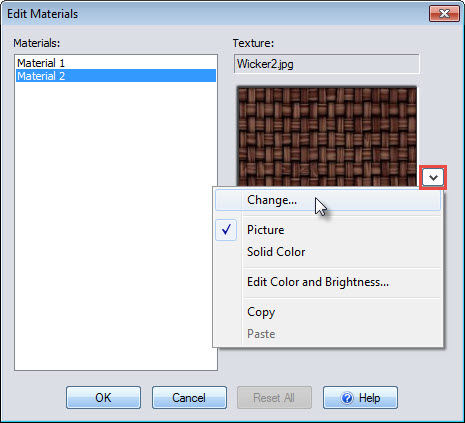
Select the specific portion of the table you want to customize. Left click the down arrow and select Change. Alternatively, you can Left click the material image to take you to the material selection.
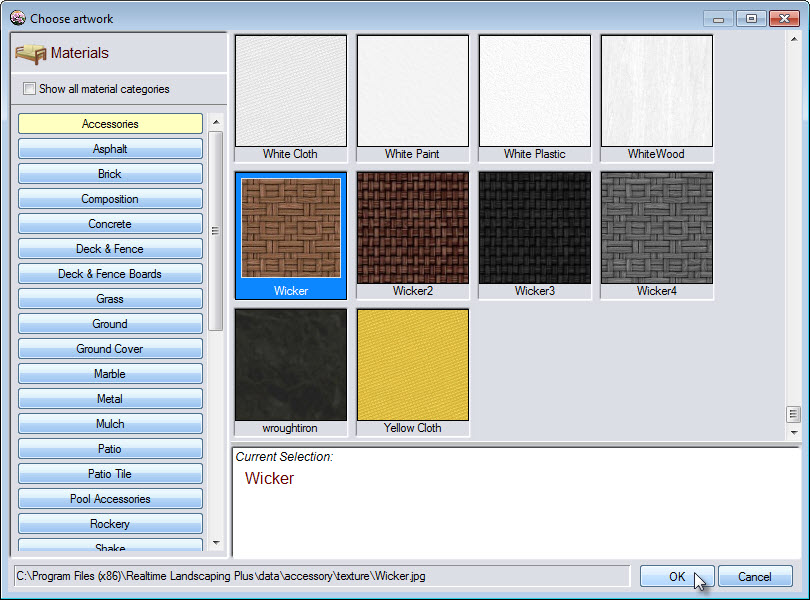
Select the material you would like to use and click OK. In this case, we are selecting a lighter wicker material to match the rest of our outdoor furniture in the gazebo. Finally, click OK again to complete this step.
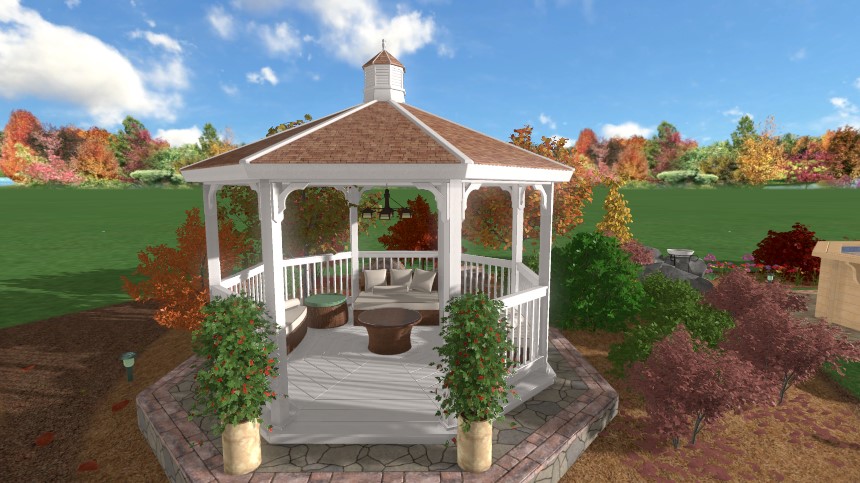
You have now successfully added an outdoor table to your landscape design.
Thank you for reading this guide, and please feel free to contact us for more information about our user-friendly landscaping software.