This guide will show you how to add a rock border to your landscape design in Realtime Landscaping Plus.
To begin, click the Landscape tab and click the Rock Border button.
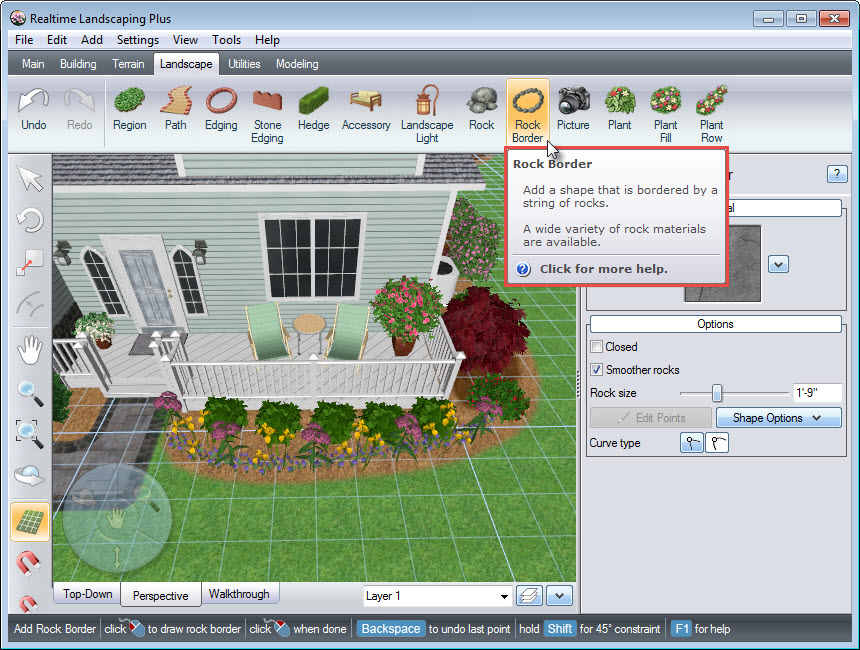
Start to create the outline of your rock border by Left clicking to place points. Right click to place the last point.
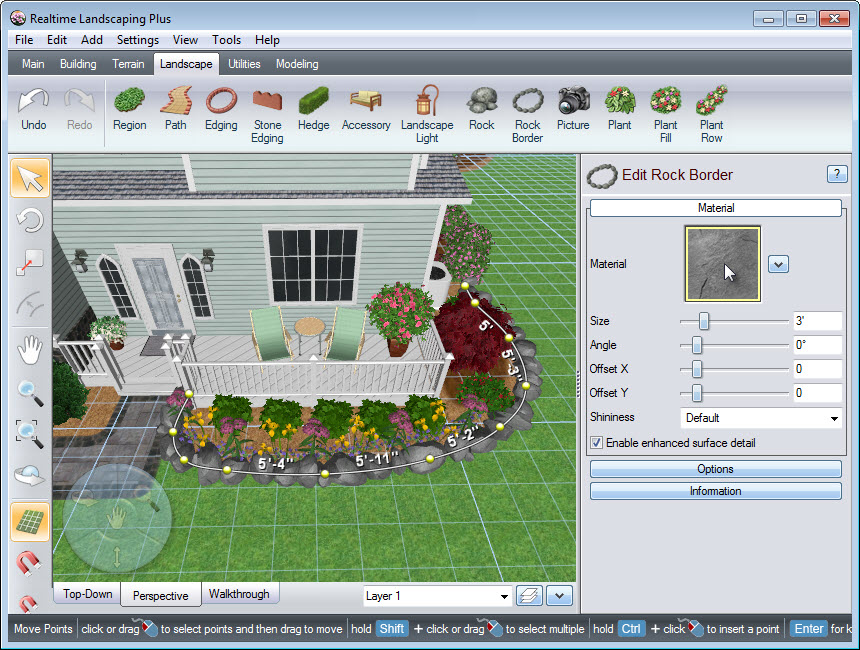
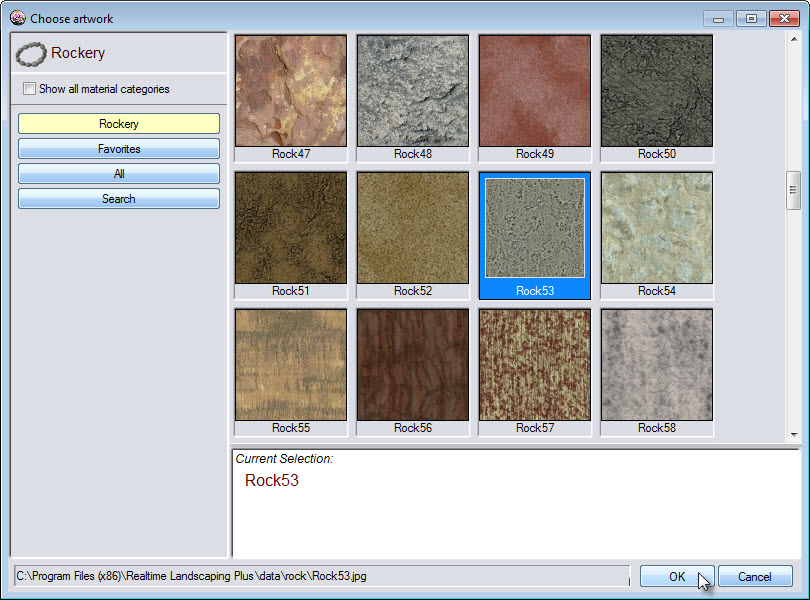
To change the rock border material, click the material image seen above and a collection of different rock materials will appear. Make your selection and click OK.
To further customize the appearance of the material, use the following options:
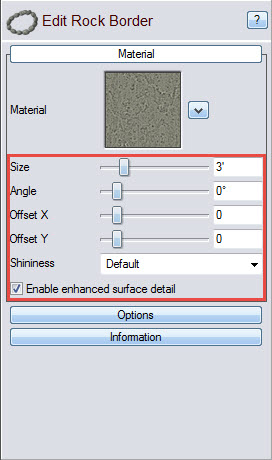
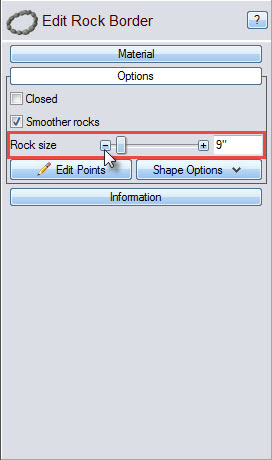
To edit the rock size in your border, click Options in the Object Properties panel. You can use the slider seen below, or type the specific size in the space provided.
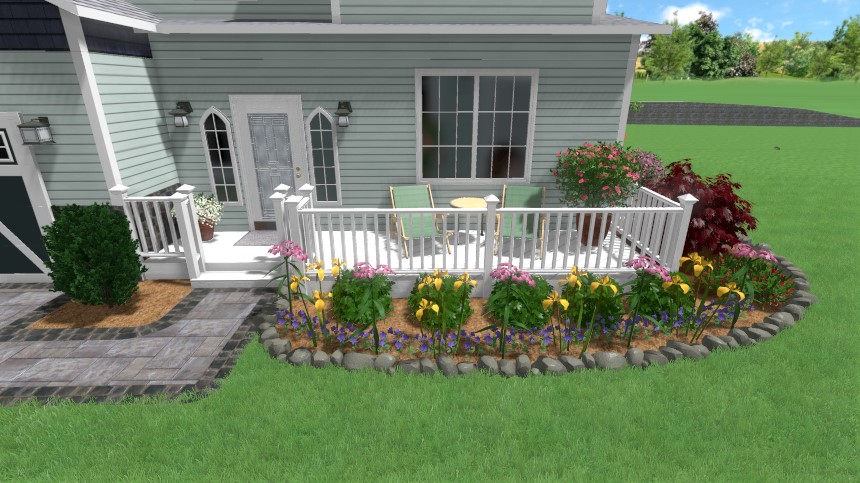
You have now successfully added a rock border to your landscape design.
Thank you for reading this guide, and please feel free to contact us for more information about our landscaping software.