This guide will show you how to add a landscape light to your landscape design.
To get started, click the Landscape tab, then click the Landscape Light button.
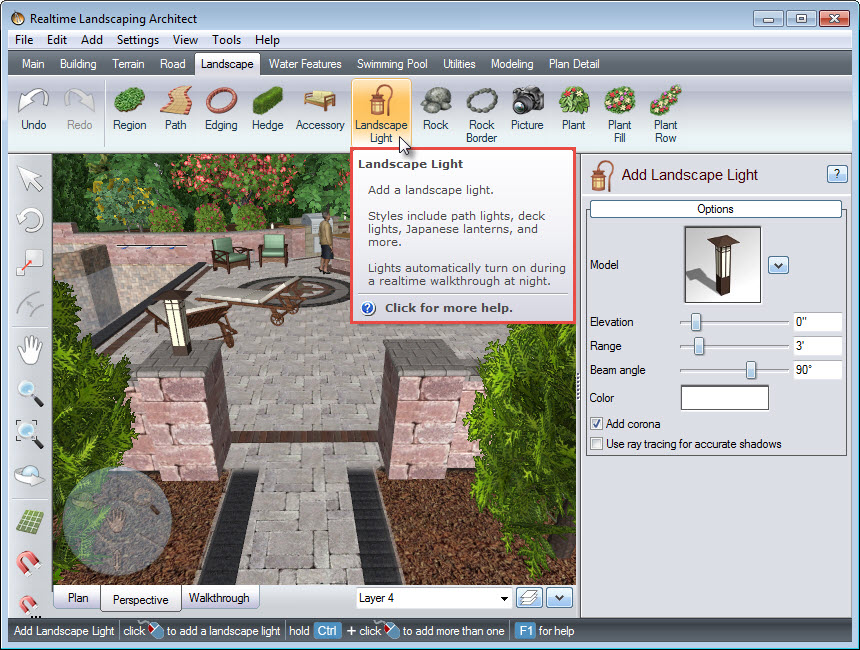
Left click to place the light where you desire.
To change the style of your light, click the model image seen above, and it will take you to a selection of different light styles, including some from Highpoint, Kichler Lighting, and Philips Hadco. Make your selection, and then click OK.

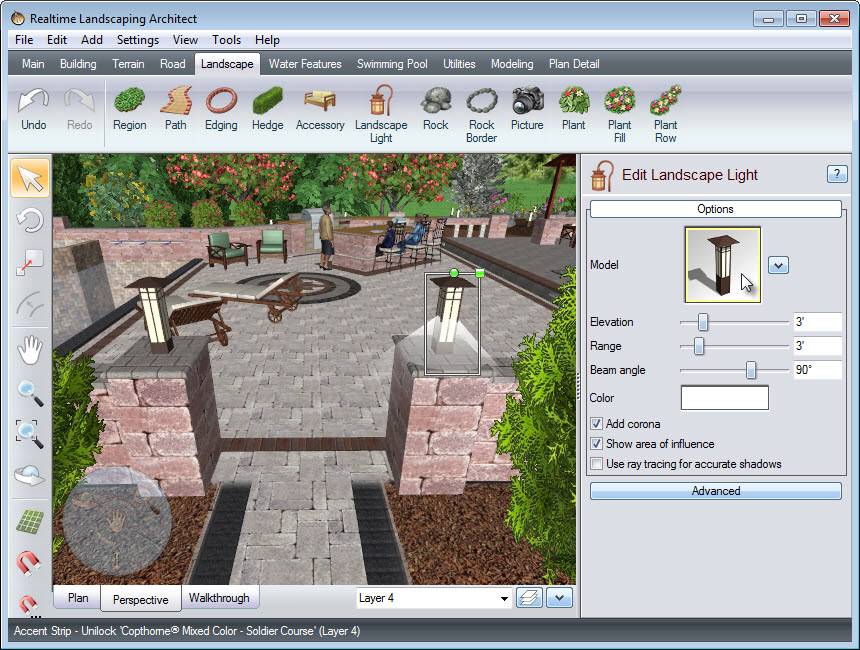
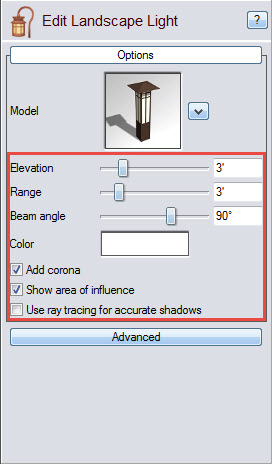
If you want to further customize your light, you can use the following options:
You will notice that the selected light will have a white outline, with a green square at the upper right corner, as well as a green circle to the left of it. Left click and drag above the green circle to rotate the light so that it faces the desired direction. To scale the light, Left click and drag above the green square.
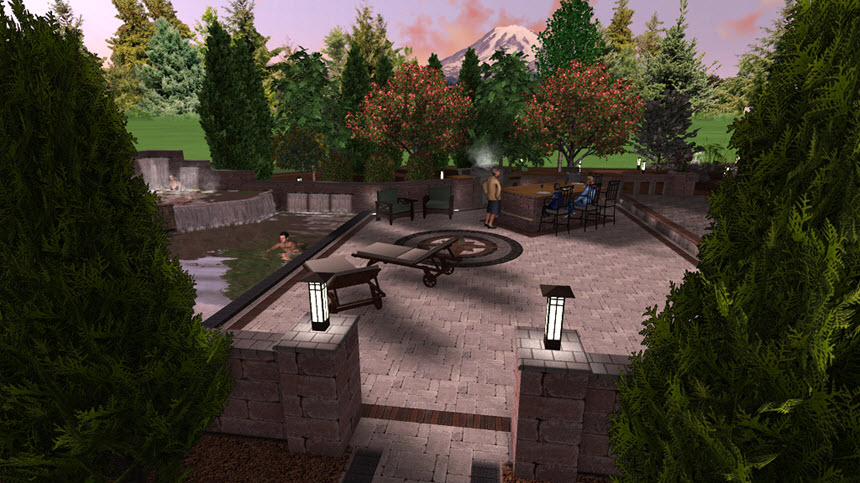
You have now successfully added a landscape light to your design.
Thank you for reading this guide, and please feel free to contact us for more information about our landscaping software.