This guide will show you how to add a hedge in Realtime Landscaping Pro.
To get started, click the Landscape tab and then click the Hedge button.
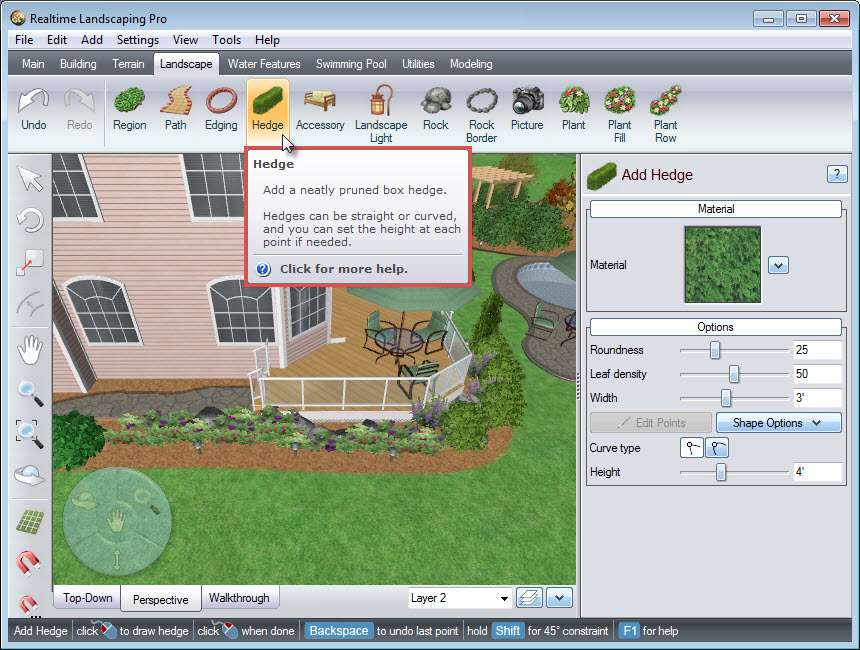
To place points, Left click and this will create the line of your hedge. Right click to place the last point.
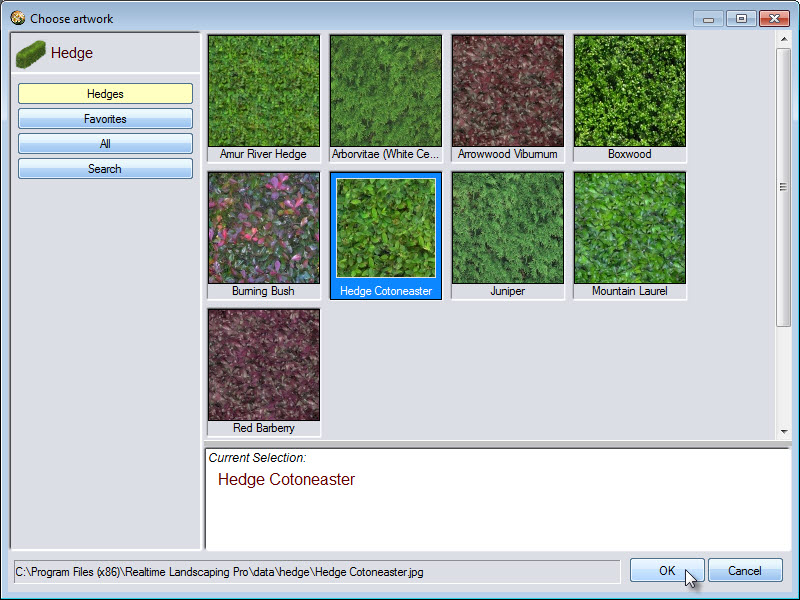
If you wish to change the material of your hedge, click the material image seen in the image above, and a dialog box will appear with a selection of different hedge materials. Select your desired hedge material and click OK.
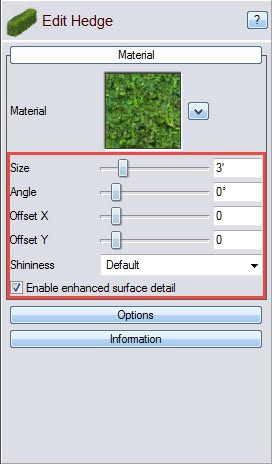
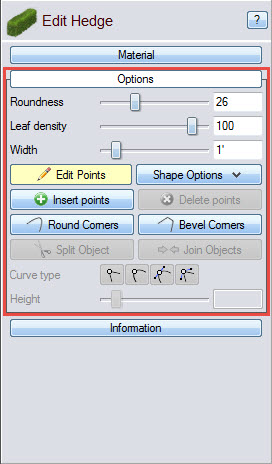
To customize the look of the material, use the following options:
To edit the shape of the hedge, click Options found in the Object Properties panel. You can adjust the roundness, leaf density, and width of your hedge.
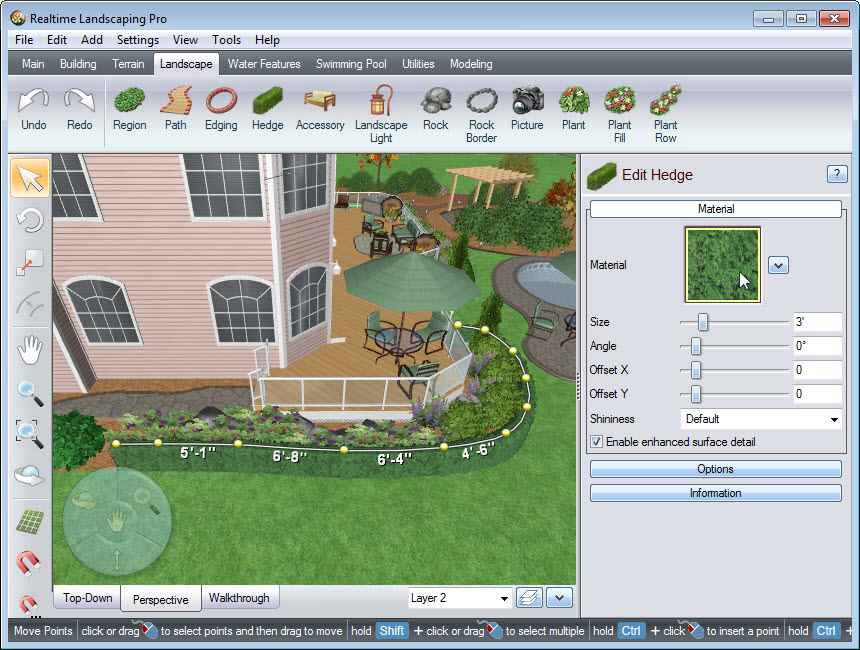
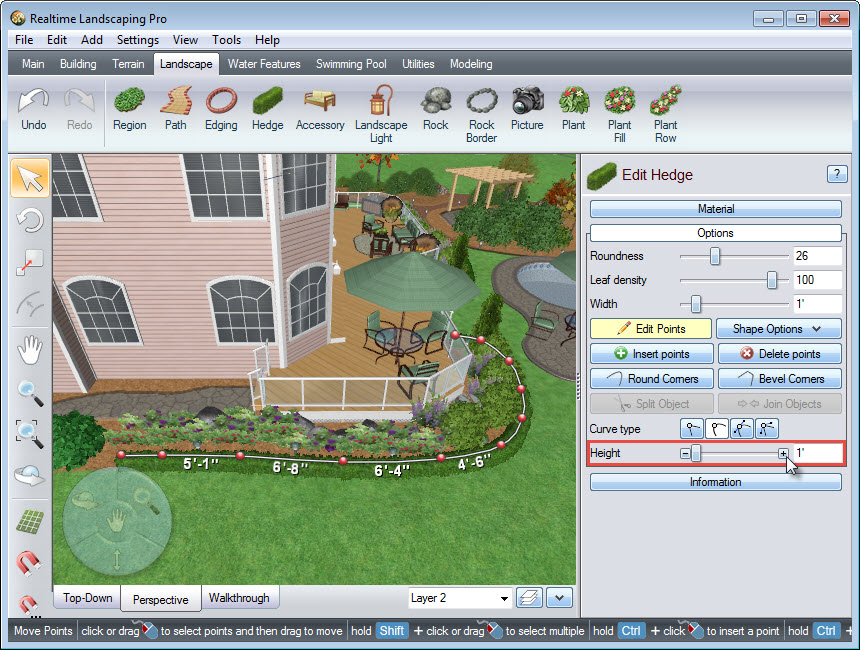
To adjust the height of your hedge, first, select the points you want to edit. Left click and drag to highlight all the points in your hedge. Note that the selected points will appear red in color, while unselected points will appear yellow. Additionally, multiple points can be selected by holding down the Shift key on the keyboard and Left clicking the points you wish to edit. You can then adjust the height using the slider, or by manually entering the height in the space provided.
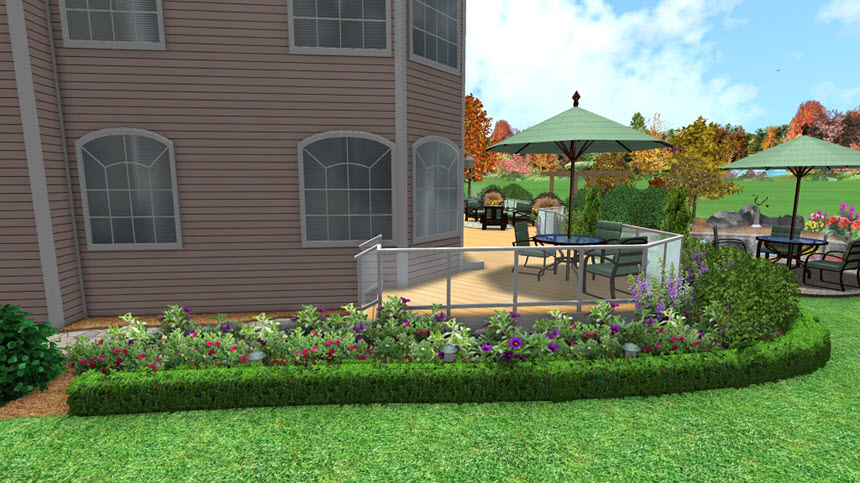
You have now successfully added a hedge to your landscape design.
Thank you for reading this guide, and please feel free to contact us for more information about our real-time 3D landscaping software.