This guide will show you how to add a deck to your landscape design.
To get started, click the Building tab, then click the Deck button.
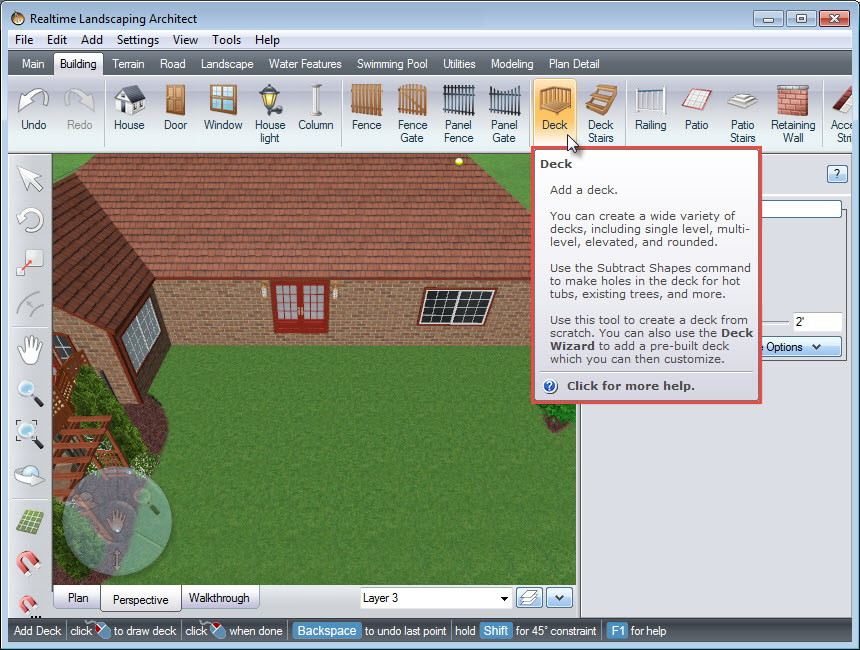
Left click to place points and this will create the outline of your deck. If you wish to undo the last point, press the Backspace key on the keyboard. When you are ready to place the last point, Right click and it will finish your outline. You can also Left click and place the last point on top of the first point to finish your outline.
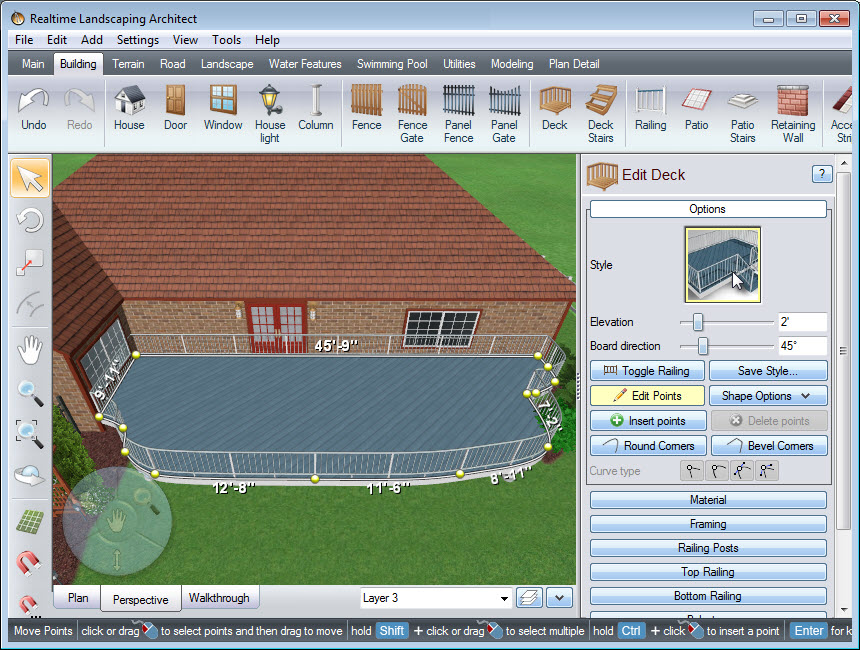
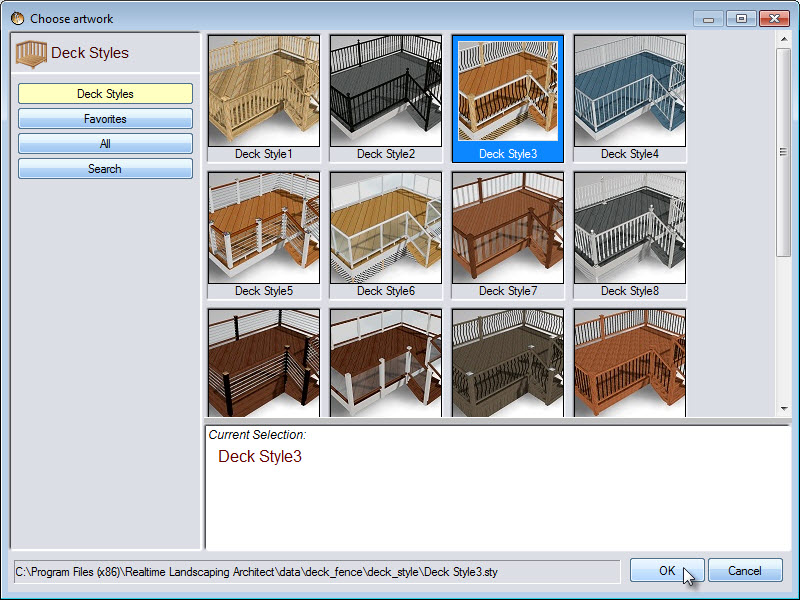
It’s a little easier to edit your deck in Perspective view. To change the style of your deck, click the deck style image seen above, and it will take you to a selection of different styles. Select your desired style, then click OK.
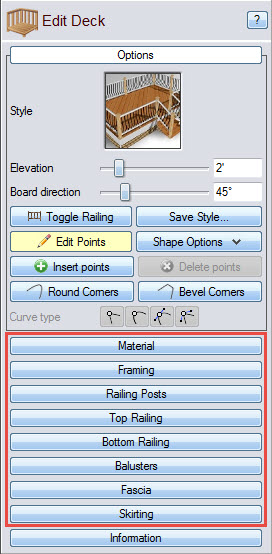
If you want to create a custom style, you can use the following options:
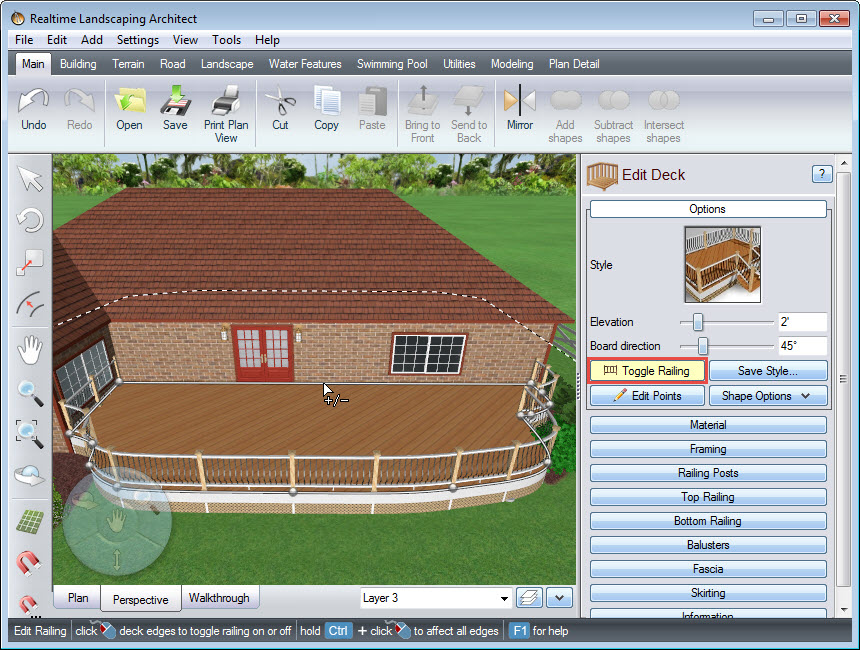
To remove unwanted railing, click the Toggle Railing button seen below. Move the cursor to a section of rail you want to remove and as soon as the +/- minus icon appears, Left click and it will remove the railing. Left click again if you wish to restore it. Repeat for all sections of unwanted railing.
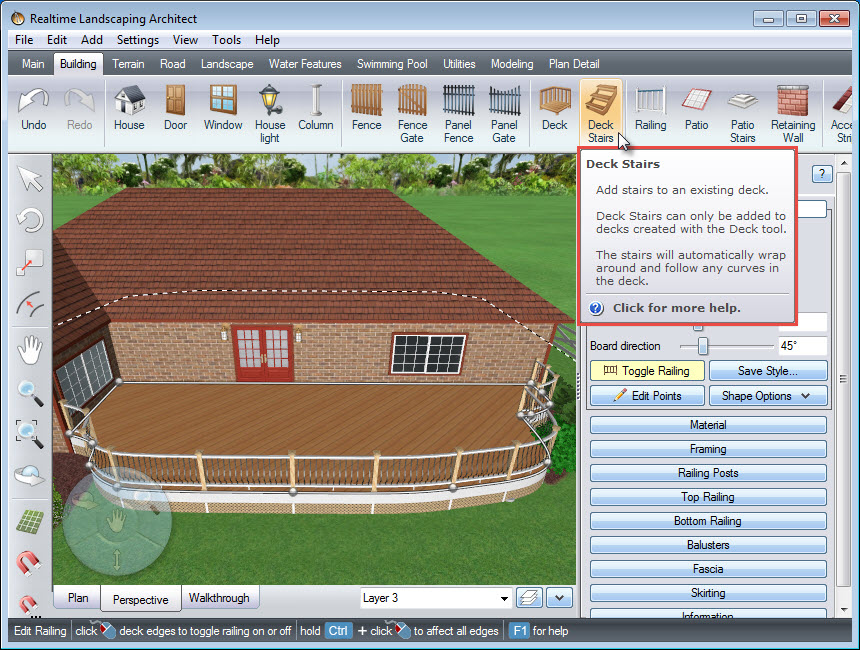
To add stairs to your deck design, click the Deck Stairs button.
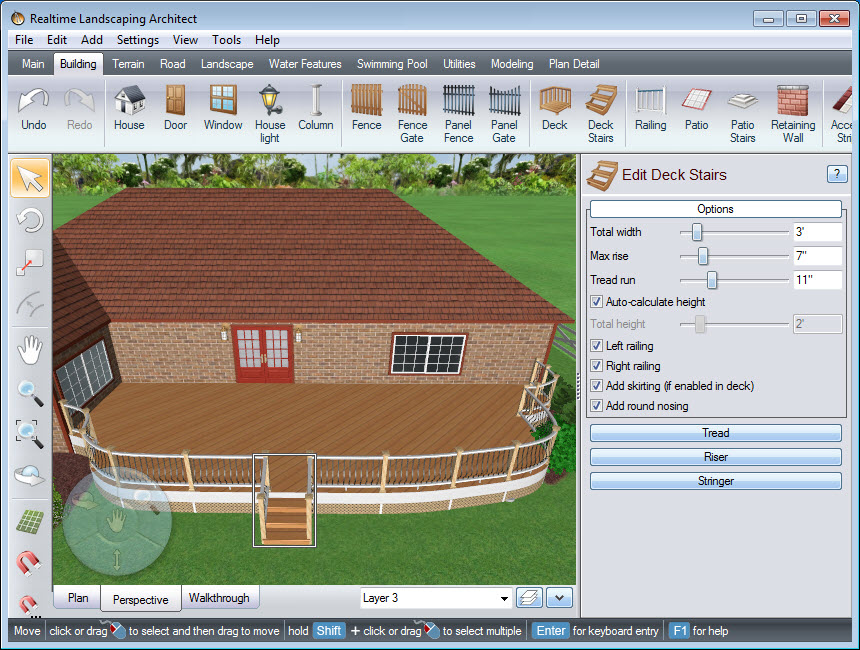
A line will appear where your stairs will be on your deck. Left click to place the stairs where you desire.
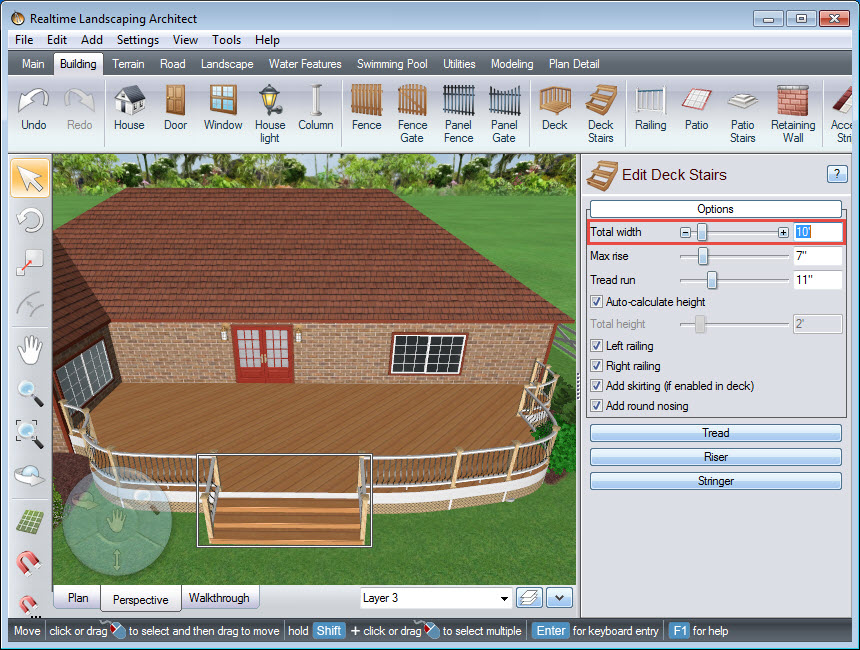
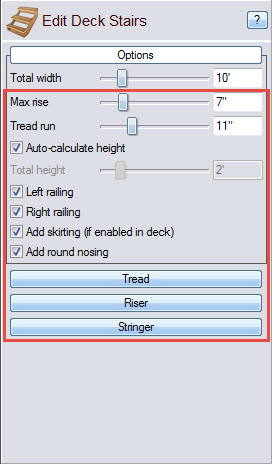
You can change the width of your stairs using this slider or by manually inputting the width in the space provided.
You can use the following options to further customize your deck stairs:
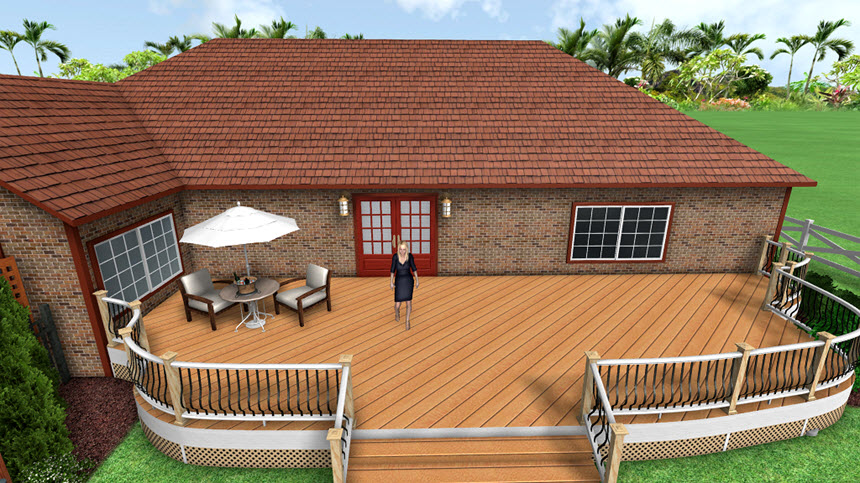
You have now successfully added a deck and deck stairs to your 3D landscape design.
Thank you for reading this guide, and please feel free to contact us for more information about our landscaping software.