This guide will show you how to add a custom circular patio to your landscape design.
To get started, click the Building tab and click the Patio button. In the Object Properties panel on the right, expand the Options group, click the Shape Options button, and select Load Shape.

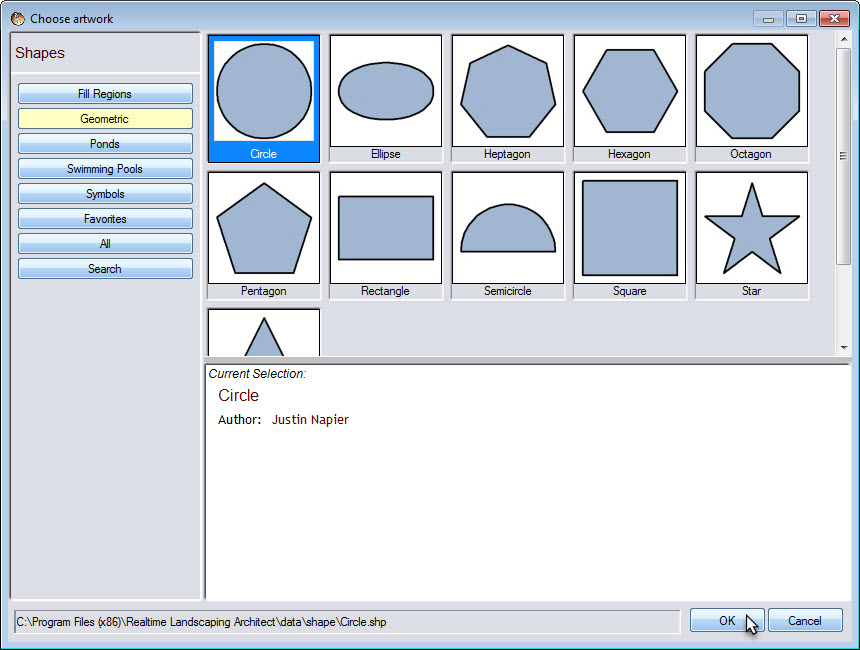
Click the Geometric category and select Circle.
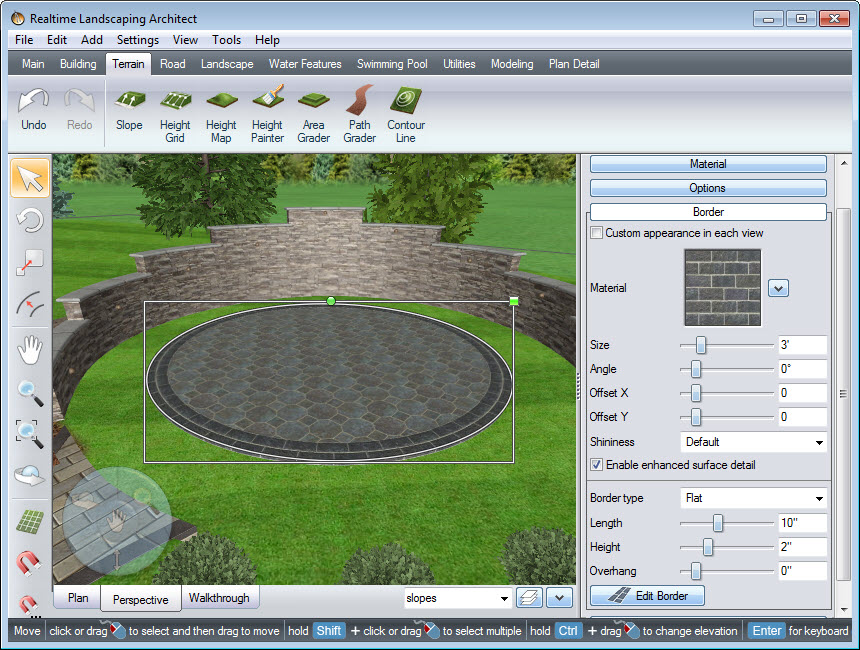
Note that the border follows the outline of the Patio. We will use this to create the circular patio.
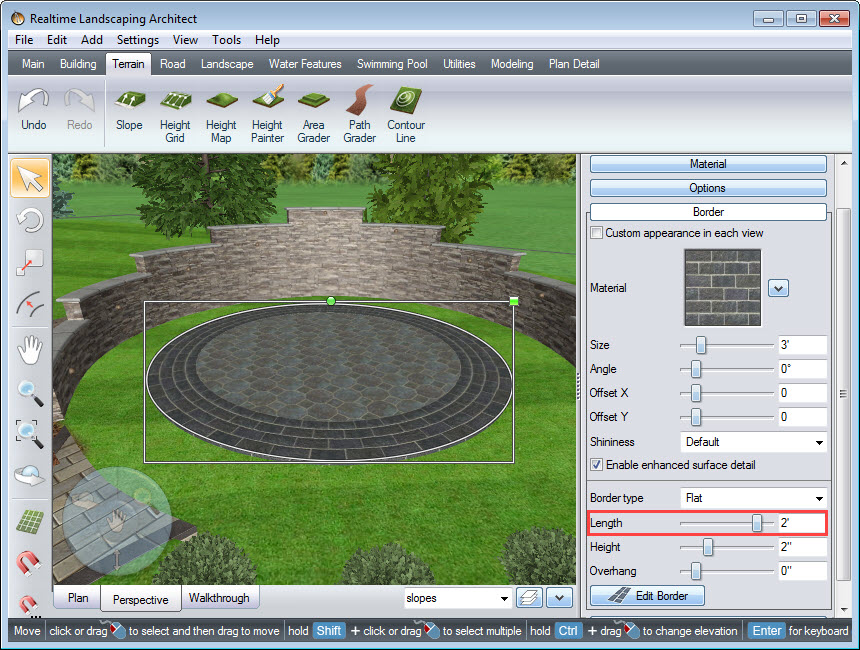
With the Patio still selected, expand the Border group and adjust the Length to the desired size. For this tutorial, we set the border length to 2 feet (0.6 meters).
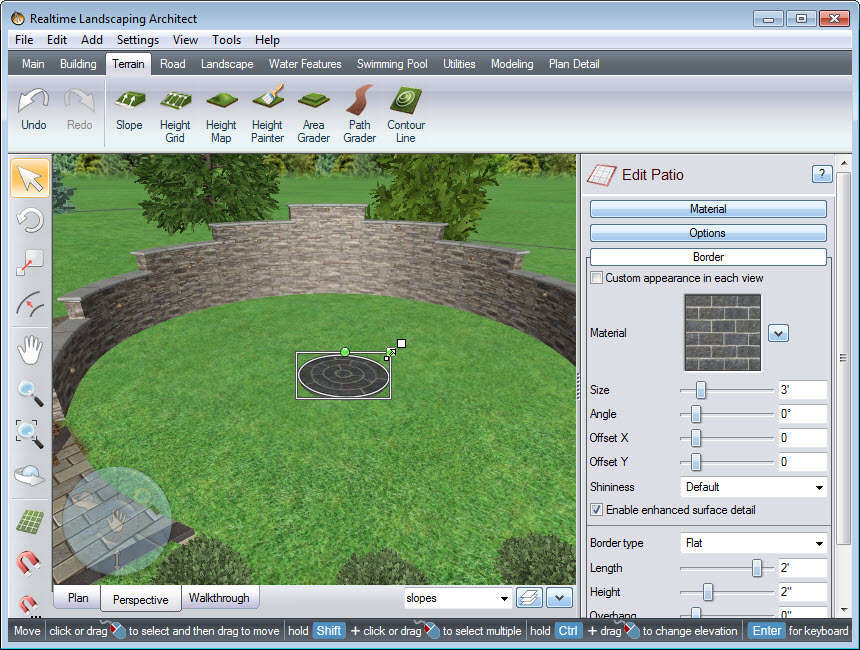
Click and drag the scale handle (the green square at the top right corner of the selection) to adjust the size of the inner circle as shown below.
Next, create a copy of the patio using the Copy command (Ctrl+C), followed by the Paste in Place command (Ctrl+Shift+V). Then scale the copy as needed to surround the inner circle.

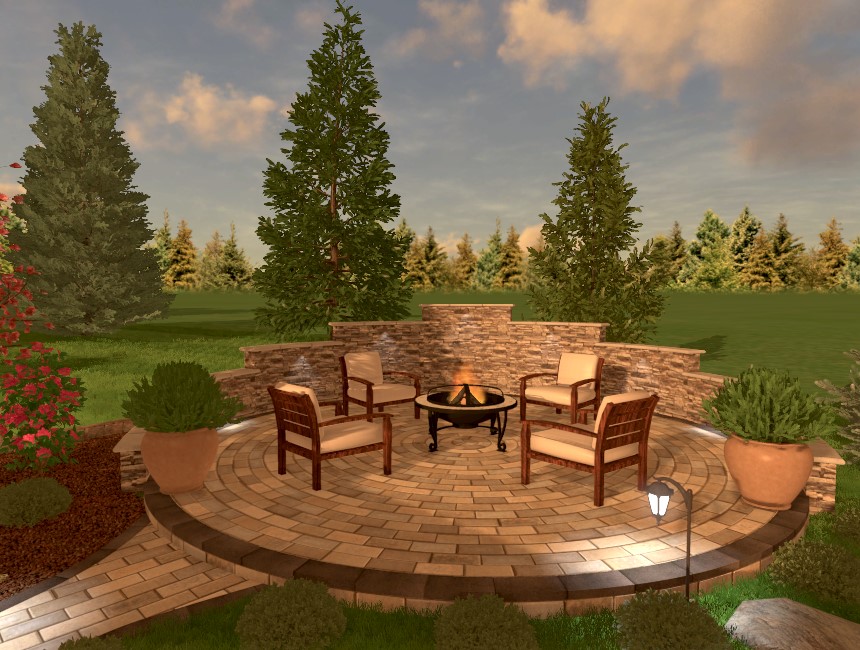
Continue to copy, paste, and scale the patio sections until you obtain the desired size. If desired, you can change the material of each copy for even more variety. You have now completed adding a circular patio to your landscape design.
Thank you for reading this guide, and please feel free to contact us for more information about our landscaping software.